Viral Hooks
Trending short videosShaggy layered haircut process tutorial
J

@jhair_stylist

Instagram · Vlog

@jhair_stylist The viral shaggy cut ✂️ This is how I created this shaggy look, this cut is gonna be freshhhhh for 2026 so loving these more shaped vibes, hope this helps with how I do it ❤️ #shaghaircut #layeredhaircut #70shair @wellahair @wellaprofessionalsuki

View original on Instagram

The edit1 shot · 1 text
Shots Text

Performance

Views
529.6K
Likes
17.1K
Comments
379
Engagement
3.3%
Outlier
7×

Video #13967 · Vlog

Shaggy layered haircut process tutorialfrom @jhair_stylist

[01]

Overview

The creator, a hairstylist, demonstrates their technique for a shaggy layered haircut. They begin by showing how to point-cut the length for a soft perimeter, then explain how to create layers by pulling hair to the center. The stylist proceeds to cut the fringe and connect it to the side layers, then blow-dries the hair to reveal the texture and movement, and finishes by styling the final look with texturizing products.

[02]

Simple outline

  1. 1Reveal the final outcome
  2. 2Demonstrate the core process
  3. 3Activate the transformation
  4. 4Deconstruct the key details

[03]

Related videos

[04]

Classification

Format
Concepts
Tutorial / How ToProcessShowcase
Elements
VoiceoverTitle Text HookMontage Editing

[05]

Hook analysis

What stops the scroll in the first 3 seconds

Title hook · 35%

SHAGGY LAYERED CUT

Verbal hook · 25%

This is how I do my shaggy layered cut.

Visual hook · 40%

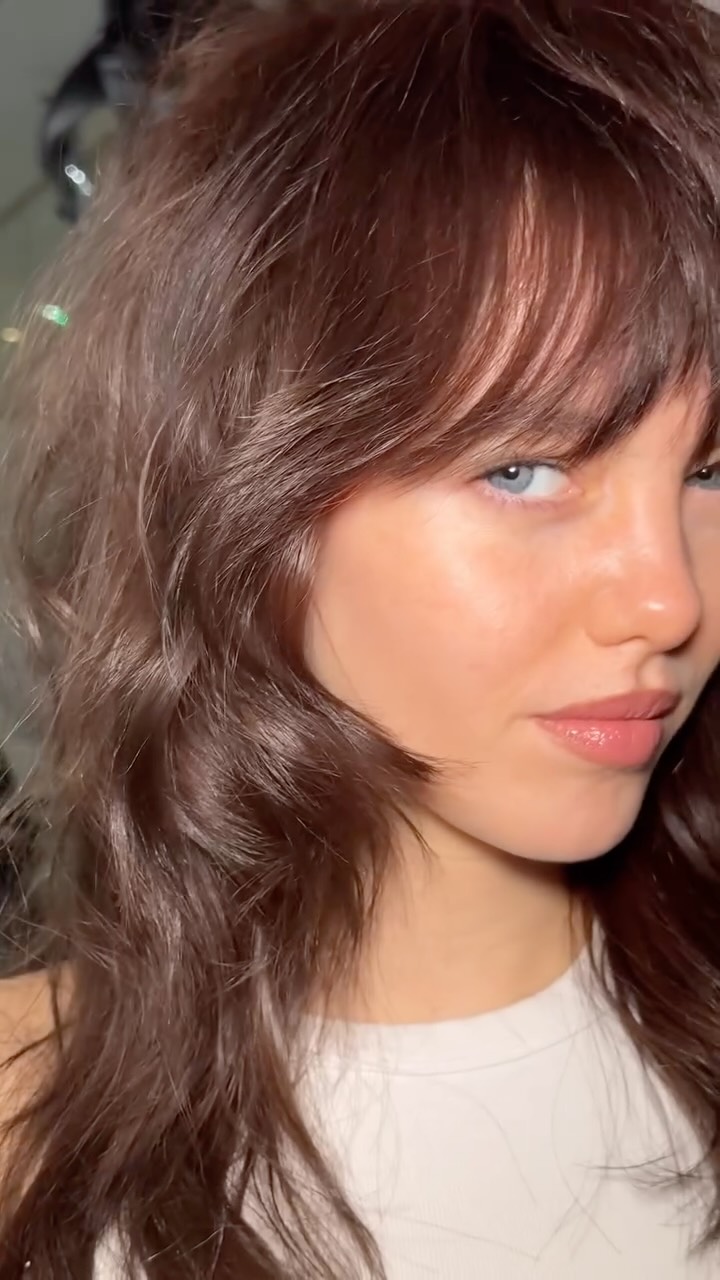
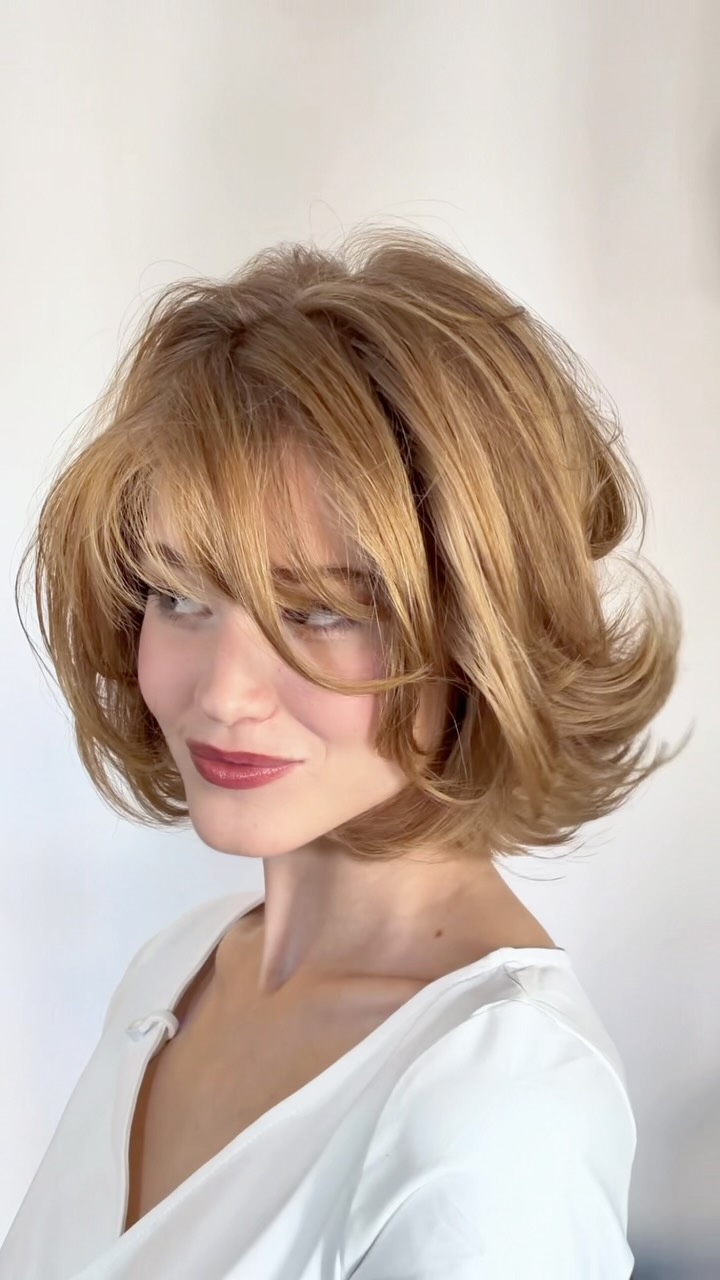
The video opens on the final, styled result of the haircut. A woman with voluminous, textured hair is being styled by a professional, with atmospheric steam in the background, immediately showcasing the desirable outcome.

[07]

Hook and payoff

The promise the opener makes, and how the video pays it back

Hook

The Aspirational Preview: The video opens by showcasing the perfect, finished result with a clear text label, immediately establishing the goal and hooking the viewer with a direct statement of intent.

Payoff

The Expert Deconstruction: The creator analyzes the finished product, pointing out the specific details that make it successful (the corners, the face-framing) and explaining the principles behind them. This provides a final burst of value and solidifies the creator's authority.

[08]

Narrative framework

The structural pattern this video runs on

Framework

The Process to Perfection Blueprint

Showcasing the aspirational final result upfront, then methodically walking the audience through the key steps required to achieve it, and concluding by deconstructing the 'why' behind the result's success.

  1. 1

    The Foundational Cut

    The creator breaks down the first, most crucial step in the process (cutting the base length), establishing the foundation upon which the rest of the work will be built.

  2. 2

    The Core Technique

    The creator demonstrates the central, defining action or principle that is most responsible for the unique outcome (layering by pulling hair to the center).

  3. 3

    The Feature Focus

    The creator isolates and details the process for a specific, high-impact component of the final product (cutting the fringe/bangs).

  4. 4

    The Seamless Integration

    The creator shows how different components or steps are connected to create a cohesive whole (connecting the side layers to the fringe).

  5. 5

    The Activation Reveal

    The creator performs an action (blow-drying) that brings the creation to life and reveals its true form, texture, and movement for the first time.

  6. 6

    The Final Polish

    The creator applies the finishing touches (detailing when dry, adding texturizing product) that enhance and perfect the final result.

Themes

  • Expertise
  • Skill Demonstration
  • Modern Hairstyles
  • DIY Education

Techniques

  • Point Cutting
  • Layering
  • Blow Drying
  • Texturizing

Trends

  • Shag Haircut
  • 70s Inspired Hair

Post caption

The viral shaggy cut ✂️ This is how I created this shaggy look, this cut is gonna be freshhhhh for 2026 so loving these more shaped vibes, hope this helps with how I do it ❤️ #shaghaircut #layeredhaircut #70shair @wellahair @wellaprofessionalsuki

Text overlays

  • title · beginning

    SHAGGY LAYERED CUT

Transcript

This is how I do my shaggy layered cut. Let's go. Starting with the length, I'm point cutting, so I have a soft textured perimeter, cutting the length square, and then I'm leaving a little bit of a corner around the front, which is really important. Then layer worse, pulling everything into the center, cutting shorter around the face. That way, you get lots of layers around the front, but you keep that length in the perimeter. Then I'm taking a little triangle out the middle of the fringe, so we have a corner either side. I'm following the same principle for the layers in the fringe, cutting shorter to longer and over directing into the center. Then I'm using the guide from the corner on the length and cutting up to connect into the fringe, so you have the whole thing connected. Blow drying it through, you can see all that layers, that texture, that movement, detailing the fringe as it's dry. Then we did some texturizing, but I don't think I filmed that. And then loads of texturizing product in to show off that cool girl kind of shaggy cut. And there you go. What's really important here is you can see that corner, which kind of makes the cut look more modern. And you can see all that face framing layers is, like, really flattering. So don't be afraid to go for it with the layers when cutting these, guys. But she looks hot. I hope this helps and inspires you to get shaggy with them layers, guys.