Viral Hooks
Trending short videosDIY furniture flip start to finish
R

@refurbishedish

Instagram · Vlog
@refurbishedish I wasn’t sure if this was salvageable, but one thing about me…I’m always gonna at least TRY! Comment the word “LINK” for a list of everything I used! Here’s the process: ➡️ Sand everything down with 120 grit ➡️ Strip any hard-to-sand areas with @kleanstripproducts acetone ➡️ Fill any chipped or missing veneer with @mohawkfinishing epoxy putty ➡️ Sand that smooth with @surfprepsanding 120 grit ➡️ Hand sand the whole piece (with the grain) with 220 to smooth out the wood grain ➡️ Spray a layer of @zinsser dewaxed shellac to bring out the natural color of the wood grain ➡️ Use @mohawkfinishing blendal sticks to color match the filled areas, paying attention to any color variations or patterns in the surrounding wood grain ➡️ Spray a light coat of @mohawkfinishing rattle can toner to further blend those repairs and then seal with @mohawkfinishing lacquer ➡️ Mix your own sprayable toner with a 50/50 blend of dewaxed shellac and denatured alcohol. Add transtint dyes to tint it to a color closely matching your piece. ➡️ Spray as many light coats as you’d like to get your desired color (I did 4 coats) ➡️Let that dry and then spray two coats of @generalfinishes Enduro top coat. ➡️ Don’t forget to show the drawers and drawer slides some love with a furniture balm! I used @arlington.woodworks Drop any questions you have in the comments!

View original on Instagram

The edit1 shot · 4 text
Shots Text

Performance

Views
985.7K
Likes
39.8K
Comments
521
Engagement
4.1%

Video #2150 · Vlog

DIY furniture flip start to finishfrom @refurbishedish

[01]

Overview

The creator showcases the complete restoration of a vintage teak dresser they bought for $100. They begin by showing the dresser's damaged condition, then proceed through a montage of repair steps including sanding, stripping, filling chips with epoxy putty, color-matching repairs, and applying a new finish with a spray gun. The video concludes by revealing the fully restored and styled dresser, asking the audience if the effort was worthwhile.

[02]

Simple outline

  1. 1Present high-potential, flawed item
  2. 2Show the messy restoration process
  3. 3Reveal the stunning final transformation
  4. 4Ask for audience judgment

[03]

Related videos

[04]

Classification

Format
Concepts
ProcessTutorial / How To
Elements
Montage EditingText OverlayEngagement CTA

[05]

Hook analysis

What stops the scroll in the first 3 seconds

Title hook · 70%

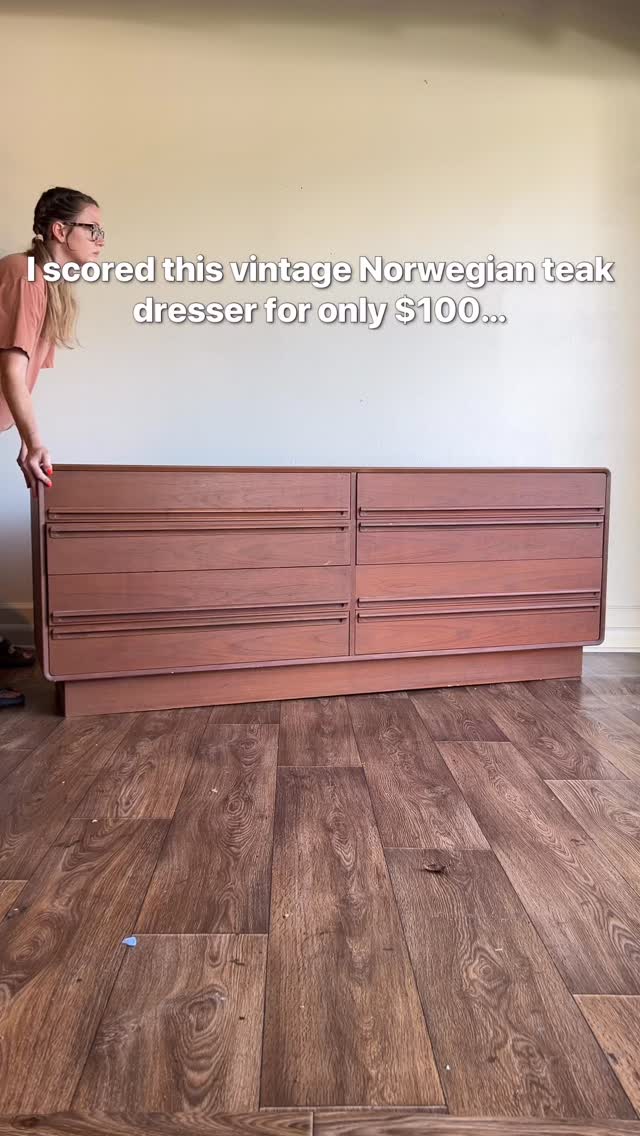
I scored this vintage Norwegian teak dresser for only $100...

Visual hook · 30%

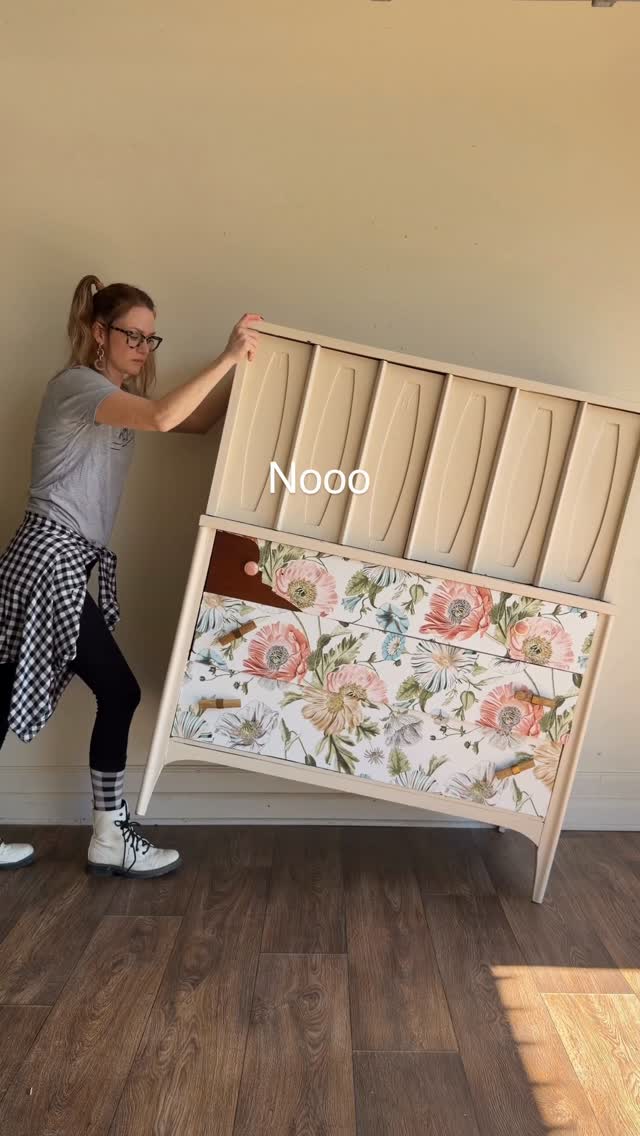
A woman pushes a large, mid-century modern style wooden dresser across a wood-paneled floor into the frame, establishing the subject and action of the video immediately.

[06]

Hook template

Steal this for your own video

I scored this [thrifted item] for only $[low price]...

  • — I scored this vintage leather sofa for only $40...
  • — I scored this antique oil painting for only $15...
  • — I scored this designer blazer for only $8...

[07]

Hook and payoff

The promise the opener makes, and how the video pays it back

Hook

Juxtapose the high potential or value of an item with its current, deeply flawed state, creating an immediate hook of 'can this be saved?'.

Payoff

The visual reveal of the completed, beautiful object, coupled with a direct question that invites the viewer to participate in the final verdict.

[08]

Narrative framework

The structural pattern this video runs on

Framework

The Restoration Arc

To document the transformation of a flawed or neglected object into a beautiful, valuable one, creating a satisfying visual journey that culminates in a request for audience validation.

  1. 1

    The Diamond in the Rough

    Introduce an object with inherent value that is currently in a state of disrepair, establishing the core conflict and the potential for a satisfying transformation.

  2. 2

    The Takedown

    Show the initial, often destructive-looking, phase of the restoration where the old finish or damage is stripped away, signifying a commitment to the process.

  3. 3

    The Meticulous Mend

    Showcase the detailed, skillful process of repairing specific damages, building creator credibility and viewer investment in the fine details.

  4. 4

    The Rebirth Coat

    Apply the first layer of a new finish, providing the first satisfying glimpse of the object's renewed potential and signaling the turning point from deconstruction to beautification.

  5. 5

    The Unifying Application

    Show the process of applying the final, cohesive finish that brings the entire object to its new, beautiful state, serving as the climax of the restoration.

  6. 6

    The Final Showcase

    Present the fully restored object in a styled, aspirational context, delivering the ultimate visual payoff and demonstrating the completed vision.

  7. 7

    The Call for Judgment

    Directly ask the audience to validate the effort and the final result, converting passive viewing into active engagement in the comments.

Themes

  • Transformation
  • Upcycling
  • Patience
  • Craftsmanship

Techniques

  • Sanding
  • Wood filling
  • Staining
  • Spray finishing

Trends

  • Furniture Flipping
  • Satisfying Process Videos

Post caption

I wasn’t sure if this was salvageable, but one thing about me…I’m always gonna at least TRY! Comment the word “LINK” for a list of everything I used! Here’s the process: ➡️ Sand everything down with 120 grit ➡️ Strip any hard-to-sand areas with @kleanstripproducts acetone ➡️ Fill any chipped or missing veneer with @mohawkfinishing epoxy putty ➡️ Sand that smooth with @surfprepsanding 120 grit ➡️ Hand sand the whole piece (with the grain) with 220 to smooth out the wood grain ➡️ Spray a layer of @zinsser dewaxed shellac to bring out the natural color of the wood grain ➡️ Use @mohawkfinishing blendal sticks to color match the filled areas, paying attention to any color variations or patterns in the surrounding wood grain ➡️ Spray a light coat of @mohawkfinishing rattle can toner to further blend those repairs and then seal with @mohawkfinishing lacquer ➡️ Mix your own sprayable toner with a 50/50 blend of dewaxed shellac and denatured alcohol. Add transtint dyes to tint it to a color closely matching your piece. ➡️ Spray as many light coats as you’d like to get your desired color (I did 4 coats) ➡️Let that dry and then spray two coats of @generalfinishes Enduro top coat. ➡️ Don’t forget to show the drawers and drawer slides some love with a furniture balm! I used @arlington.woodworks Drop any questions you have in the comments!
Text overlays

  • title · beginning

    I scored this vintage Norwegian teak dresser for only $100...

  • contextual · beginning

    But it was in rough shape...

  • contextual · beginning

    So let's try to save it!

  • call-to-action · end

    Was it worth the effort? What do you think?

Transcript

We were crazy to rank, crazy to think that this could work. Remember how I said I'd die for you. We were stupid to jump in the tier. Blind face. But we might just get good

DIY furniture flip start to finish | Viral Hooks