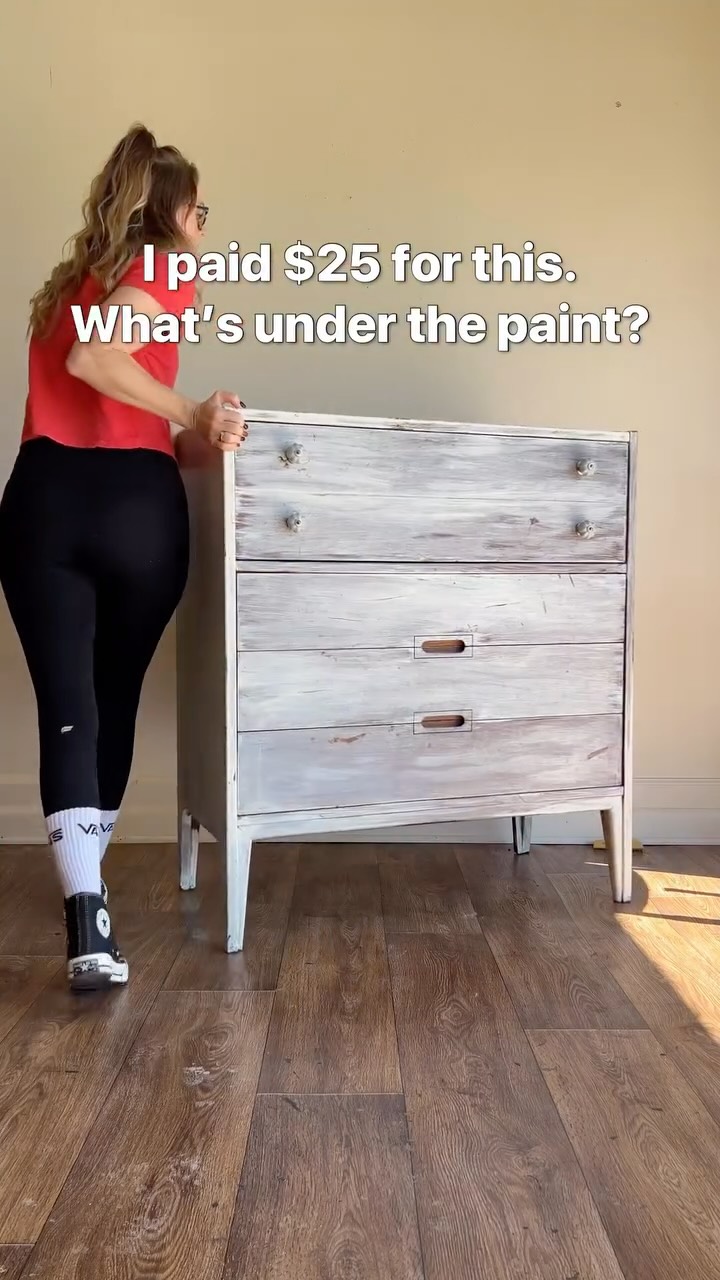
The creator documents the restoration of a valuable mid-century modern Broyhill Brasilia bedroom set she found at a thrift store for $115. She begins by showing the painted furniture, establishes its high resale value with a screenshot, and then walks through the entire restoration process: removing non-original parts, stripping the paint to reveal the pristine walnut wood underneath, cleaning, hand-sanding the delicate veneers, and applying stain and a sanding sealer to restore its original finish.
Post caption
Would you grab this if you saw it at the thrift store?
These iconic Broyhill Brasilia sets go for thousands online, so I spent $115 to take it all home so I could restore it!
Comment the word “LINK” for a list of everything I used on this set and the base tutorial from @thecolibridesign !
I may regret this for a lifetime…but I think I might list this for sale. What do you think I should ask for it?
Transcript
I will probably never beat this thrift fund. This iconic Broyhill Brasilia bedroom set is worth thousands, and I paid a $115 for all of it. But it obviously needs some love, so let's see what's under this paint. First things first, removing this decorative trim that is definitely not original and these weird nubby legs. I was so thankful that this all had the original hardware because they go for up to a $139 a piece online. I moved on to stripping off the paint and imagine how shocked I was to find that these pieces were pristine underneath all of the paint. And I knew these pieces had a really beautiful walnut underneath it, but stripping off the paint to find something like this, like, it best never gets old. Once all of the paint was off, I scrubbed everything down with denatured alcohol to remove the residue from the stripper, and then I moved good to sanding. The iconic arches on these pieces are notoriously thin veneers, so I had to hand sand pretty much everything. Once everything was sanded, it was time to add some color back in with stain. When you refinish classic pieces like this, it's best to adhere to what's called a finishing schedule. This is basically just a layout of products and techniques that you should use that will most closely replicate the original finish. And they're super easy to find, I just googled it. Once the stain was dry, I sealed everything in with a sanding better.