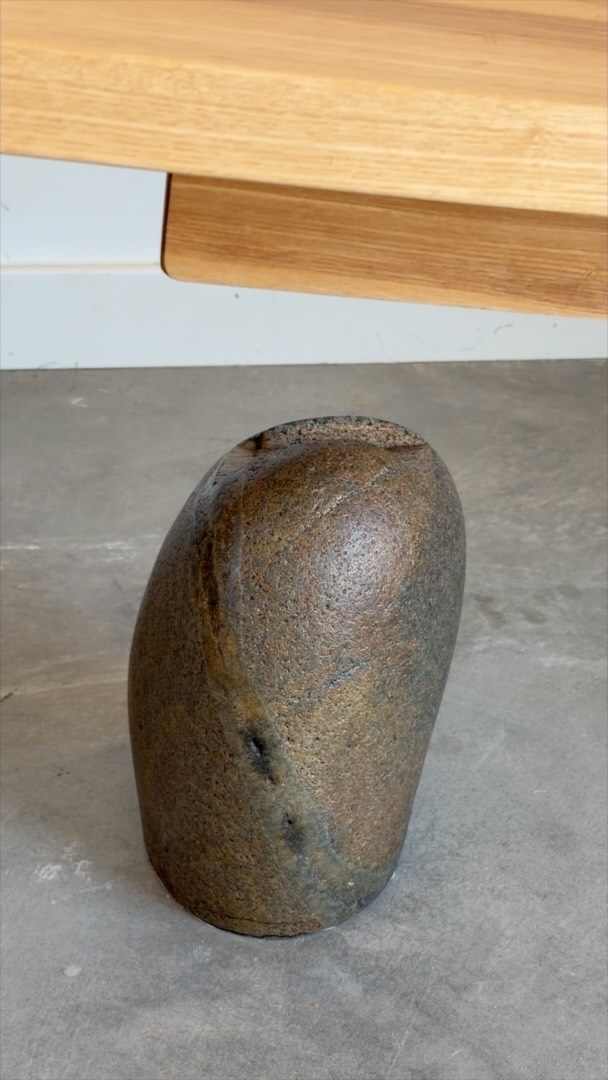
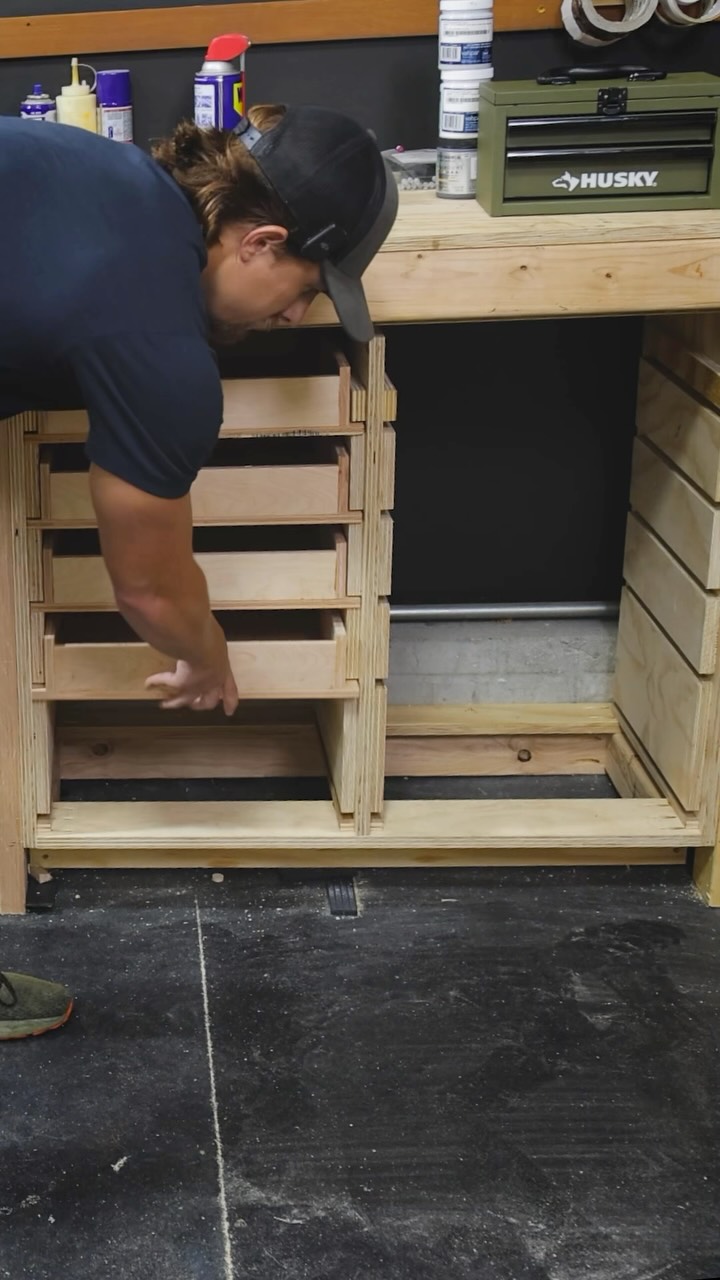
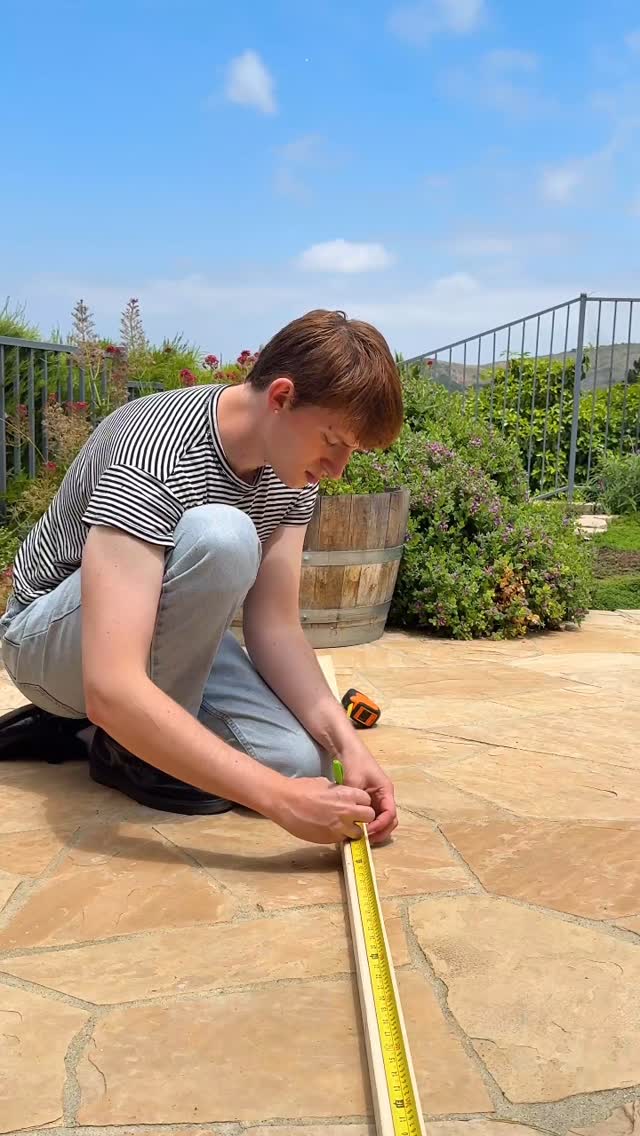
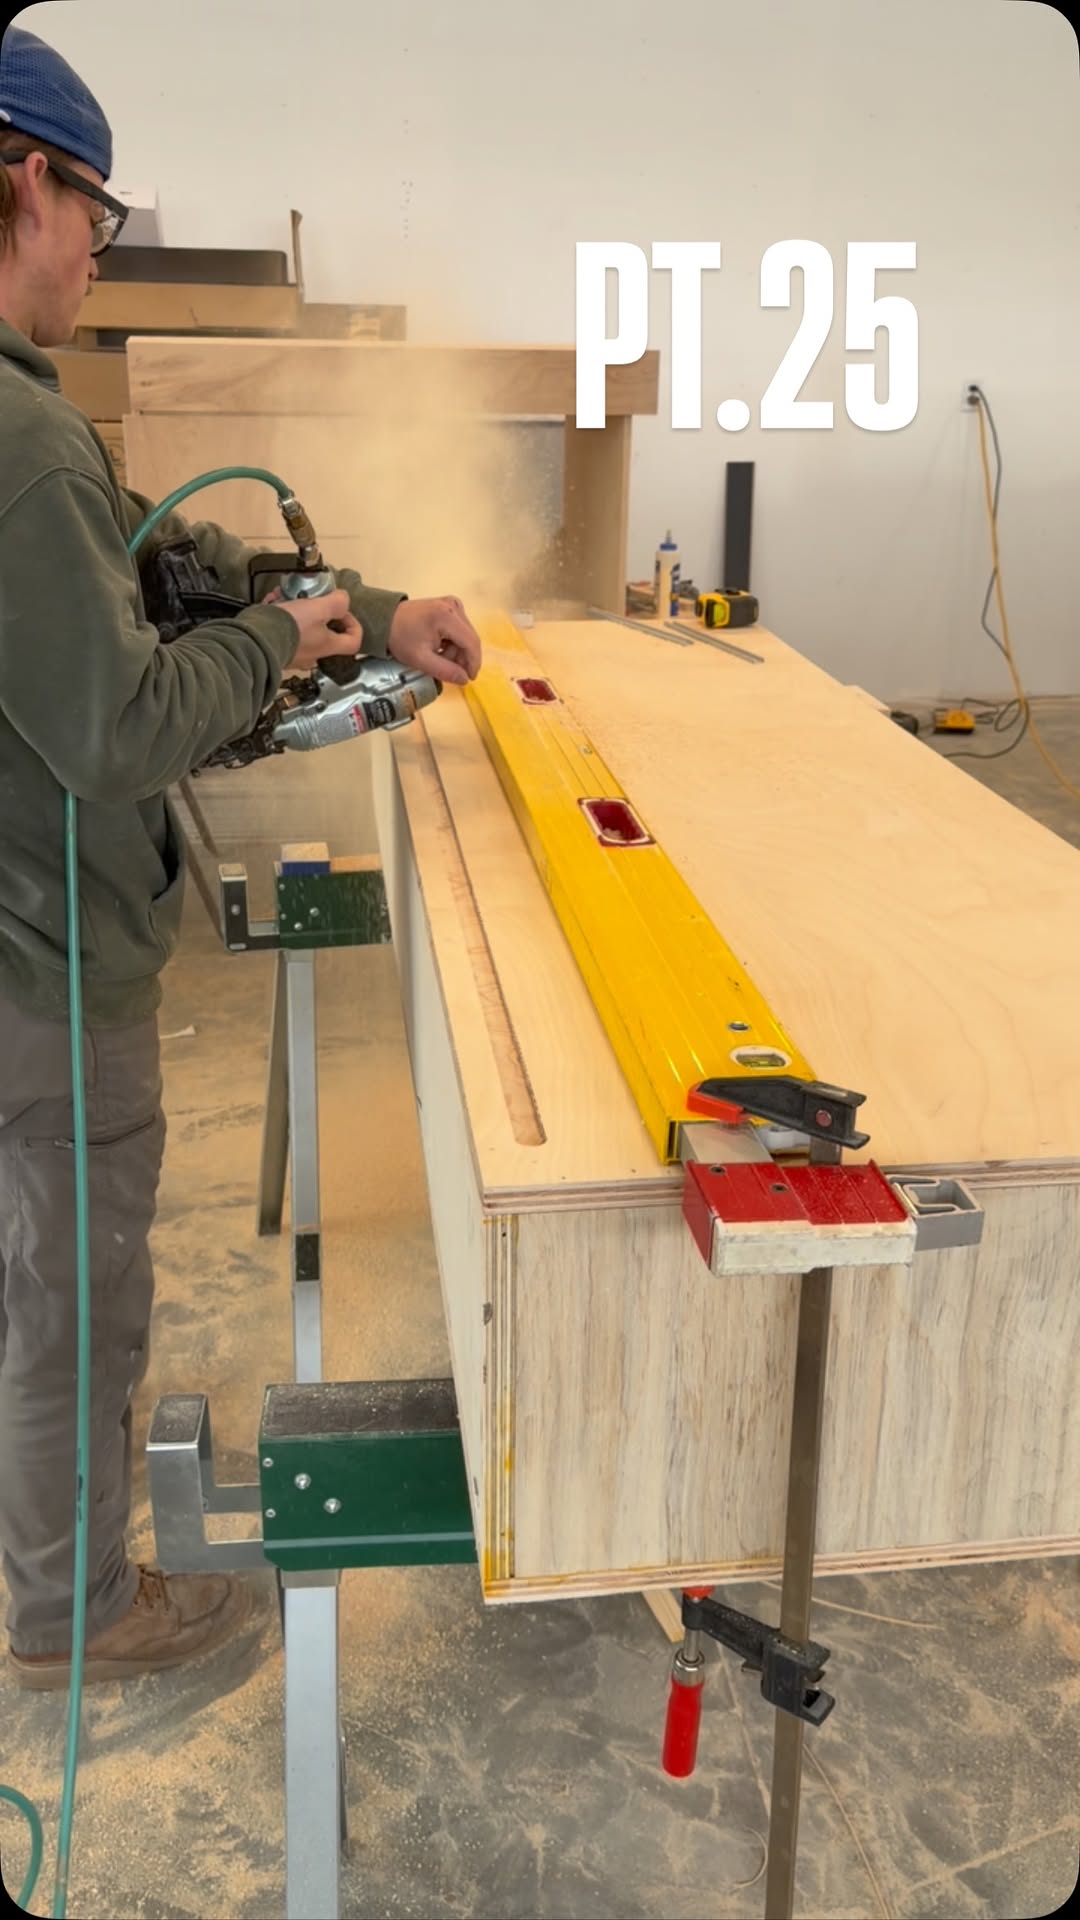
The creator demonstrates the entire process of building a modern bench, starting with sourcing and fabricating a large stone to serve as a leg. He shows how to cut, flatten, and notch the stone using a tile saw and epoxy, then transitions to the woodworking phase, where he cuts, assembles, and finishes an ash wood bench top that fits perfectly onto the stone base.
Post caption
Adding Stone to basic woodworking projects is one of the demonstration projects at @highdesertdesignweek Rocks are often easier to scavenge than hardwoods and are and usually significantly cheaper to purchase. This smooth stone was purchased from @whitewaterrockandsupplyco for 30 cents a lbs. @benjaminuyeda used a @ryobitoolsusa tile cutting saw instead of his usual angle grinder as the tile saw has broader DIY applications for home renovations. The wood was ash with @rubiomonocoatusa for finish
Transcript
Adding rocks to basic woodworking is easier than you might think and rocks are really cheap no it's a great cost savings as well. I get rocks like this for 30¢ a pound and I just dipped it in water so that I could draw a line with a sharpie that I'll use to cut along with a tile saw. This isn't that hard to do and because the tile saw has a little water reservoir, it keeps the dust down. This rock is too thick to cut all the way through no I had to chisel at an angle and now I can hit that core and break off a piece. I need the bottom to be mostly flat so I just cut some grooves in it and then chiseled out the excess. And now I can completely flatten it using a two part epoxy. Put down a piece of silicone, drop the rock on, and in a few hours I have a nice smooth bottom that won't scratch floors. Now that our rock sits perfectly flat, I can cut a series of grooves in the top of it to make a notch that will allow a piece of ash to sit right in. This all goes pretty quickly and my total rock fabrication time was under an hour. I switched over to the angle grinder to grind the bottom of the notch smooth and now the ash fits right in and as a bonus, it's level. From here on out, it's just beginner level woodworking that can be done with a circular saw drill and orbital sander. And after cutting and sanding tier pieces, I glued them together first before recessing some holes and driving in screws. I drilled the holes at three quarters of an inch and that'll just allow me to cover up the screw heads with some three better inch dowels. Now it's just gluing and screwing the pieces better, flush trimming the dowels with a Japanese pull saw, flapping on a little bit of rubium monocoat, and because every rock is unique, this project is always going to be one of a kind. I highly recommend this as a beginner level project. It just has a great ratio of satisfaction to being low cost and not requiring a professional workshop.