Post caption
Part 3 of turning an old dollhouse into a bar (teacup) cabinet I can’t afford!
I’m so excited to hear what you think of how it turned out!
I fear I’ve become completely obsessed with this project… But it’s been such a wonderful little world to escape into.
When I started, I had absolutely no experience building miniatures, and I genuinely wasn’t sure whether I could pull off half the ideas I had in mind. But I think I’m finally starting to develop the skills to match my increasingly ridiculous ambitions.
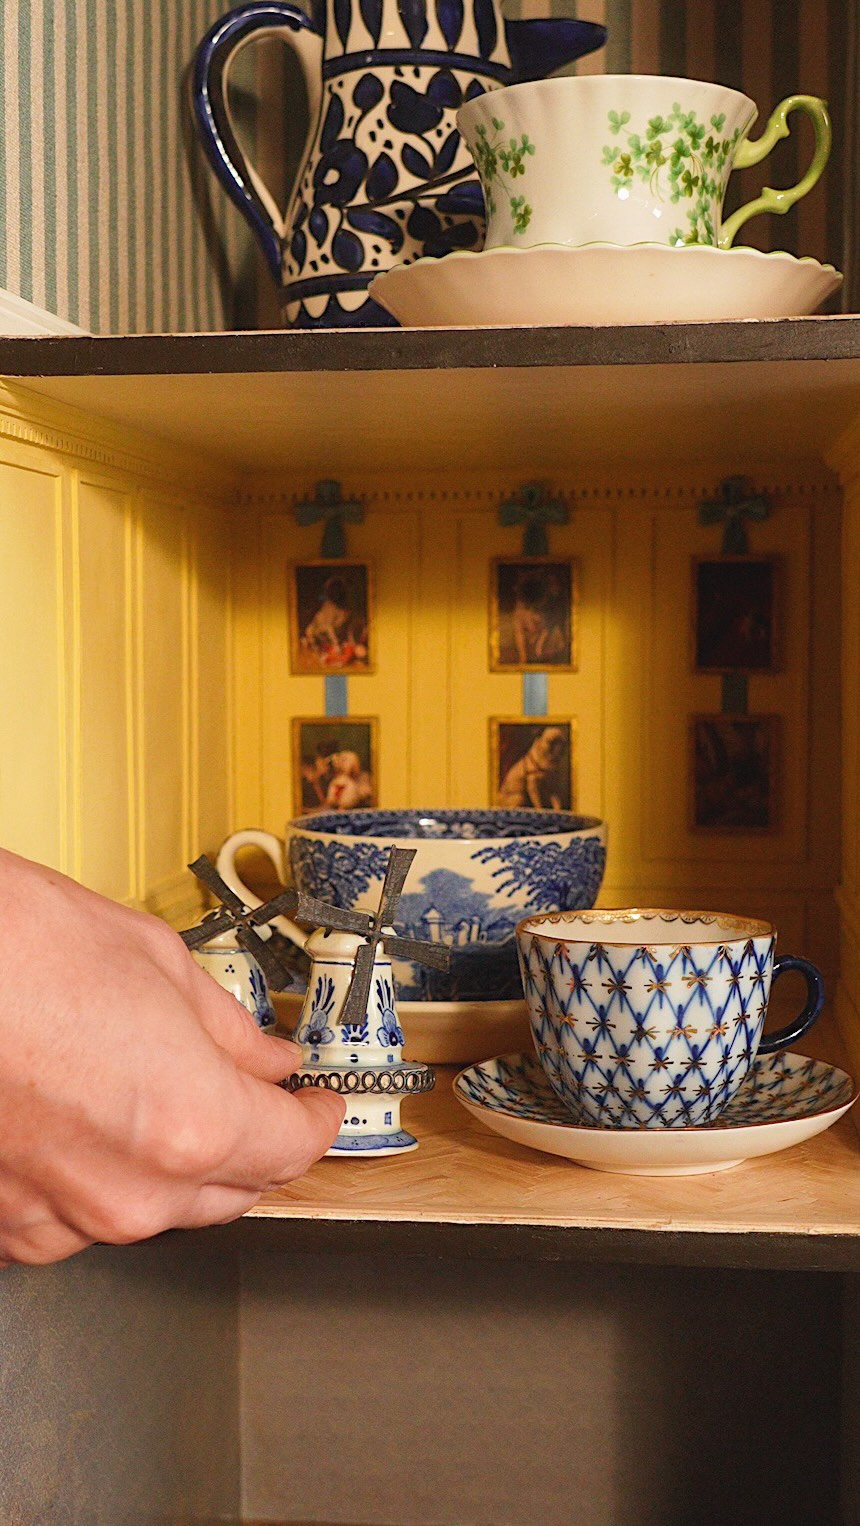
For the second floor, I leaned even further into the eccentricity of an old English country house, and I couldn’t be happier with how these rooms turned out.
Thank you for following along and encouraging me to take this project further than I ever intended!
Next up: the staircase and ground floor. And I have some VERY ambitious plans.
#miniature #dollhouse #diy #furnitureflip #design
Transcript
Welcome back to creating a dollhouse cabinet for my teacup collection. I've already tackled the exterior and the attic, so now it's time for the 2nd Floor, and I've decided to make things significantly more difficult for myself. After doing more math than I've done since high school, I drew out my wall paneling design for the first room. I cut out the wood and carefully glued everything into place, using wood filler to make it look seamless. Once everything was assembled, I installed the walls and painted them this gorgeous yellow, inspired by Mario Buatta's iconic living room. For the other room, I cut out wainscoting and added baseboards and chair rail molding. I painted the panels and crown molding this beautiful mauve, which may or may not be my favorite color. Then I printed this beautiful miniature floral wallpaper and mounted it onto cardstock using spray adhesive to prevent the paper from warping. I decided to tackle herringbone floors, which meant cutting out over a thousand tiny floorboards. Laying out the pattern was incredibly tedious, but it was so satisfying to see it come together. I filled the little gaps with wood filler, then sanded everything smooth. Finally, I sealed the floors with wipe on polyurethane. I never knew coffee stir sticks could be so beautiful. With the floors finished, it was time to install everything and bring the rooms better, taking it from this to this. The yellow room will house my blue and white collection, including my salt and pepper shakers. The mauve room houses two of my absolute favorite tier cups. You guys loved the little vignettes in the attic, so I decided to add a few more decorative elements. I added this miniature table and candlestick, and I printed out six antique pug portraits, painted gold frames, and even made tiny ribbon hangers for them. But let me no, have I good too far with the decor this time or should I keep going? I'm so thrilled with how these spaces turned out. And for everyone saying I should go campier, I hope this lives up to your expectations. Next up, I still have the staircase and the entire Ground Floor to tackle, including black and white checkerboard floors and a fully wood paneled study. So stay tuned for more.