@realiferenovation
Instagram · Vlog
@realiferenovation Will the DIY built-in house vacuum work 👀 Click my profile @realiferenovation to see the final reveal (it’s already posted 😉)

@realiferenovation
Instagram · Vlog
@realiferenovation Will the DIY built-in house vacuum work 👀 Click my profile @realiferenovation to see the final reveal (it’s already posted 😉)
Performance
Video #16778 · Vlog
[01]
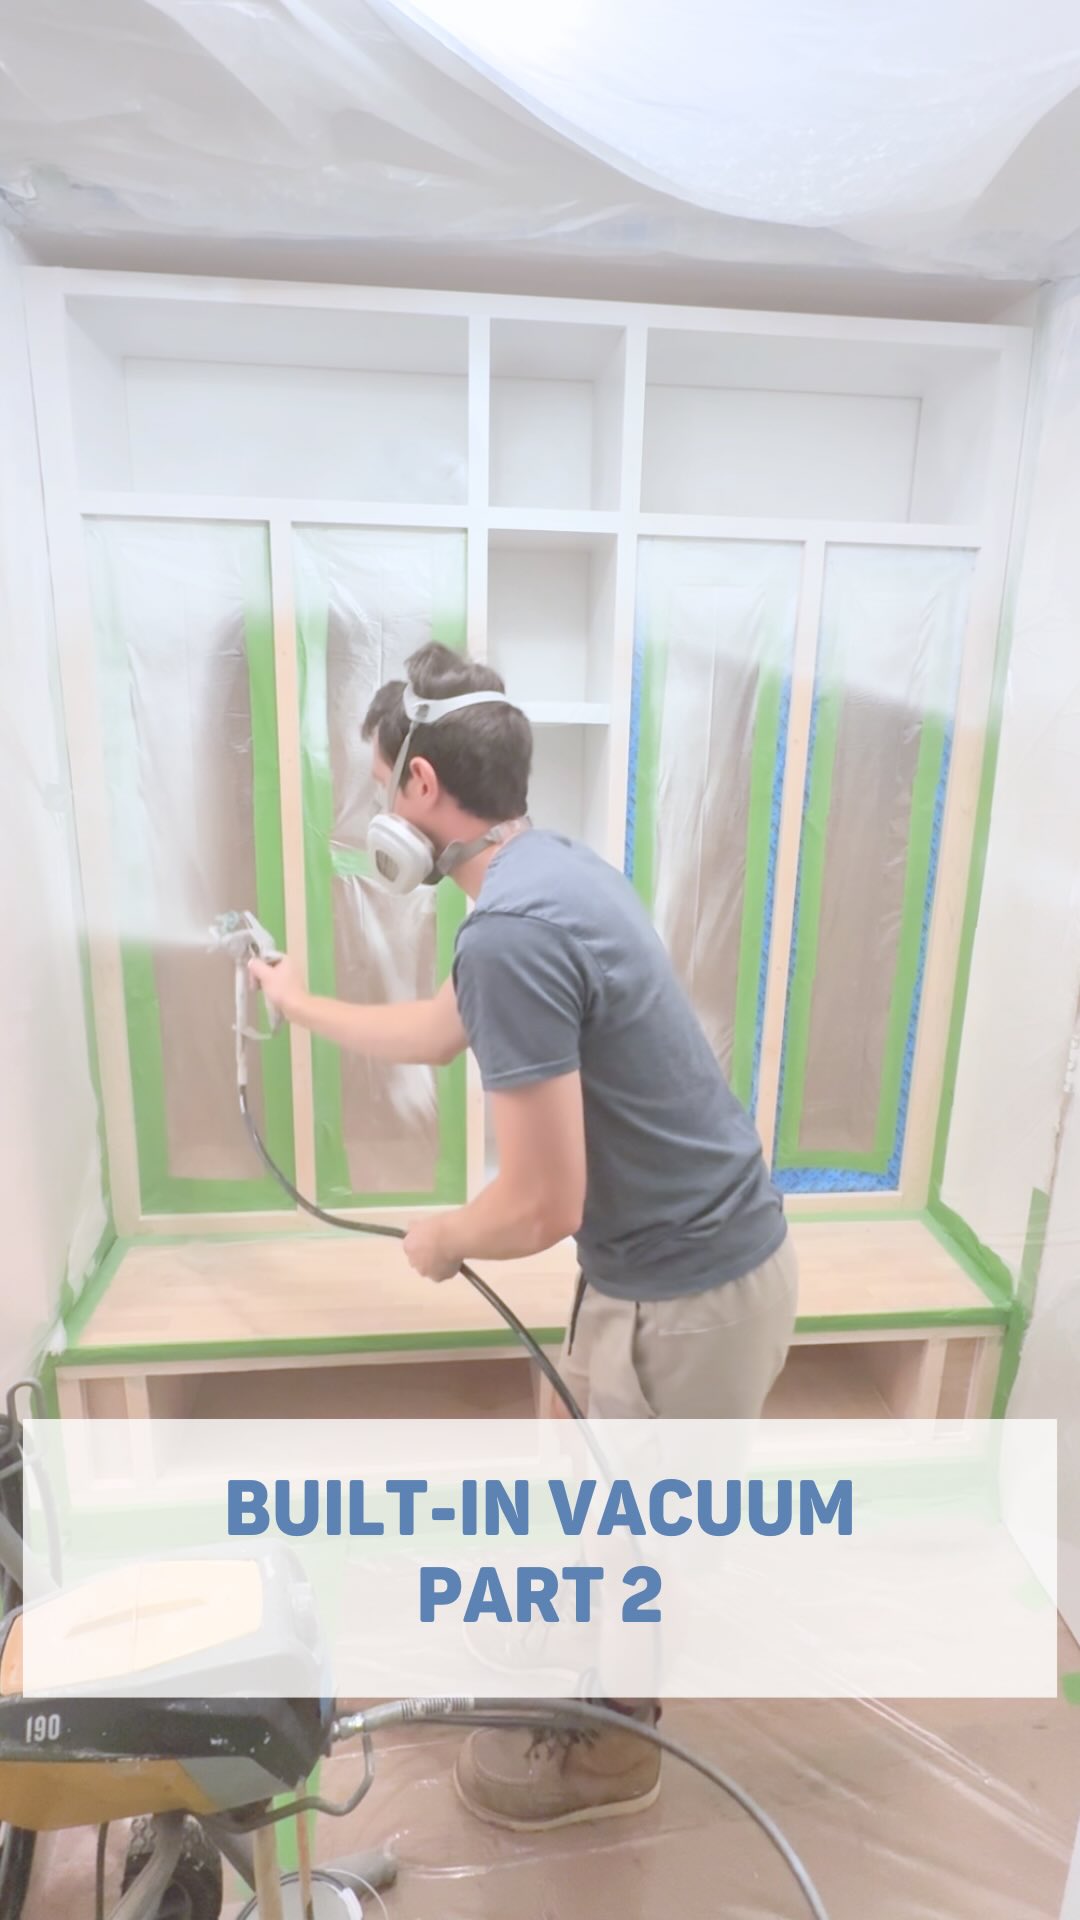
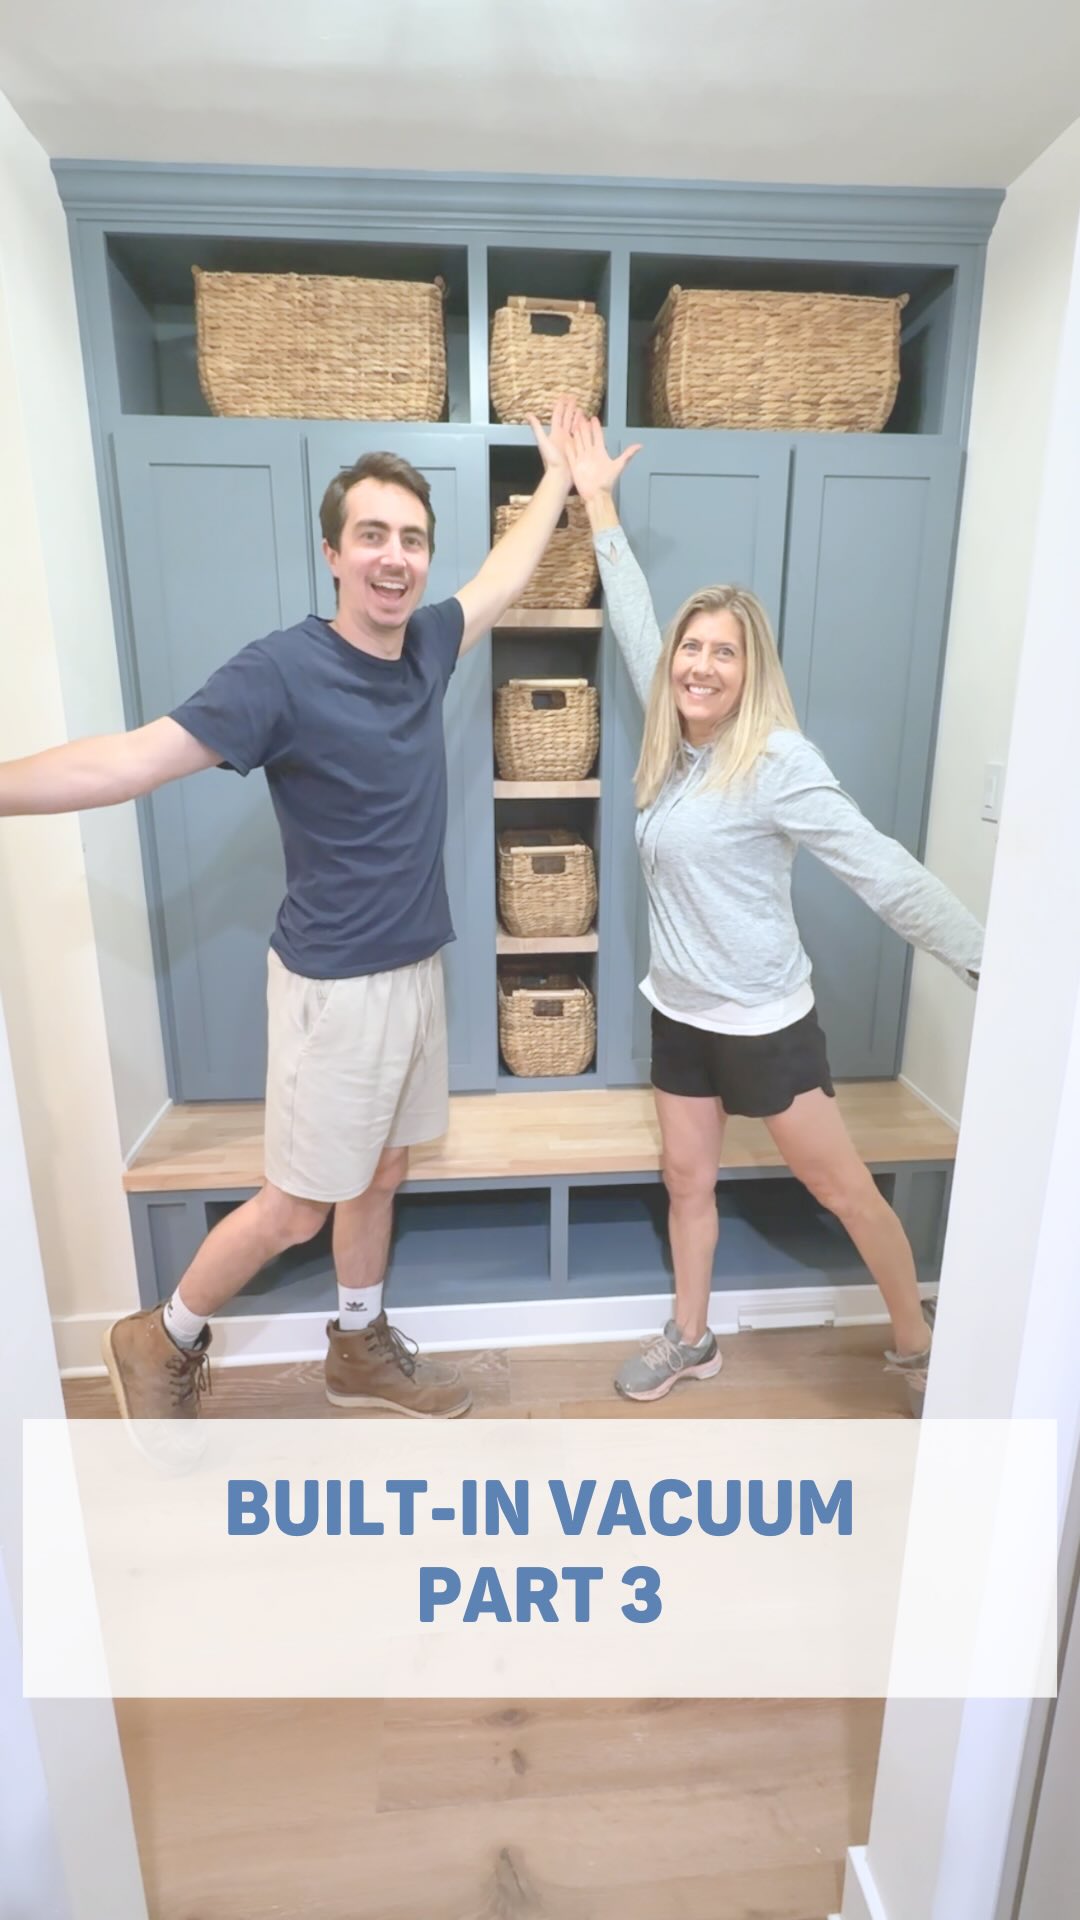
The creator provides a recap of day one of a DIY built-in vacuum and mudroom project, then proceeds with day two's tasks. He builds custom shaker-style cabinet doors from scratch to save money, explaining his process. He then uses a paint sprayer to paint the doors and the main locker unit, highlighting the efficiency of the tool before discovering he made a mistake by getting paint overspray on his garage floor. After expressing frustration over the mistake, he moves on to adding the finishing touches like hinges and handles, and concludes by directing viewers to his profile to see the final reveal video, which is already posted.
[02]
[03]
 1.8M1.6×DIY project recap and reveal@realiferenovation · Journey Documentation
 686.3KDIY house build progress vlog@buildwithbert · Journey Documentation
 12.2M9.7×DIY project with dramatic setback@realiferenovation · Journey Documentation
 2.5M1.4×DIY custom bathroom vanity build@buildwithbert · Journey Documentation
 1.6M6.4×Viral DIY project proves haters wrong@realiferenovation · Before/After Transformation
 1.9M1.4×Custom cabinet build process vlog@jennaphipps · Process
 981.3K1.2×Creator vlogs house building process@buildwithbert · Value Vlog
 1.2M1.4×DIY house build progress update@buildwithbert · Journey Documentation
 960.9K1.2×Creator documents home build progress@buildwithbert · Journey Documentation
 1.1MBuilding a custom closet organizer@buildwithbert · Before/After Transformation
 4.8MDIY home construction progress vlog@buildwithbert · Journey Documentation
 3M1.6×Building custom vanity from scratch@buildwithbert · Journey Documentation
[04]
[05]
What stops the scroll in the first 3 seconds
Title hook · 45%
Day 2 DIYing a built-in house vacuum
Verbal hook · 50%
Welcome back to day two of DIYing your own built in house vacuum to make all of your friends jealous of you.
Visual hook · 5%
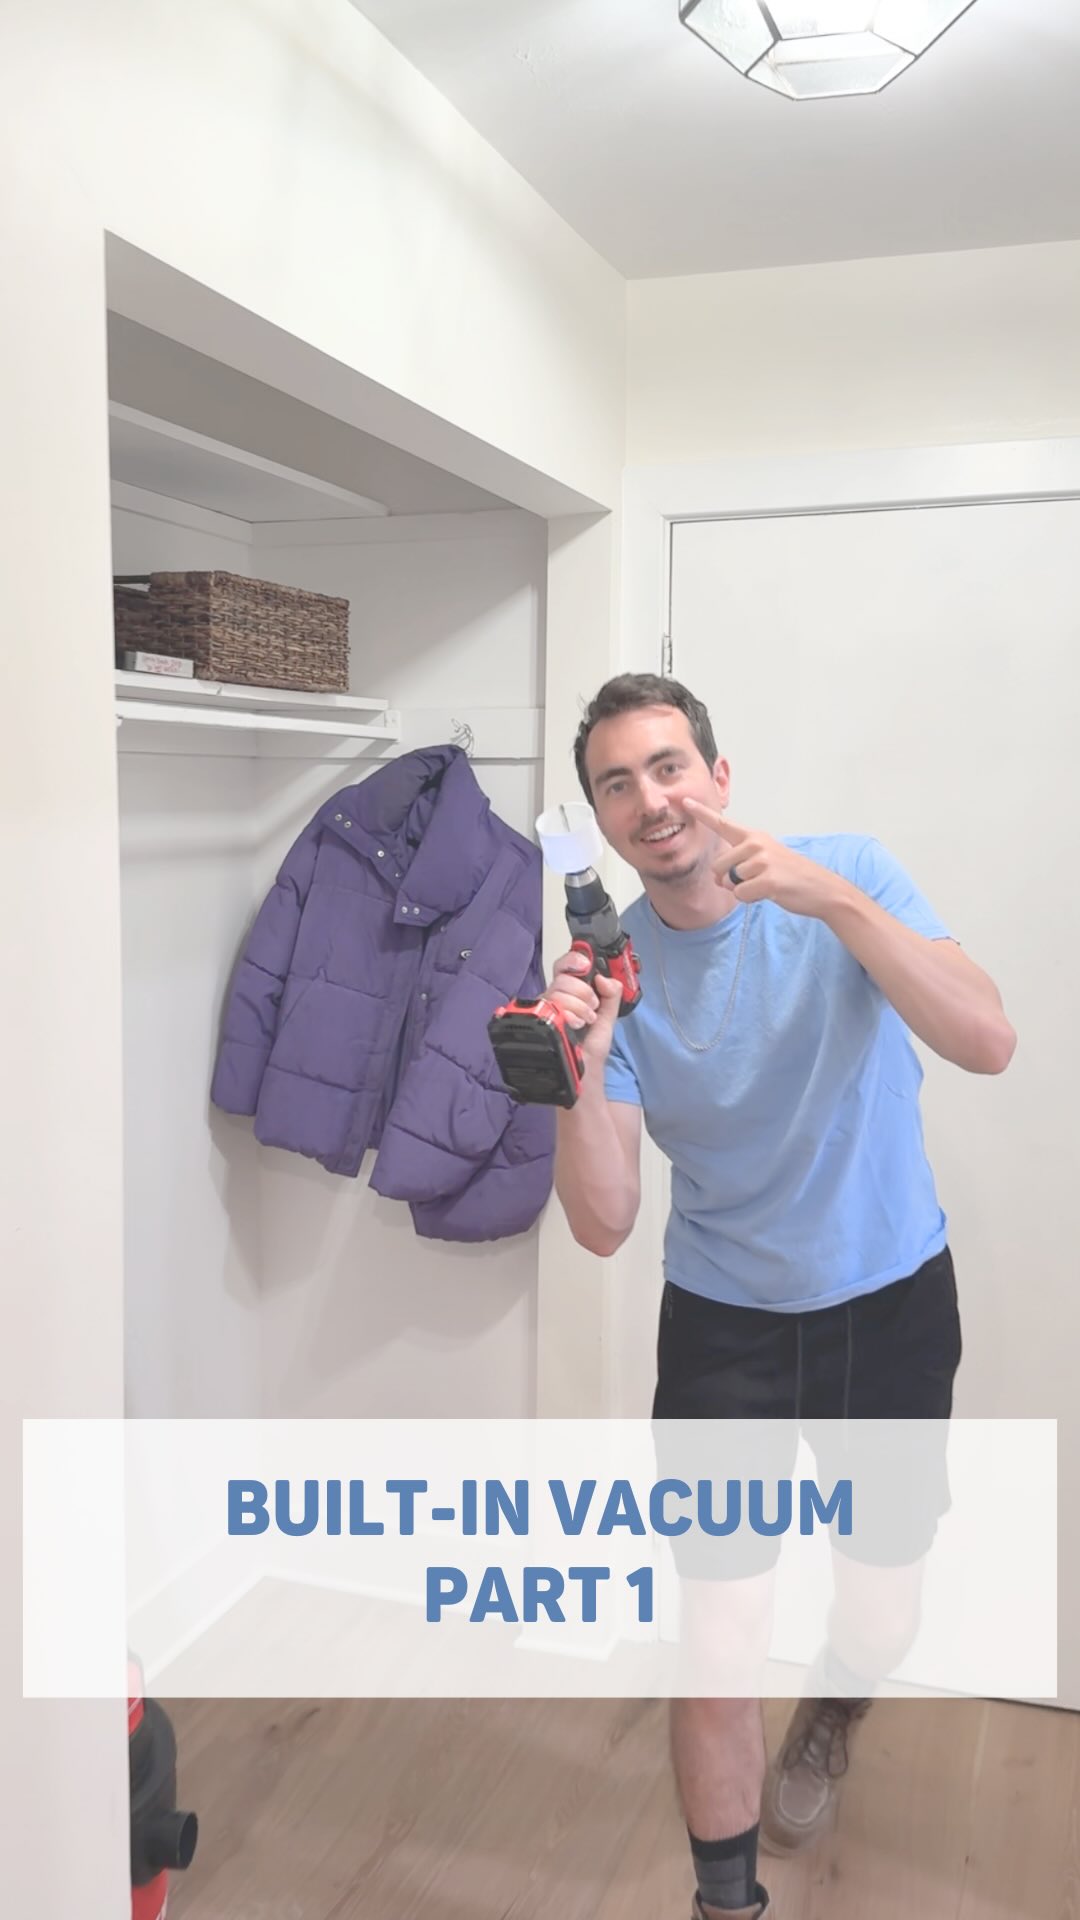
The creator stands energetically in a closet, smiling and pointing at the camera while holding a power drill with a large hole saw attachment, immediately signaling a hands-on DIY project.
[07]
The promise the opener makes, and how the video pays it back
Hook
A direct address that re-states the project's aspirational goal ('make all of your friends jealous') and sets the stage for the next phase of work ('Day 2').
Payoff
The Payoff Withholding. The video concludes just before the ultimate resolution of the main project. The creator explicitly tells the audience the result is available elsewhere and provides a direct call-to-action to view it, converting built-up anticipation into a specific engagement metric.
[08]
The structural pattern this video runs on
Framework
The Progress & Peril Loop
To document a multi-stage project by showcasing the successful completion of a difficult sub-task, only to reveal a major, unrelated setback before withholding the final project outcome to drive viewers to a subsequent video.
The Contextual Recap
A rapid-fire montage summarizing all previously completed steps to establish momentum and bring all viewers to the same point in the story.
The Necessary Detour
The introduction of a new, complex sub-goal (building cabinet doors) that must be completed before the main project can continue, adding a fresh layer of challenge.
The Stakes Justification
The creator provides a compelling reason for the detour (a high monetary quote), framing the effort as both smart and necessary, thereby increasing viewer investment.
The Vulnerability-to-Victory Arc
The creator confesses a lack of skill or experience related to the sub-goal ('never done this before'), performs the task while highlighting the difficulty, and ultimately succeeds, creating a mini-narrative of overcoming relatable doubt.
The Foreshadowing Turn
The narrator comments on how smoothly the project is progressing ('I'm feeling good... without any hiccups'), creating dramatic irony and signaling to the audience that a problem is imminent.
The Inevitable Setback
The reveal of a significant, self-inflicted mistake (paint overspray) that creates a new, major problem to be solved.
The Momentum Pivot
After acknowledging the setback, the creator consciously tables the new problem ('a problem for future Alex') to focus on completing the original goal, maintaining narrative drive while leaving a tension loop open.
Will the DIY built-in house vacuum work 👀 Click my profile @realiferenovation to see the final reveal (it’s already posted 😉)
title · beginning
Day 2 DIYing a built-in house vacuum
contextual · beginning
my mother-in-law and I demo'd the closet
contextual · beginning
tested our idea
contextual · beginning
pipes for dust collection
contextual · beginning
built a bench
contextual · beginning
built lockers
contextual · beginning
Today we see if it works!
contextual · beginning
But first let's build cabinet doors
informational · middle
was quoted $800 for 4 doors
contextual · middle
never done this before
call-to-action · middle
if you like DIY click the ❤️
contextual · middle
I hate math
contextual · middle
they actually look good!
informational · middle
saved $700
contextual · middle
my fave paint hack
informational · middle
you can paint both sides at once!
contextual · middle
Sherry prepped for paint
informational · middle
only took 3 minutes to spray!
contextual · middle
thing were going too well...
contextual · end
I'm so dumb...
contextual · end
paint overspray 😅
call-to-action · end
any tips??
contextual · end
the finishing touches 🥰
contextual · end
I can't fit it in one video BUT...
call-to-action · end
final reveal is already posted!
call-to-action · end
click my profile
Welcome back to day two of DIYing your own built in house vacuum to make all of your friends jealous of you. Yes, my mother-in-law and I demoed the closet, tested our idea to see if it could actually work, ran some pipe for the dust to go into the vacuum, built a best from scratch, and then built lockers on top of that. And today, we're finally gonna see if our DIY built in house vacuum actually works. But first, we gotta make this thing functional. So let's build some cabinet doors from scratch because I got a quote for tier. And I don't know about you, but that is just not in my budget. So I've never done it, but let's see if we can pull it off. Doing stuff like this is always scary to me because I'm not really an exact measurement type of guy. I'm more of a close enough type of guy and that doesn't really go well with cabinet doors, but I think I actually pulled it off. Part of me really wanted to stain these doors because I really wanted to showcase how good of a job I did as a woodworker. But once I got up really close, I was like, you know what? This could use Some caulk. Sherry spent three hours prepping these cabinets for paint, and I came in and painted the entire thing in just three minutes, which is why I love the sprayer. I'm not gonna lie. At this point in the project, I'm feeling good. I feel like I got through all the hard parts without any hiccups, and that is very rare. It wasn't until this moment that I realized I made one of my biggest DIY mistakes better. And the worst part is it's not even coming up with the power scrubber, so I don't know. I don't know. Looks like a problem for future Alex, but the show must go on. The finishing touches are what make this project special, but unfortunately, I just can't fit it all in one video. And I don't wanna make you have to wait, so I already posted a final review on my profile. All I have to do is tap my picture to go see it.