Viral Hooks
Trending short videosSecret room DIY project vlog
R

@realiferenovation

Instagram · Vlog

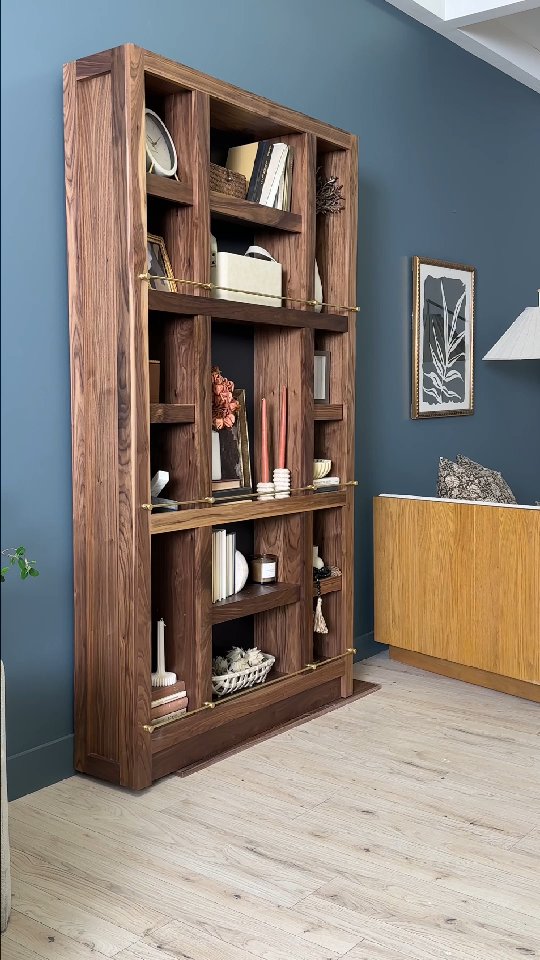
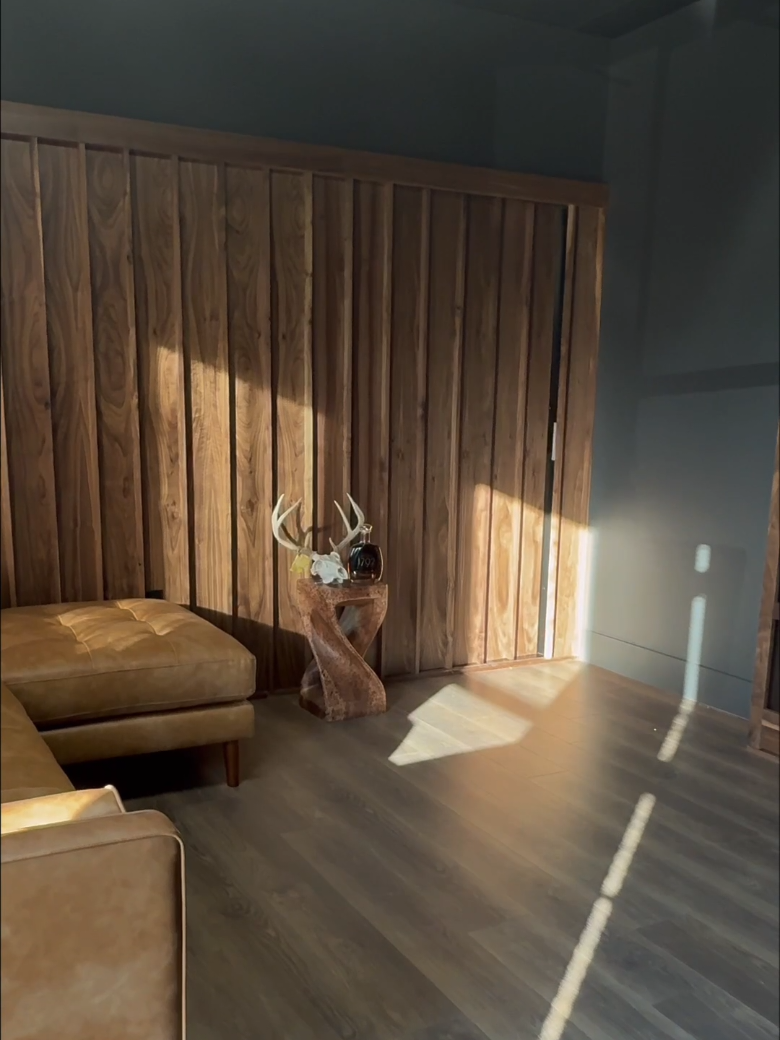
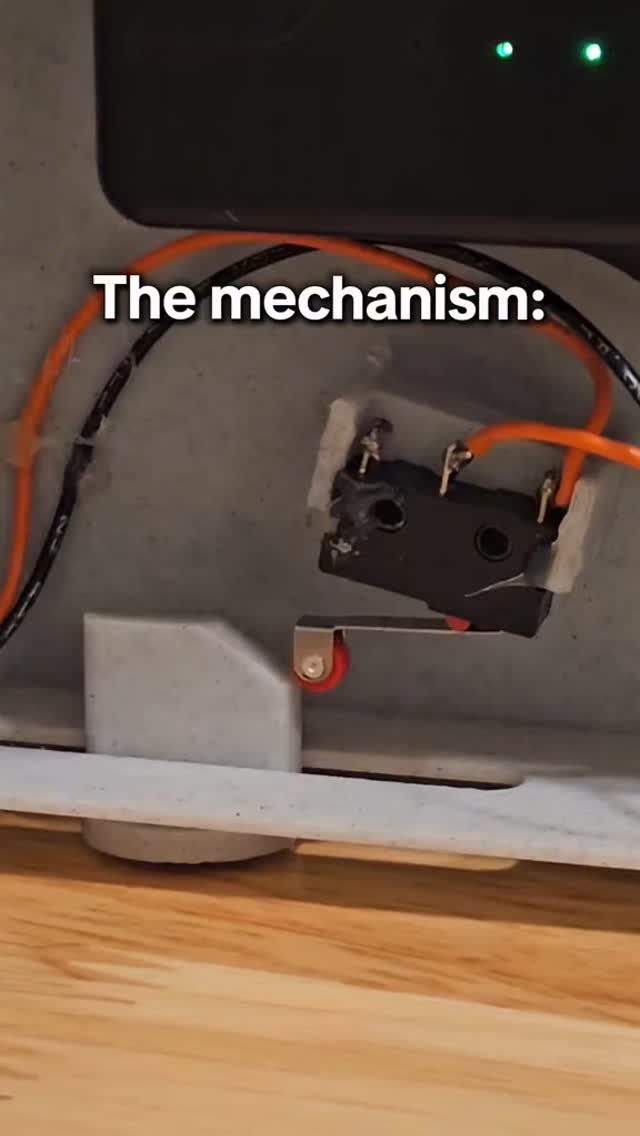
@realiferenovation #MicrosoftPartner How to build a secret room 🤫 PART 2 Step-by-step process (with costs) below 👇 1️⃣ Go watch Part 1 🎬 Seriously. It’ll make way more sense. Plus the cost breakdown for those items are on that post! 2️⃣ Reference your sketch or 3D model 📐💻 I used a 3D model on my @windows Copilot+ PC (22 hours of battery life came in very clutch). 3️⃣ Close it off 🔨 Cut and install the bookcase backing using ¼” mdf plywood ($15) — because a “secret” room you can see through? Not very secret. 4️⃣ Re-hang the door 🚪💫 Mount it back on the pivot hinges and make sure it still swings cleanly. 5️⃣ Prime & paint 🖌️🎨 I used the same color as our walls to help it blend in — but you do you. One quart of primer ($12) & one quart of paint ($12). 6️⃣ Add the secret latch 📚🗝️ I used a secret book kit I found online ($133) — pull the right book and boom, it opens. 7️⃣ Style it out 🛋️📦 Order your decor early so it arrives on time. My Copilot+ PC came through again — improved Windows search helped me track down missing files, and Click to Do (preview) made purchasing a breeze. 8️⃣ Trim it up 🪚📏 Install trim ($36) so it overhangs the inside edge of the bookcase ~½”. That’s the move that makes the door totally disappear. 9️⃣ Hide whatever you want behind it 😶‍🌫️🧳 Toys, tools, letters from the IRS of unpaid tax bills — no judgment. 🔟 Reveal it… or don’t 👀 Show your friends and flex your secret room 💪 Or keep it quiet, and let them keep walking right past it forever 🤫 If you want to learn more affordable DIYs that *YOU* can do to upgrade your home… 🚨FOLLOW me at @realiferenovation 🚨 and I’ll show you how! 💰TOTAL PROJECT COST: $474

View original on Instagram

The edit1 shot · 9 text
Shots Text

Performance

Views
778.3K
Likes
33.4K
Comments
122
Engagement
4.3%

Video #16854 · Vlog

Secret room DIY project vlogfrom @realiferenovation

[01]

Overview

The creator provides a step-by-step tutorial on how to finish building a secret bookcase door, starting from a pre-built frame. He demonstrates adding a back panel, installing a secret book latch mechanism, and adding trim for a seamless look, while integrating a sponsorship with Microsoft by using a Copilot+ PC to showcase 3D models and product search features. The video culminates in revealing the finished secret room, now a playroom, and capturing his young son's joyful reaction before showing the final mechanism in action.

[02]

Simple outline

  1. 1Reveal aspirational outcome
  2. 2Introduce a problem/obstacle
  3. 3Showcase a 'magic' solution
  4. 4Deliver emotional payoff
  5. 5Reinforce the transformation

[03]

Related videos

[04]

Classification

Format
Concepts
Tutorial / How ToValue Vlog
Elements
B-Roll CutawayMontage EditingScreen RecordingText OverlayVoiceover

[05]

Hook analysis

What stops the scroll in the first 3 seconds

Title hook · 45%

How to build your own ✨secret room✨

Verbal hook · 40%

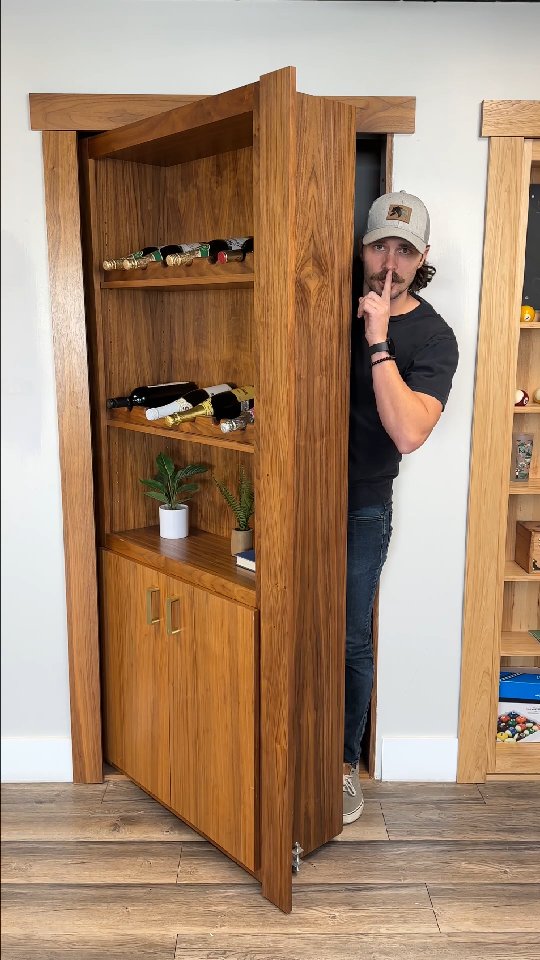
Here's how you can build your own secret bookcase door so you can make your room invisible to anyone that doesn't know about your very own secret key.

Visual hook · 15%

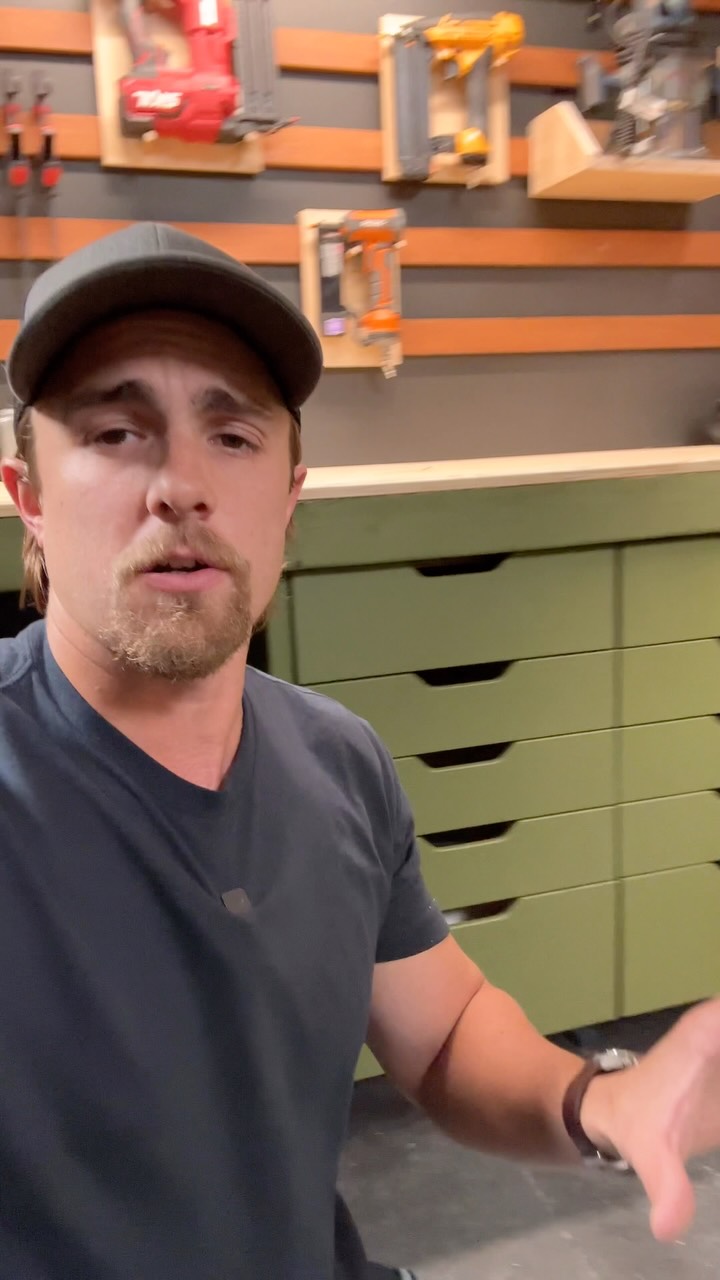
The creator is crouched down with a finger to his lips in a 'shushing' gesture, creating immediate mystery and intrigue in front of a bookcase that is slightly ajar.

[07]

Hook and payoff

The promise the opener makes, and how the video pays it back

Hook

Immediately demonstrate the finished, highly desirable outcome in a 'magical' way to establish the video's core promise and create instant aspiration.

Payoff

Conclude by showcasing the complete before-and-after transformation, demonstrating the 'magic' of the core gimmick one last time, and providing a clear call to action related to the key tool/product and the creator's channel.

[08]

Narrative framework

The structural pattern this video runs on

Framework

The Aspirational Project Blueprint

Demonstrating a complex, desirable project by showcasing the final result first, then walking through a non-linear, emotionally-driven narrative of its creation, integrating a sponsored product as a key enabler.

  1. 1

    The Context Bridge

    Briefly reference previous steps or a 'Part 1' to establish the project is already in motion, creating a sense of an ongoing journey and encouraging viewers to seek out more content.

  2. 2

    The Upgraded Premise

    Introduce a key tool or product that enables the project's most advanced or 'next-level' feature, framing it as essential to achieving the aspirational outcome.

  3. 3

    The Digital Blueprint

    Show the planning or design phase, demonstrating how the key tool/product facilitates the process and highlighting a specific, tangible benefit (e.g., speed, battery life, ease of use).

  4. 4

    The Imperfect State

    Reveal the project in its messy, incomplete 'before' state to establish a clear problem that the rest of the video will solve, thereby increasing the satisfaction of the final reveal.

  5. 5

    The Core Gimmick Installation

    Focus on the construction or implementation of the project's most unique and compelling feature, the 'secret sauce' that makes it special.

  6. 6

    The Humanizing Interruption

    Introduce a relatable, secondary problem that temporarily halts progress on the main project, serving as a narrative detour to showcase another aspect of the solution.

  7. 7

    The 'Hero' Solution Demo

    Demonstrate the key tool/product solving the secondary problem with ease, reinforcing its value in a practical, real-world scenario.

  8. 8

    The Emotional Stakes Countdown

    Explicitly build anticipation for the project's emotional purpose or impact, often using a visual countdown to heighten the tension before the climax.

  9. 9

    The Heartwarming Climax

    Deliver the emotional payoff by showing the positive human impact of the completed project (e.g., a loved one's happy reaction), connecting the technical process to a universal emotion.

Themes

  • Creativity
  • Family
  • Home Improvement

Techniques

  • Voiceover Narration
  • Montage Editing
  • Sponsored Content Integration

Trends

  • DIY Projects
  • Secret Rooms

Post caption

#MicrosoftPartner How to build a secret room 🤫 PART 2 Step-by-step process (with costs) below 👇 1️⃣ Go watch Part 1 🎬 Seriously. It’ll make way more sense. Plus the cost breakdown for those items are on that post! 2️⃣ Reference your sketch or 3D model 📐💻 I used a 3D model on my @windows Copilot+ PC (22 hours of battery life came in very clutch). 3️⃣ Close it off 🔨 Cut and install the bookcase backing using ¼” mdf plywood ($15) — because a “secret” room you can see through? Not very secret. 4️⃣ Re-hang the door 🚪💫 Mount it back on the pivot hinges and make sure it still swings cleanly. 5️⃣ Prime & paint 🖌️🎨 I used the same color as our walls to help it blend in — but you do you. One quart of primer ($12) & one quart of paint ($12). 6️⃣ Add the secret latch 📚🗝️ I used a secret book kit I found online ($133) — pull the right book and boom, it opens. 7️⃣ Style it out 🛋️📦 Order your decor early so it arrives on time. My Copilot+ PC came through again — improved Windows search helped me track down missing files, and Click to Do (preview) made purchasing a breeze. 8️⃣ Trim it up 🪚📏 Install trim ($36) so it overhangs the inside edge of the bookcase ~½”. That’s the move that makes the door totally disappear. 9️⃣ Hide whatever you want behind it 😶‍🌫️🧳 Toys, tools, letters from the IRS of unpaid tax bills — no judgment. 🔟 Reveal it… or don’t 👀 Show your friends and flex your secret room 💪 Or keep it quiet, and let them keep walking right past it forever 🤫 If you want to learn more affordable DIYs that *YOU* can do to upgrade your home… 🚨FOLLOW me at @realiferenovation 🚨 and I’ll show you how! 💰TOTAL PROJECT COST: $474

Text overlays

  • branding · beginning

    #MicrosoftPartner

  • title · beginning

    How to build your own ✨secret room✨

  • informational · middle

    thanks to my Copilot+ PC (up to 22 hours of battery life!)

  • contextual · middle

    ✨this is where the MAGIC✨ happens

  • informational · middle

    improved Windows search

  • informational · middle

    Click to Do (preview)

  • contextual · end

    Camden's reaction incoming in: 3 2 1

  • call-to-action · end

    Click FOLLOW for more affordable DIYs

  • call-to-action · end

    link in bio for Copilot+ PCs

Transcript

Here's how you can build your own secret bookcase door no you can make your room invisible to anyone that doesn't know about your very own secret key. In part one, I showed you how to make all of your friends jealous of you by throwing out your old basic door and building your secret room to right here. And now I'm partnering with Microsoft to show you how easy it is to take it to the next level, where the only way to enter into your room is with your very own secret book. Now to show you how it all works together in your doorway, I created a three d model on my CoPilot Plus PC, and let me tell you, the battery life on this thing is insane. Now currently, your secret door is giving you less privacy than a bathroom stall, but that's okay because this is where the magic happens. While I was tackling the secret book latch, Kylie was designing our son's secret hideout, but she couldn't find any Versailles files. So I paused with the book to play tech support. But luckily with improved Windows search, all you have to do is remember something random within the file like car rug and boom, your Copilot plus PC will find the exact map. And with click to do, it's so easy to find any item from a picture and purchase it with just one click. And after all this work, I just really hope he loves this room. But before I show you his reaction, we have one last finishing touch to finally make this our little secret. No, of course, I'm not gonna rob you of showing you how this secret door worse, but can we just take a second to appreciate how much my son loves this? This is not an expensive or difficult DIY. Plus, I mean, every single person you know will be jealous of you for this, so try it out and don't forget to click the link in my bio to shop and learn more about Copilot Plus PCs.