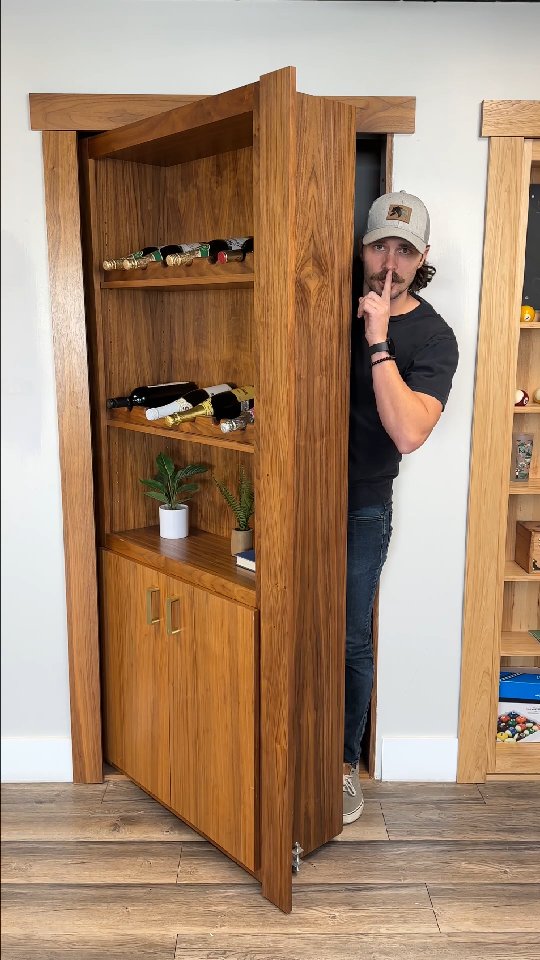
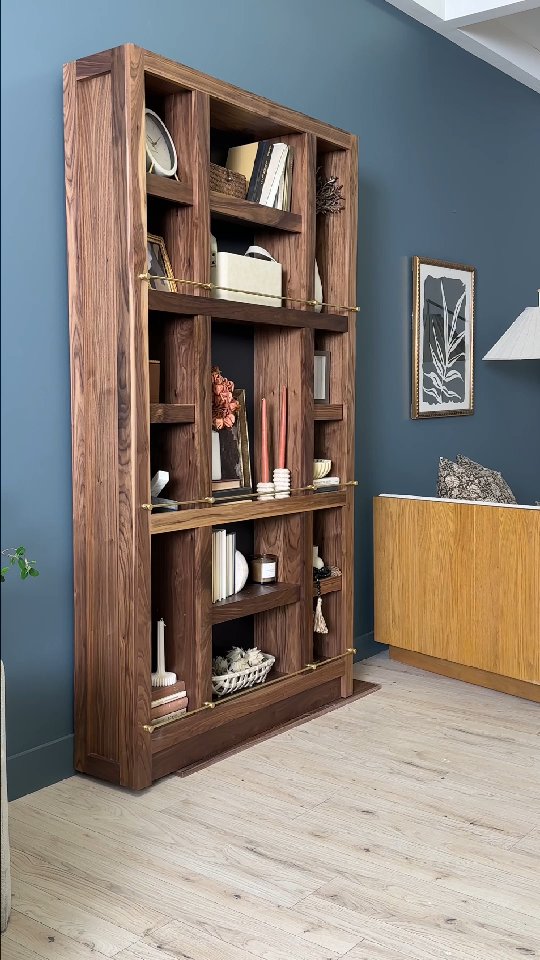
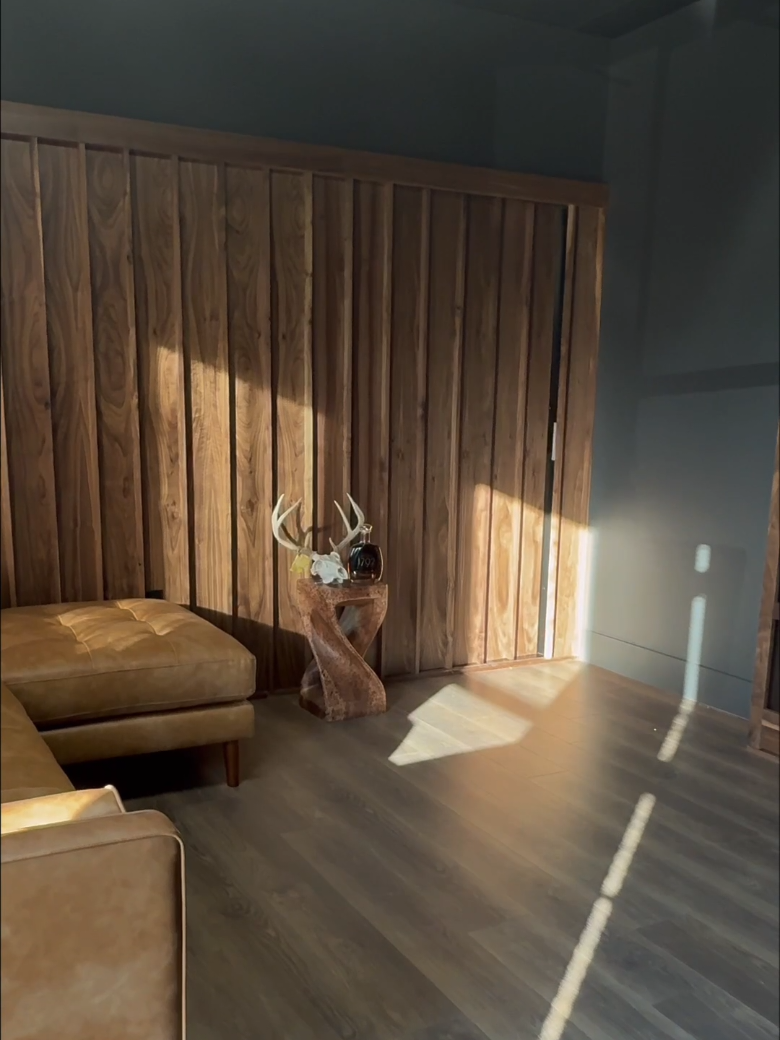
The creator provides a step-by-step tutorial on how to build a secret room with a bookshelf door. He starts by showing the final concept, then emphasizes the importance of planning for the door to blend in, promoting a Microsoft Copilot+ PC feature to visualize this. He then walks through the initial construction steps: building the door frame, installing it, cutting shelves, assembling the bookcase, and testing the swing, all while involving his family and ending with a cliffhanger to drive viewers to Part 2.
Post caption
#MicrosoftPartner How to build a secret room 🤫
Step-by-step process (with costs) below 👇
1️⃣ Use Click to Do (preview)🧠💻
On my @windows Copilot+ PC, erase the door in a photo to preview a blank wall — helps make sure it actually blends.
2️⃣ Remove the door + trim 🚪🛠️
If you’re gonna build a secret room, the old door’s gotta go.
3️⃣ Build your new frame 🪚📏
Use 1x5s ($36) and pocket holes. Shim it ‘til it’s level — seriously, don’t skip this. Then install with screws/nails.
4️⃣ Test your swing space 📐🔩
Cut a test piece from a 1x8 and check your pivot hinge ($150) clearance. You’ll want ~1” clearance on each side so the bookcase swings without rubbing.
5️⃣ Build the bookcase 📚⚒️
Use 1x8s ($80) and pocket holes. Size the shelves how you want them. Make it your own.
6️⃣ Recall your inspo 🧠🔍
If your partner references “a tree shelf she saw” but didn’t save it — Recall (preview) will help you find it like a digital memory bank 😂
7️⃣ Mount the pivot hinge 🔧📦
Attach it to the frame and the bookcase in the same locations for a smooth swing.
8️⃣ Test the swing 🔁
Make sure nothing’s rubbing or catching. Better to adjust now than later.
9️⃣ Take it back off 😬
Trust me — you’ll see why…
🔟 Follow @realiferenovation for Part 2 🔐📽️
That’s where the real magic happens — hiding your door so no one even knows the room is there… except you 😉
Transcript
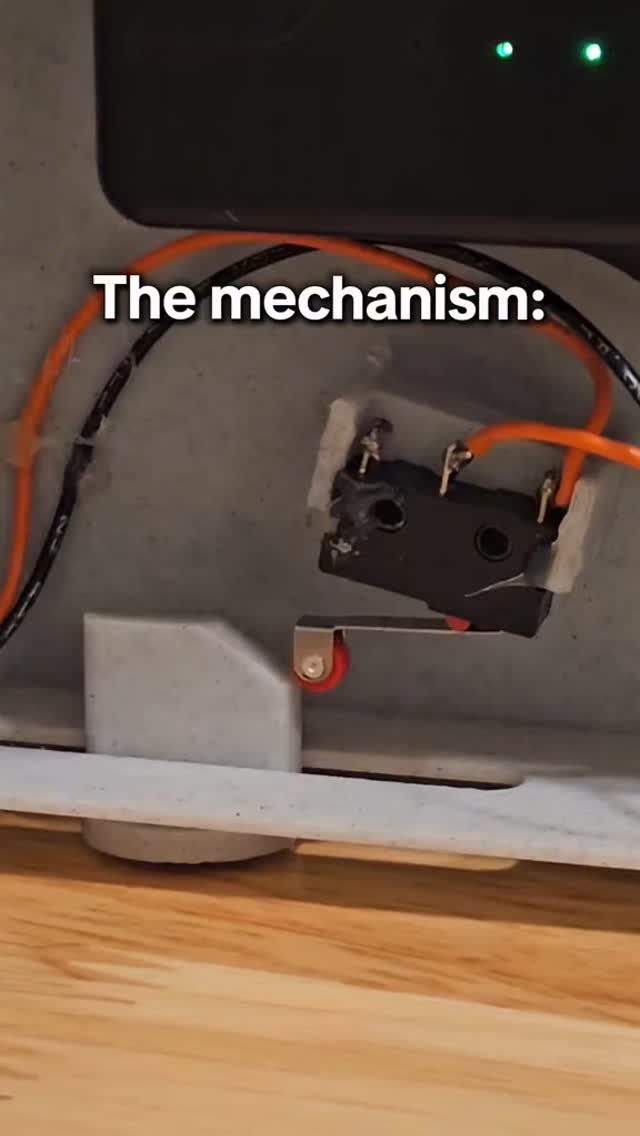
Here's how to make an entire room in your house disappear, and unless they know this secret, nobody will ever know it exists but you. Believe it or not, this project is actually super cheap and very beginner friendly to pull off. Even your mother-in-law can do it. And I'm partnering with Microsoft to show you how to build this too. But first, you need to make sure you don't make this giant mistake that could destroy your house before you even start building. The key is to make sure your secret entrance will blend in with your current home layout no no amount of DIY can hide that. And with your CoPilot yes PC, all you need is one click to erase objects from any photo that ever comes across your screen by using click to do. So once you confirm your secret entrance will blend in, it's time to actually build your bookcase. And I'm using my son to help because, after all, I am building this for him as a secret hideout from when his dad annoys him. Now I know what you're thinking. How is this door gonna be invisible? And more importantly, how is this door gonna work? It's actually really simple. That is until my wife stopped me to describe her Pinterest vision like I should just no. But thankfully, recall is your computer's own photographic memory, and it helped me find exactly what she saw based on what she was describing. And, you know, some things are just better left to the imagination. I may be using my Copilot plus PC to bring this project to life, but we're keeping this simple because I want you to build your own secret room too. It's better fit. So if you wanna see how this room becomes invisible and the only way to get in is with its secret good, then make sure you click follow right now for part two and check out the link in my bio to shop and learn more about the CoPilot Plus PC.