Viral Hooks
Trending short videosChair restoration process start to finish
K

@kylewilliamdesign

Instagram · Vlog

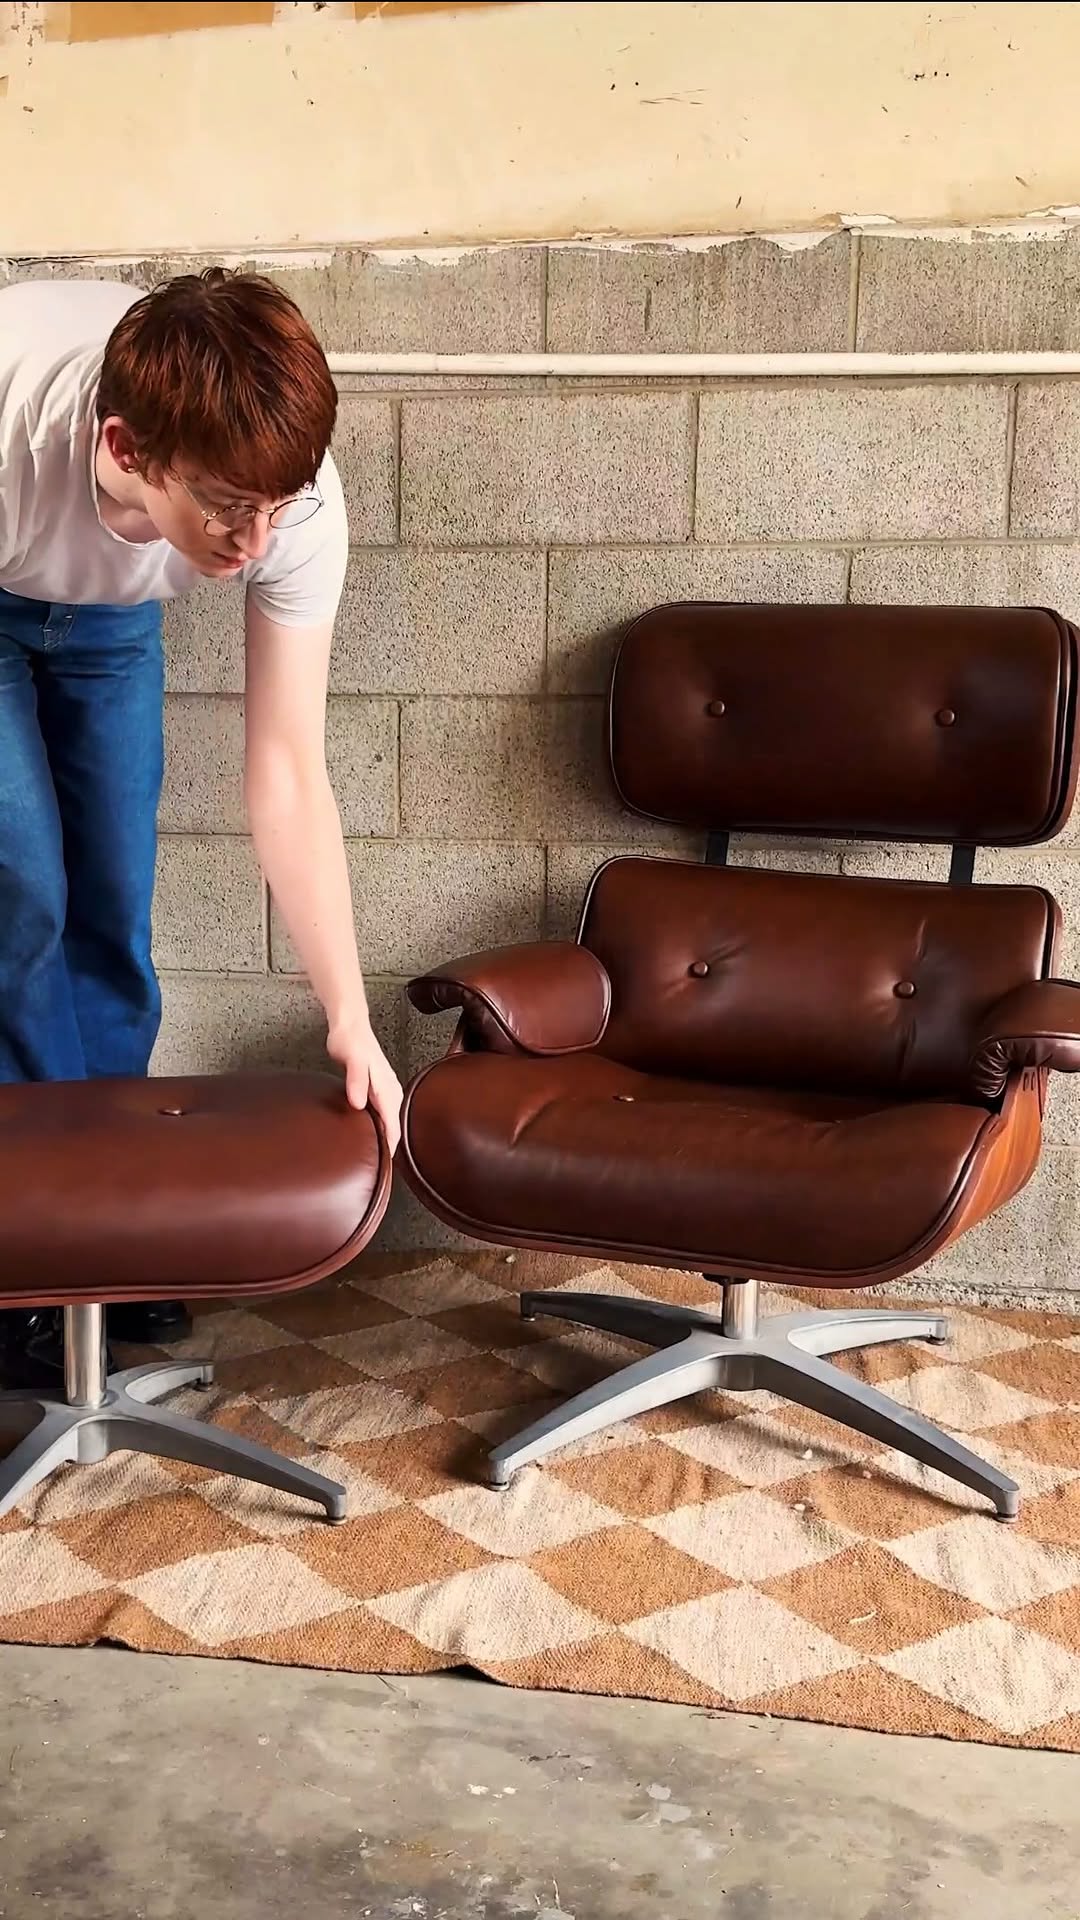
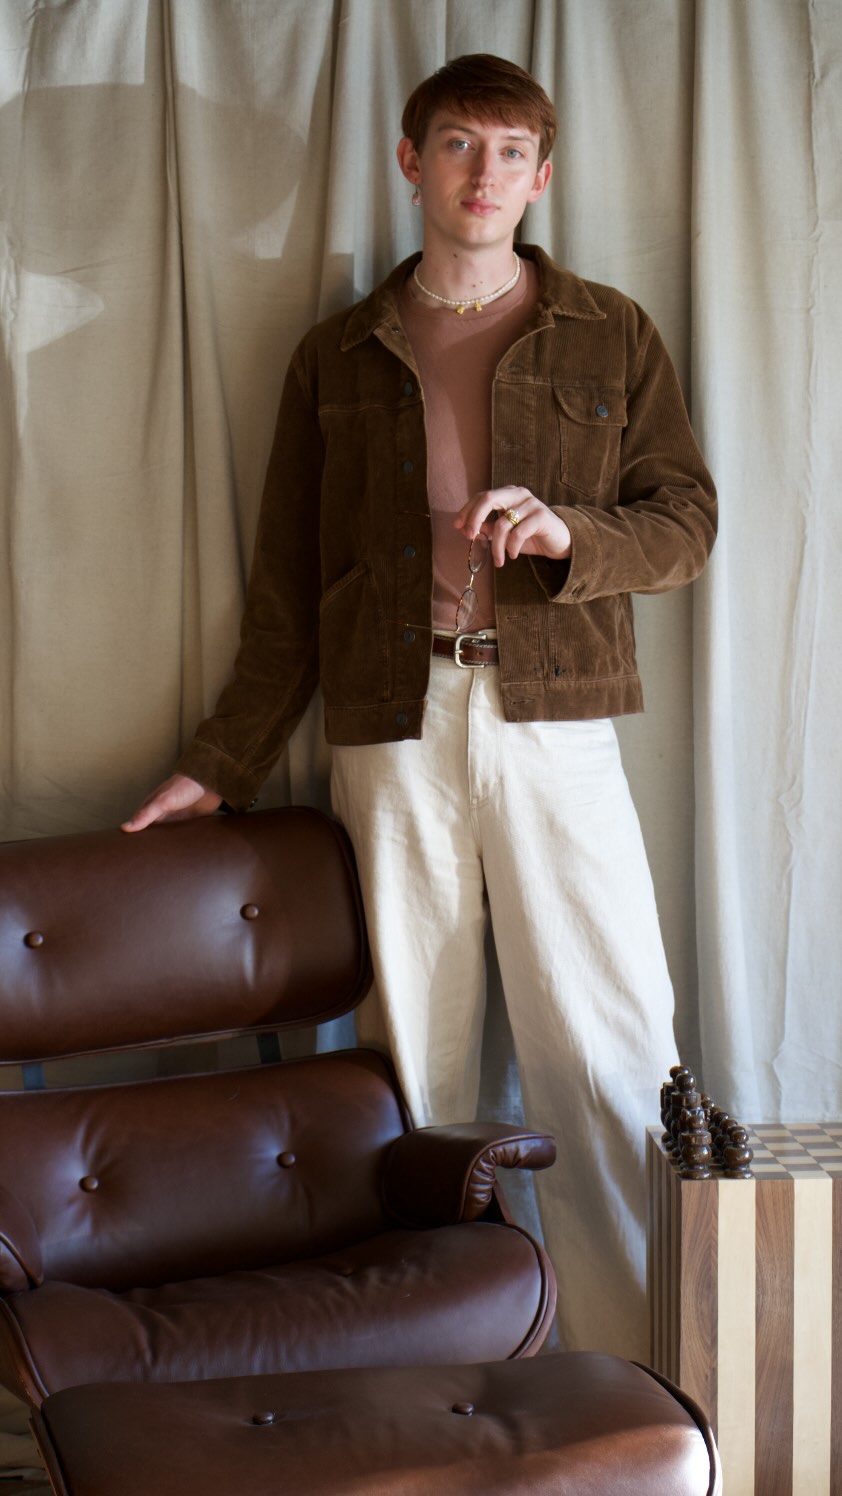
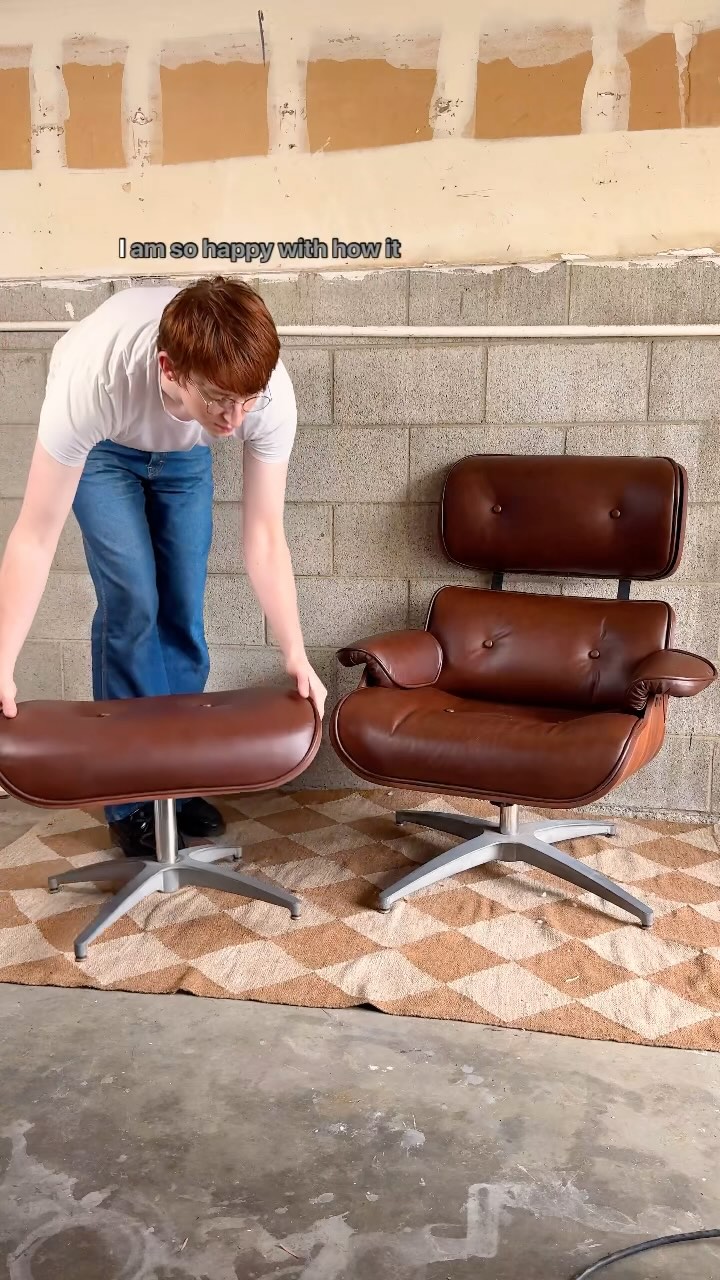
@kylewilliamdesign By popular demand here is part two of restoring an Eames STYLE Lounge Chair (Reproduction from the 70s)! This was my first time reupholstering something and I’m so happy with how it turned out!! Thank you to all the new followers that loved the first video! I spent the last two days working nonstop to finish this for you guys!! . . #mcm #eamesloungechair #mcmdecor #furnituremakeover #fyp #vintage #furnitureflip #furniture #decor #inspo

View original on Instagram

The edit1 shot · 12 text
Shots Text

Performance

Views
1M
Likes
94.2K
Comments
1.1K
Engagement
9.4%
Outlier
8.6×

Video #17420 · Vlog

Chair restoration process start to finishfrom @kylewilliamdesign

[01]

Overview

The creator restores a vintage Eames-style lounge chair and ottoman. He documents the entire process, starting with restoring the wood base, then completely reupholstering the cushions with new brown leather, including cutting patterns, stapling, sewing new cords, and hand-making new buttons. He concludes with a dramatic before-and-after reveal, showing the transformation from a worn-out black chair to a beautifully restored brown leather one.

[02]

Simple outline

  1. 1Re-establish project stakes
  2. 2Showcase the detailed process
  3. 3Reveal dramatic transformation
  4. 4Share emotional payoff

[03]

Related videos

[04]

Classification

Format
Concepts
Before/After TransformationProcessTutorial / How To
Elements
VoiceoverMontage Editing

[05]

Hook analysis

What stops the scroll in the first 3 seconds

Title hook · 25%

Welcome back to me restoring

Verbal hook · 25%

Welcome back to me restoring this vintage Eames style lounge chair.

Visual hook · 50%

A person stands next to a very worn-out, dilapidated black leather chair in a garage-like setting. The poor condition of the chair creates immediate curiosity about its potential transformation.

[07]

Hook and payoff

The promise the opener makes, and how the video pays it back

Hook

Re-engages a returning audience by restating the project's subject and initial 'before' state, immediately setting the context for the transformation to come.

Payoff

The final, lingering shots of the completed project, showcasing the high-quality details of the transformation from multiple angles, solidifying the sense of accomplishment and reward for the viewer.

[08]

Narrative framework

The structural pattern this video runs on

Framework

The Transformation Journey

To document a complex, multi-step restoration or creation process, culminating in a dramatic before-and-after reveal that provides deep viewer satisfaction by showcasing skill and effort.

  1. 1

    The Problem Escalation

    Defines the primary, complex challenge of this specific chapter of the project, elevating the stakes beyond what was previously established or shown.

  2. 2

    The Strategic Teardown

    Demonstrates the methodical preparation for the main task by deconstructing the original object to create a template, showcasing foresight and skill.

  3. 3

    The Craftsmanship Montage

    A rapid-fire sequence of visually distinct and skillful actions that condenses a long, laborious process into an engaging and satisfying montage, proving the creator's expertise.

  4. 4

    The Effort Summary

    A narrative bridge that verbally summarizes the immense effort invested, building a final moment of anticipation before the visual payoff.

  5. 5

    The 'Before & After' Payoff

    Delivers the core satisfaction through a direct visual comparison of the initial state versus the final, transformed state.

  6. 6

    The Creator's Catharsis & Community Gratitude

    The creator expresses personal joy and satisfaction with the result and explicitly thanks the audience for their attention, closing both the project's emotional arc and the community feedback loop.

Themes

  • Transformation
  • Patience
  • Creativity
  • Upcycling

Techniques

  • Upholstery
  • Wood finishing
  • Sewing
  • Button making

Trends

  • Furniture flipping
  • Restoration content
  • ASMR-like process videos

Post caption

By popular demand here is part two of restoring an Eames STYLE Lounge Chair (Reproduction from the 70s)! This was my first time reupholstering something and I’m so happy with how it turned out!! Thank you to all the new followers that loved the first video! I spent the last two days working nonstop to finish this for you guys!! . . #mcm #eamesloungechair #mcmdecor #furnituremakeover #fyp #vintage #furnitureflip #furniture #decor #inspo

Text overlays

  • contextual · beginning

    Welcome back to me restoring this vintage Eam style lounge chair.

  • contextual · beginning

    I restored the wood base but it also needed to be completely reupholstered.

  • contextual · beginning

    I laid out all the existing pieces as a pattern on a large leather hide.

  • contextual · beginning

    I traced each piece leaving ample room for error.

  • contextual · middle

    I cut out the pattern and a new cotton liner.

  • contextual · middle

    I used a staple gun to attach the leather to the base.

  • contextual · middle

    I sewed new cords using the same leather and stapled them around the

  • contextual · middle

    I had to remake all the buttons which I did by using extra leather scraping it to make it thinner and using this button press.

  • contextual · middle

    I sewed them onto the cushion using a ridiculously large

  • contextual · end

    all of that effort and time took the chair from this to this.

  • contextual · end

    I am so happy with how it turned out and I am just so overwhelmed with all the attention the first part got.

  • contextual · end

    Thank you to everyone for following along and I hope that you love it as much as I do.

Transcript

Welcome back to me restoring this vintage Eames style lounge chair. I restored the wood best, but it also needed to be completely reupholstered. I laid out all the existing pieces as a pattern on a large leather hide. I traced each piece leaving ample room for error. I cut out the pattern and a new cotton liner. I yes a staple gun to attach the leather to the base. I sewed new cords using the same leather and stapled them around the cushion. Cushion. I had to remake all the buttons, which I did by using extra leather, scraping it to make it thinner, and using this button press. I sewed them onto the cushion using a ridiculously large needle. I did so much more to bring this piece back to life, but all of that effort and time took the chair from this to this. I am so happy with how it turned out, and I am just so overwhelmed with all the attention the first part got. Thank you to everyone for following along, and I hope that you love it as much as I do.

Chair restoration process start to finish | Viral Hooks