Viral Hooks
Trending short videosShowing the process of making a bench
H

@highdesertdesignweek

Instagram · Vlog

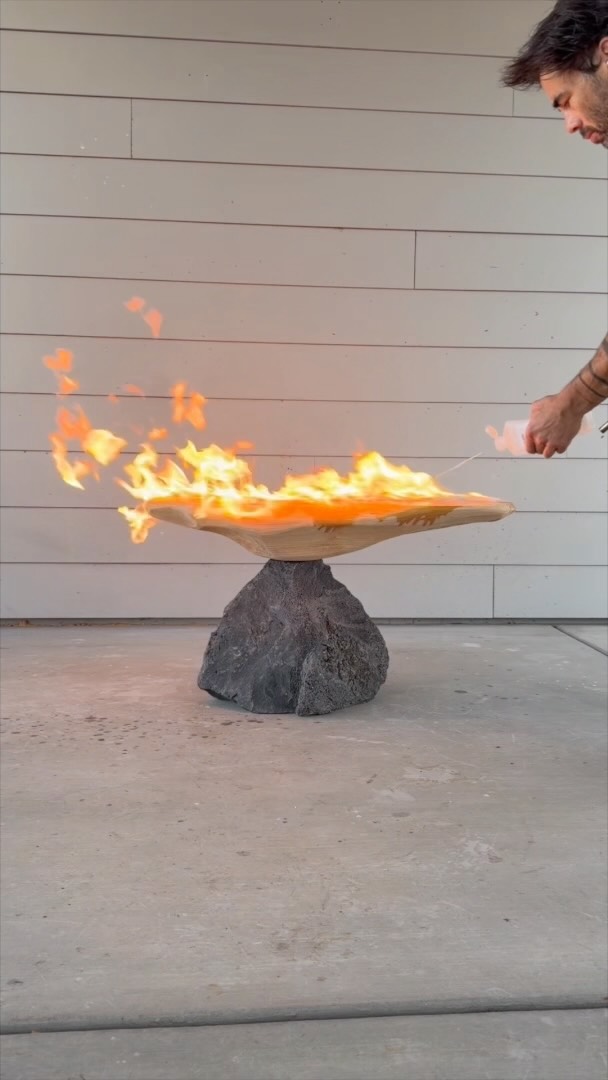
@highdesertdesignweek Carving rocks and wood to fit together with @ryobitoolsusa is as easy as cutting along the lines. The trick is in getting straight lines on rocks that rock shaped. Our next @highdesertdesignweek event is in January 2027 and it is a focused 4-day workshop at @reset.hotel where attendees will make a bench, coffee or side table out of stone and wood which will be provided. This will be a smaller event limited to 15 participants and will be focused on completing 1 project you can take home with you. We are putting the package together and will announce it soon right here on the HDDW account.

View original on Instagram

The edit1 shot · 0 text
Shots1:51

Performance

Views
1.7M
Likes
85.4K
Comments
412
Engagement
5.1%
Outlier
61.4×
Length · 23 Sept 2026
1:51

Video #43226 · Vlog

Showing the process of making a benchfrom @highdesertdesignweek

[01]

Overview

The creator demonstrates the process of building a unique bench by fitting custom-carved rocks and wood together. They start by showing the final assembly, then detail how they cut and shape a large rock into a precise square using an angle grinder and chisel. Next, they show the woodworking process, using a template and handheld power tools to cut the wooden components and create perfectly matching holes and notches, before finally assembling the entire piece.

[02]

Simple outline

  1. 1Reveal satisfying result first
  2. 2Isolate and solve hardest problem
  3. 3Show how first solution enables second
  4. 4Demonstrate accessible techniques

[03]

Related videos

[04]

Classification

Format
Concepts
ProcessTutorial / How ToSatisfying Process
Elements
VoiceoverMontage EditingTimelapseOverhead Shot

[05]

Hook analysis

What stops the scroll in the first 3 seconds

Verbal hook · 30%

Today, we're making rocks and wood fit together to make a bench.

Visual hook · 70%

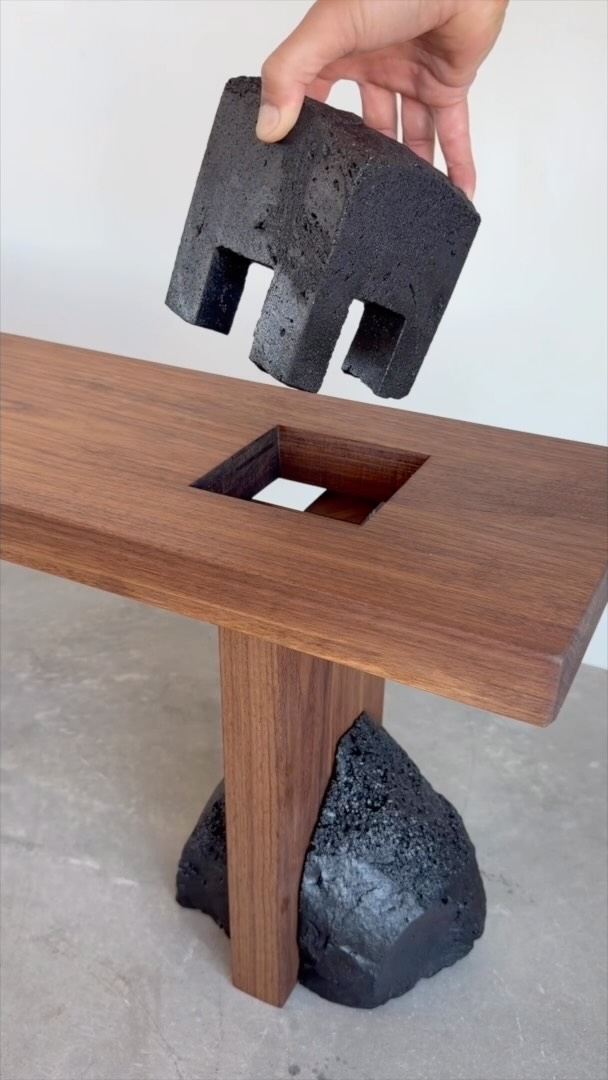
A hand precisely fits a custom-carved black rock into a perfectly cut square hole in a wooden bench, showcasing the final, satisfying connection.

[06]

Hook template

Steal this for your own video

In a tight close-up, a hand fits a [custom-shaped piece] into a [perfectly matching opening], revealing the [finished creation] before showing how it was made.

  • — In a tight close-up, a hand fits a carved stone into a perfectly matching opening in a wooden bench, revealing the finished bench before showing how it was made.
  • — In a tight close-up, a hand fits a puzzle-shaped tile into a perfectly matching opening, revealing the finished mosaic before showing how it was made.
  • — In a tight close-up, a hand fits a cut fabric panel into a perfectly matching opening in a quilt layout, revealing the finished quilt before showing how it was made.

[07]

Hook and payoff

The promise the opener makes, and how the video pays it back

Hook

The Reverse Reveal Hook: Begins with the final, satisfying assembly of the project, immediately showing the 'what' and creating curiosity about the 'how'.

Payoff

The intellectual satisfaction of understanding the complete, demystified process. The initial hook provides the visual payoff, while the narrative journey provides the 'how-to' value and feeling of empowerment.

[08]

Narrative framework

The structural pattern this video runs on

Framework

The Process Deconstruction

Demonstrating a complex creation process by starting with the satisfying result, then breaking down the most difficult step first in an accessible way, showing how solving it unlocks the rest of the project.

  1. 1

    The Premise & The Promise

    Clearly states the project's goal and immediately reframes its perceived difficulty as achievable ('it's easier than it looks'), inviting the viewer to learn the secret.

  2. 2

    The Primary Obstacle

    Isolates and focuses on the single most challenging and counter-intuitive part of the process first.

  3. 3

    The Chekhov's Gun Tool

    Introduces a simple, unassuming object or tool and explicitly tells the viewer it will be important later, creating an open narrative loop.

  4. 4

    The Gritty Process Montage

    A fast-paced sequence showing the raw, unglamorous work of overcoming the primary obstacle, often highlighting clever workarounds for tool limitations.

  5. 5

    The Quantified Milestone

    Signals the completion of the difficult first stage, often quantifying the effort (e.g., time, number of steps) to give a sense of scale and accomplishment.

  6. 6

    The Payoff of the Gun

    Closes the narrative loop by revealing the crucial role of the previously introduced simple tool, providing an 'aha' moment and transitioning to the next phase of the project.

  7. 7

    The Accessibility Statement

    Explicitly empowers the viewer by stating that the process can be done with basic, accessible tools, removing psychological barriers to entry.

  8. 8

    The Secondary Process Montage

    Demonstrates the second major part of the process, showing how the solution from the first part directly enables or simplifies this stage.

Themes

  • creativity
  • precision
  • handmade goods
  • natural materials

Techniques

  • stoneworking
  • woodworking
  • joinery

Post caption

Carving rocks and wood to fit together with @ryobitoolsusa is as easy as cutting along the lines. The trick is in getting straight lines on rocks that rock shaped. Our next @highdesertdesignweek event is in January 2027 and it is a focused 4-day workshop at @reset.hotel where attendees will make a bench, coffee or side table out of stone and wood which will be provided. This will be a smaller event limited to 15 participants and will be focused on completing 1 project you can take home with you. We are putting the package together and will announce it soon right here on the HDDW account.

Transcript

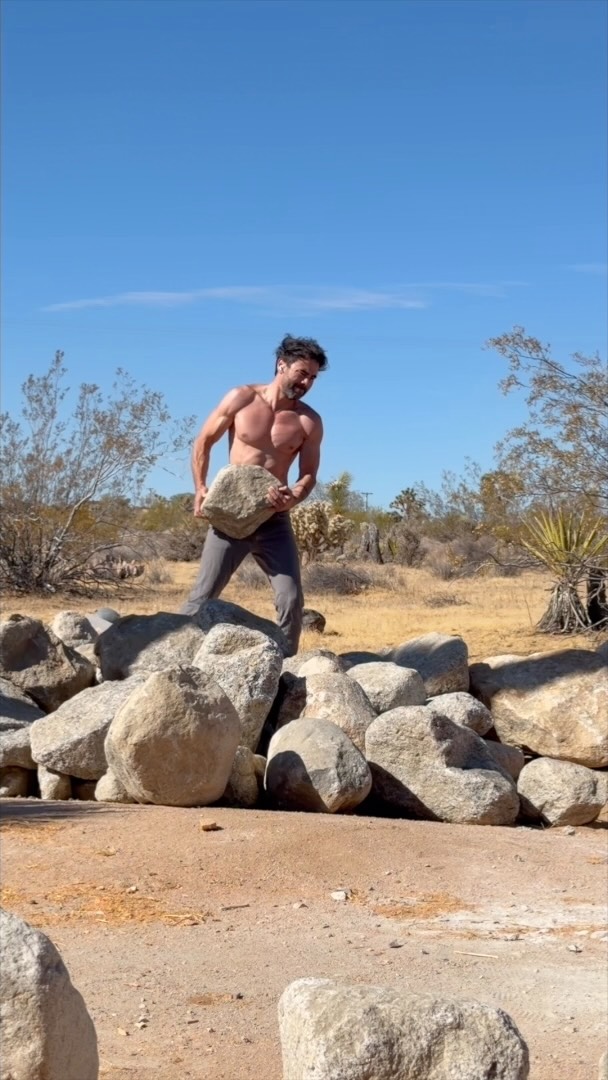
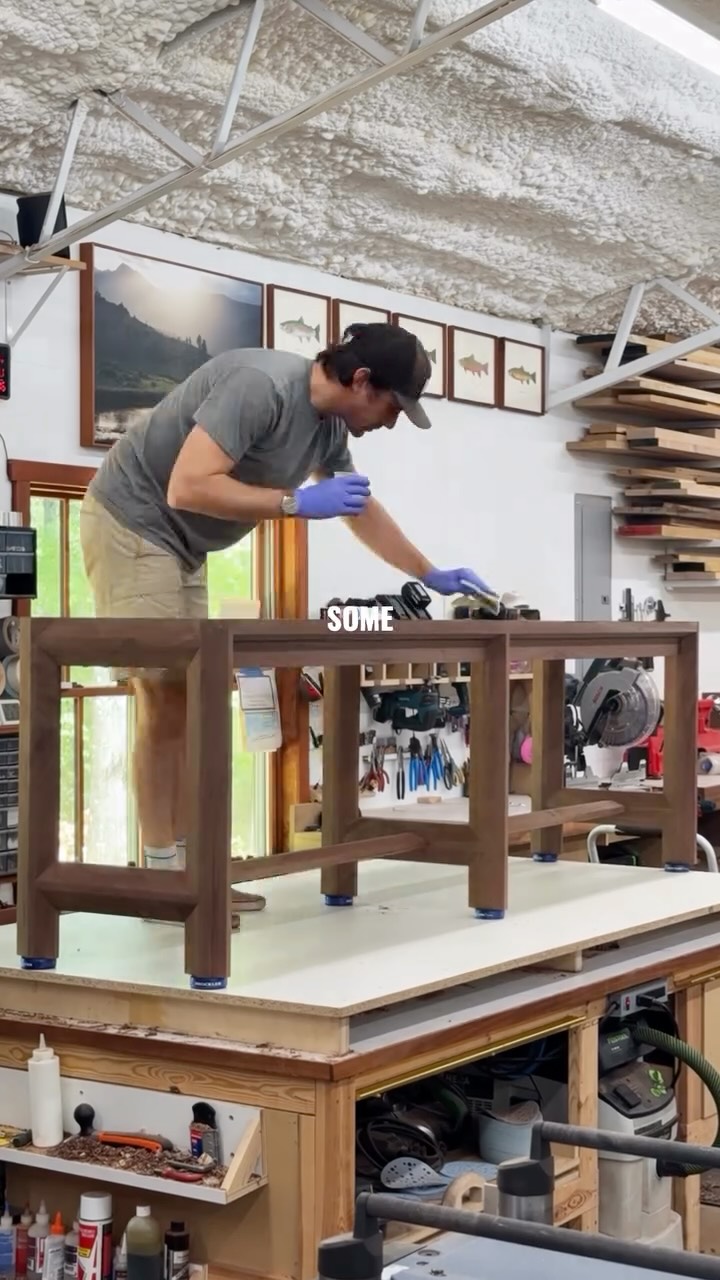
Today, we're making rocks and wood fit together to make a bench. I yes three rocks and there's three pieces of good. And believe it or not, this is easier than it looks. Let's start with the most difficult detail, which involves whittling down a rock shaped rock into a square. Remember this little square piece of particle board that I'm using to trace an outline on the rock? That's gonna come in handy later. I'm using my angle grinder just to follow the lines, but the blade isn't big enough to cut all the way through. So So I established the perimeter and then just cut a bunch of other lines so I can chip away with my hammer and chisel. It took me about forty five minutes to whittle this down to a rock square that matches the particle board square. Now I can build a template around that original square, check to make sure the rock fits, and start on the woodworking. You don't need a full wood shop to do woodworking because you can actually do a lot with a few basic handheld power tools. I cut the pieces with my circular saw, and now I can clamp down that template and use it as a guide for my palm router to cut a square shaped hole. There's some wood to wood connections as well. And for those notches, I just use my circular saw to make a bunch of little cuts that I can then chisel out. I want the wood to go