@flock_mfg
Instagram · Speaker address

@flock_mfg Here’s what’s required to hook up a GBA to your flock gauge

@flock_mfg
Instagram · Speaker address
@flock_mfg Here’s what’s required to hook up a GBA to your flock gauge
Performance
Video #12657 · Speaker address
[01]
The creator first presents an expensive commercial product that displays car sensor data on a Game Boy, then provides a step-by-step tutorial on how to create a much cheaper DIY version. He details the necessary components, demonstrates how to cut, test, and solder the wires using a pinout diagram, and shows the final connection and setup process, concluding with a call-to-action to buy a pre-made cable from his website.
[02]
[03]
 767.5K12.1×Showcasing a retro car gadget@flock_mfg · Show and Tell
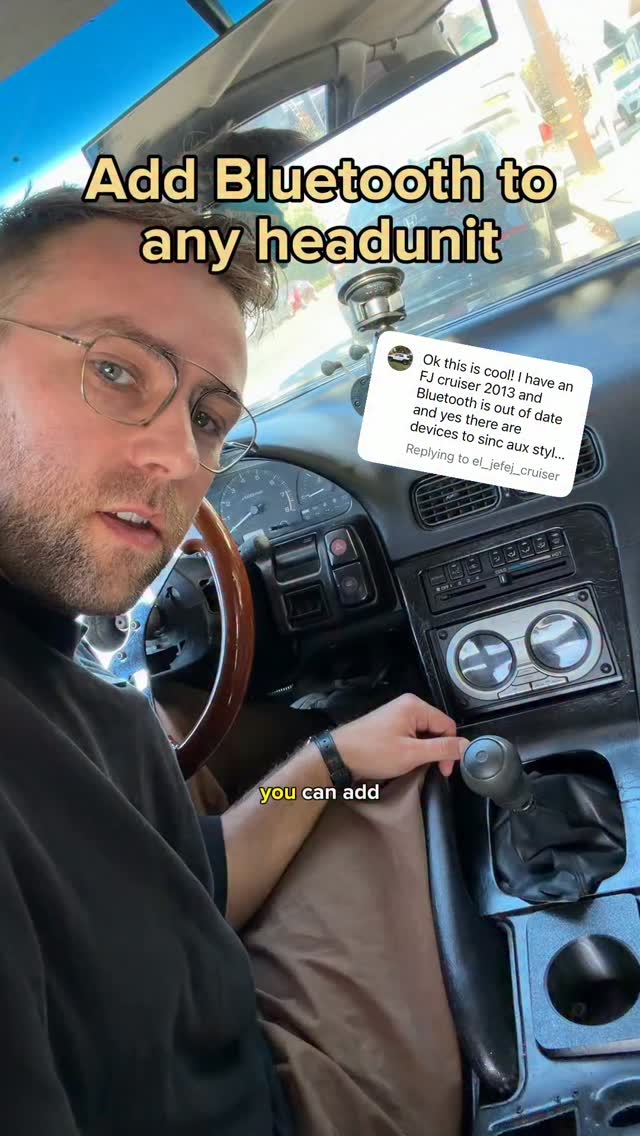 919.8K123.9×How to add Bluetooth to car@flock_mfg · Tutorial / How To
 713.8K77.2×Tutorial for PSP car gauges@flock_mfg · Tutorial / How To
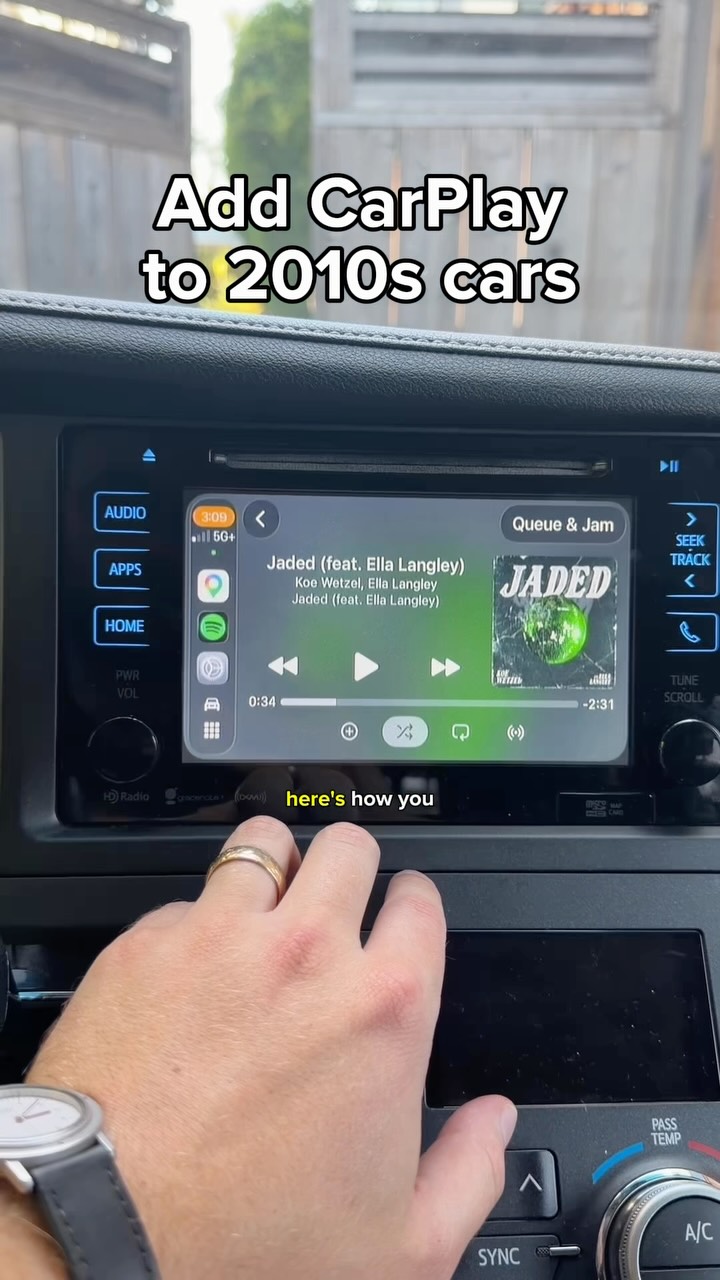 438.8K59.1×Problem-solution car tech guide@flock_mfg · Tutorial / How To
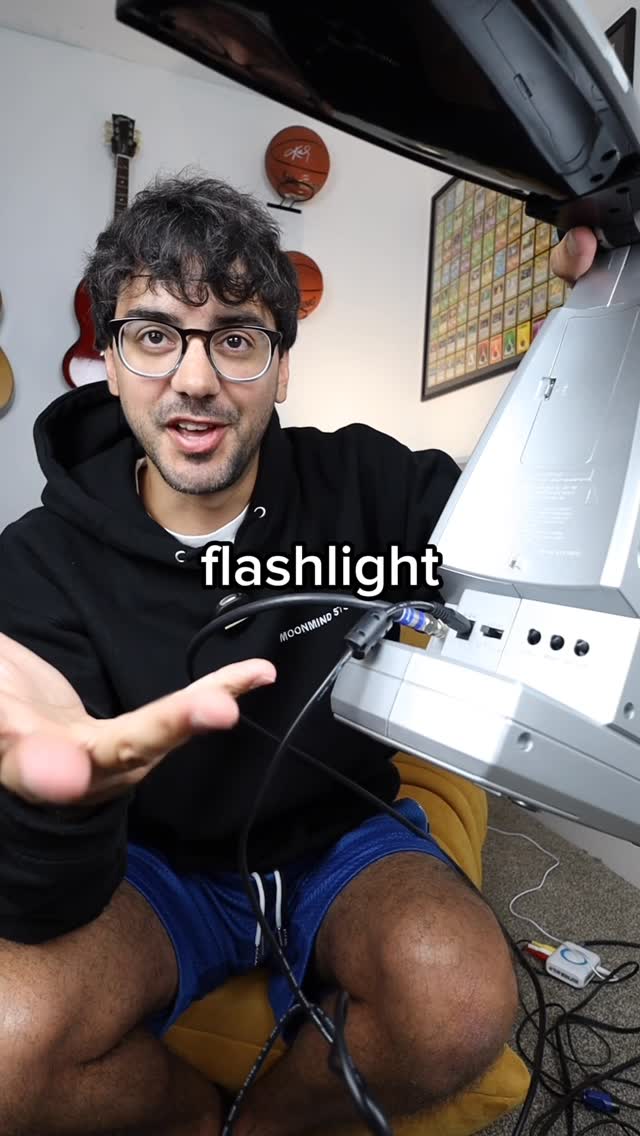 632.7KPlaying Mario Kart on flashlight TV@imsteviesells · Challenge
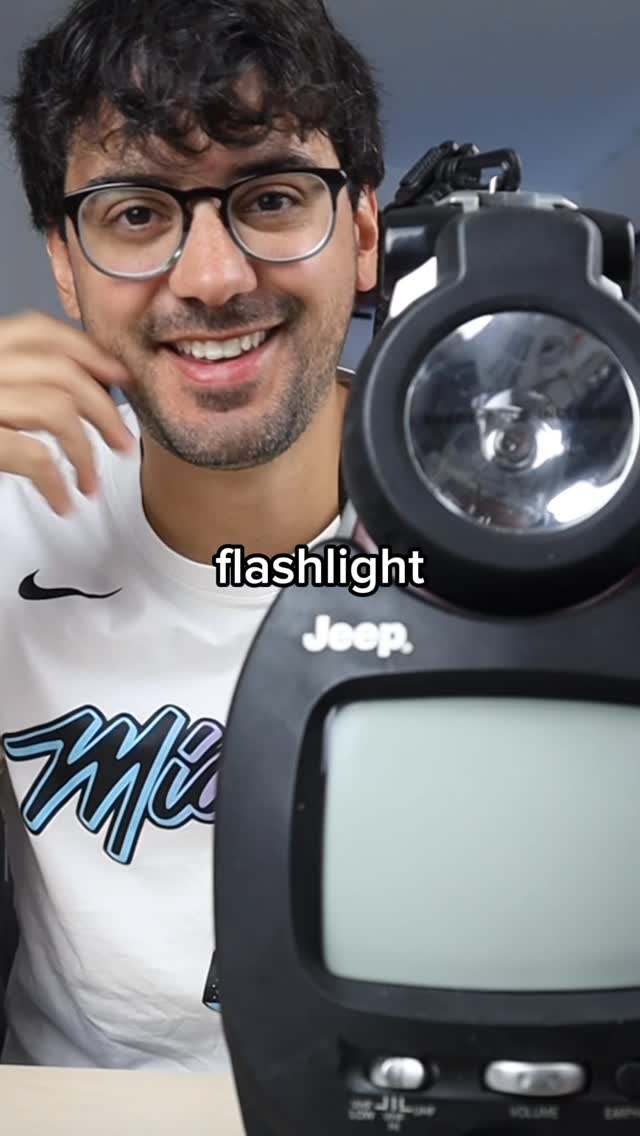 9.6M7.1×Testing vintage Jeep survival gadget@imsteviesells · Showcase
 7.1M25.5×Making a tennis ball that grunts@pablo.rochat · Process
 507.2KShows dream recorder build process@imsteviesells · Process
 395.7KCreator demos functional tiny TV@imsteviesells · Product Showcase
 1.5M98.9×DIY craft process start to finish@starface · Tutorial / How To
 432.9K1.7×Documenting a DIY tech project@covacut · Day X of Doing Y
 488.9K1.7×Creator shows custom tech build process.@covacut · Process
[04]
[05]
What stops the scroll in the first 3 seconds
Title hook · 45%
How to show your cars sensors on a Gameboy
Verbal hook · 35%
Cost $2,000 to show your gauges sensors on a Game Boy Advance.
Visual hook · 20%
A close-up shot of a hand interacting with a blue Game Boy SP mounted on a car's dashboard, which is actively displaying car sensor data like RPMs. This is a novel and visually intriguing application of a retro gaming device.
[07]
The promise the opener makes, and how the video pays it back
Hook
Juxtapose a highly desirable outcome with a prohibitively high barrier (cost, complexity), creating immediate intrigue and a problem for the viewer.
Payoff
Offer a convenient, pre-made version of the DIY solution as a direct call-to-action, capturing viewers who are interested in the outcome but not the process, often bundling it with an additional value-add.
[08]
The structural pattern this video runs on
Framework
The DIY Demystifier
Presenting an expensive or complex product/outcome and then providing a step-by-step guide to achieve it affordably through a DIY method, concluding with an offer for a pre-made solution.
The Aspirational Barrier
Showcase the final, impressive result while immediately revealing a significant obstacle, such as a high price tag, to establish a clear value proposition for a solution.
The DIY Promise
Explicitly state the video's purpose: to provide a cheaper, accessible, do-it-yourself alternative to overcome the previously established barrier.
The Component Rundown
Break down the project into a simple list of required, affordable components, making the solution feel tangible and achievable.
The Technical Walkthrough
Demonstrate the key hands-on steps of the assembly process, focusing on the most critical or difficult actions to build viewer confidence.
The Blueprint Reveal
Present a simplified visual guide (like a diagram or schematic) that clarifies the most complex part of the process, removing ambiguity and empowering the viewer.
The Final Connection
Show the physical integration of the newly created component with the larger system, visually connecting the DIY effort to the final outcome.
The Activation Sequence
Demonstrate the final, non-physical configuration or software step needed to make the entire system functional.
The Success Demonstration
Show the completed DIY project working perfectly, delivering the same aspirational result shown in the hook and providing a satisfying payoff.
Here’s what’s required to hook up a GBA to your flock gauge
title · beginning
How to show your cars sensors on a Gameboy
informational · middle
Link Cable
informational · middle
JST 2.0
Worst $2,000 to show your gauges sensors on a Game Boy Advance. I thought this was crazy. So let me show you how you can do this yourself. Worst, you need to get a Game Boy Advance link cable that has all the pins populated and I found the four player link cables tend to have all the pins populated. You also need a five pin Best two point no connector. Those are super cheap you can pick them up on Amazon. And now cut one of the link cables apart and you'll need to find which color wire goes to which pin. So use a multimeter for this. We'll need to connect these pins to these pins on the Best two point o connector and once you have the wires soldered up, you just connect one side to the gauge and one side to the Game Boy Advance link port. Now you just flip the switch in the flock gauge settings and the gauge will push the custom ROM to the Game Boy Advance on startup. If If you don't wanna make your own cable, you can pre order one on my site for $45. I also include a charging cable and adapter for the Game Boy Advance no you can have a more permanent setup.