@imsteviesells
Instagram · Vlog
@imsteviesells How I built my bedside dream recorder 🧠 @imsteviesells #tech #gadgets #diybuild #electronicsengineering #dreamrecorder

@imsteviesells
Instagram · Vlog
@imsteviesells How I built my bedside dream recorder 🧠 @imsteviesells #tech #gadgets #diybuild #electronicsengineering #dreamrecorder
Performance
Video #9576 · Vlog
[01]
The creator documents the step-by-step process of building a custom "dream recorder" device, starting from 3D printing the shell to assembling the Raspberry Pi electronics. He narrates the journey, highlighting challenges like incompatible connectors, before revealing the final functioning product with a screen animation.
[02]
[03]
 2.2M372.5×Process of making a fidget toy@starface · Process
 395.7KCreator demos functional tiny TV@imsteviesells · Product Showcase
 488.9K1.7×Creator shows custom tech build process.@covacut · Process
 571.6K56.6×3D modeling jewelry design process@mattborowczyk · Process
 432.9K1.7×Documenting a DIY tech project@covacut · Day X of Doing Y
 283.9K15.3×Documenting an iterative product design@buss.buss.busss · Process
 274.8K21.4×Founder introduces custom engineered product@screwellis · Origin Story
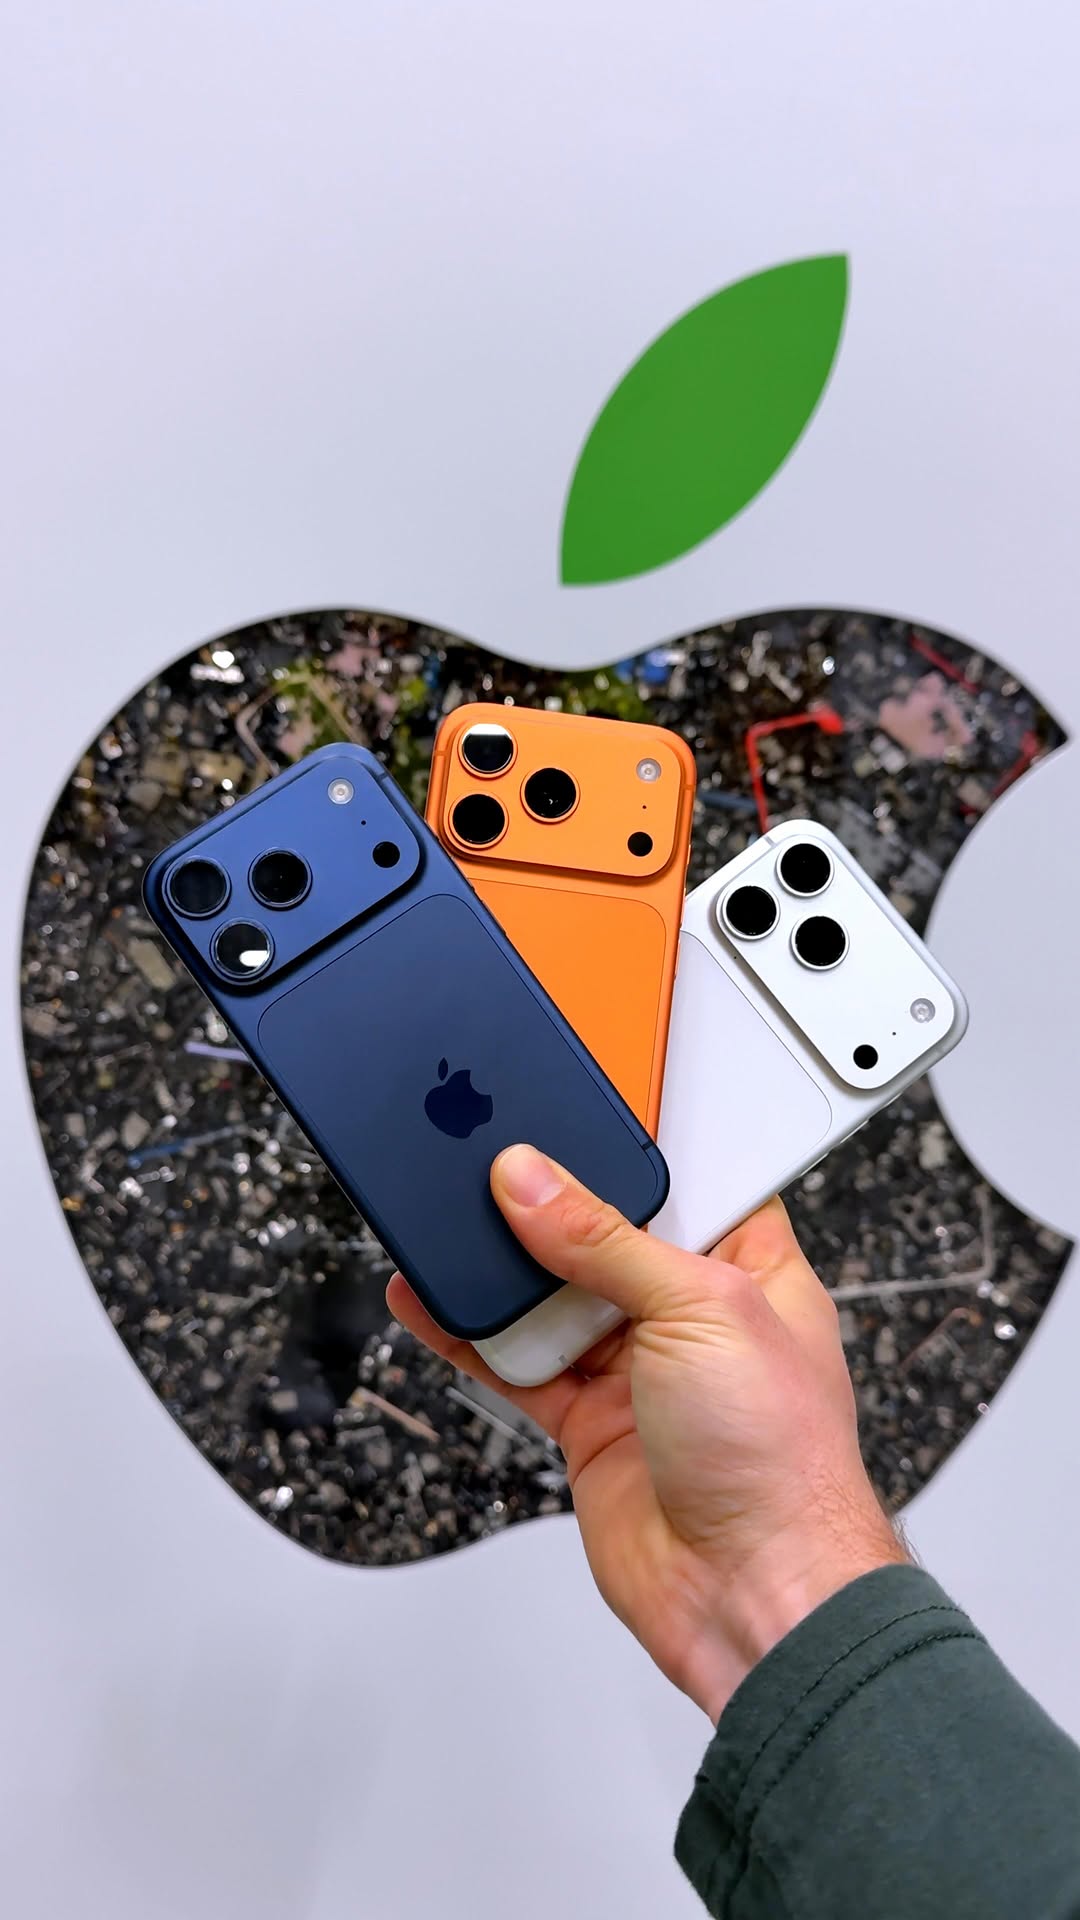 696.7K1×Behind the scenes iPhone recycling@helloapple · Process
 1.4M23.3×DIY alternative to expensive product@flock_mfg · Tutorial / How To
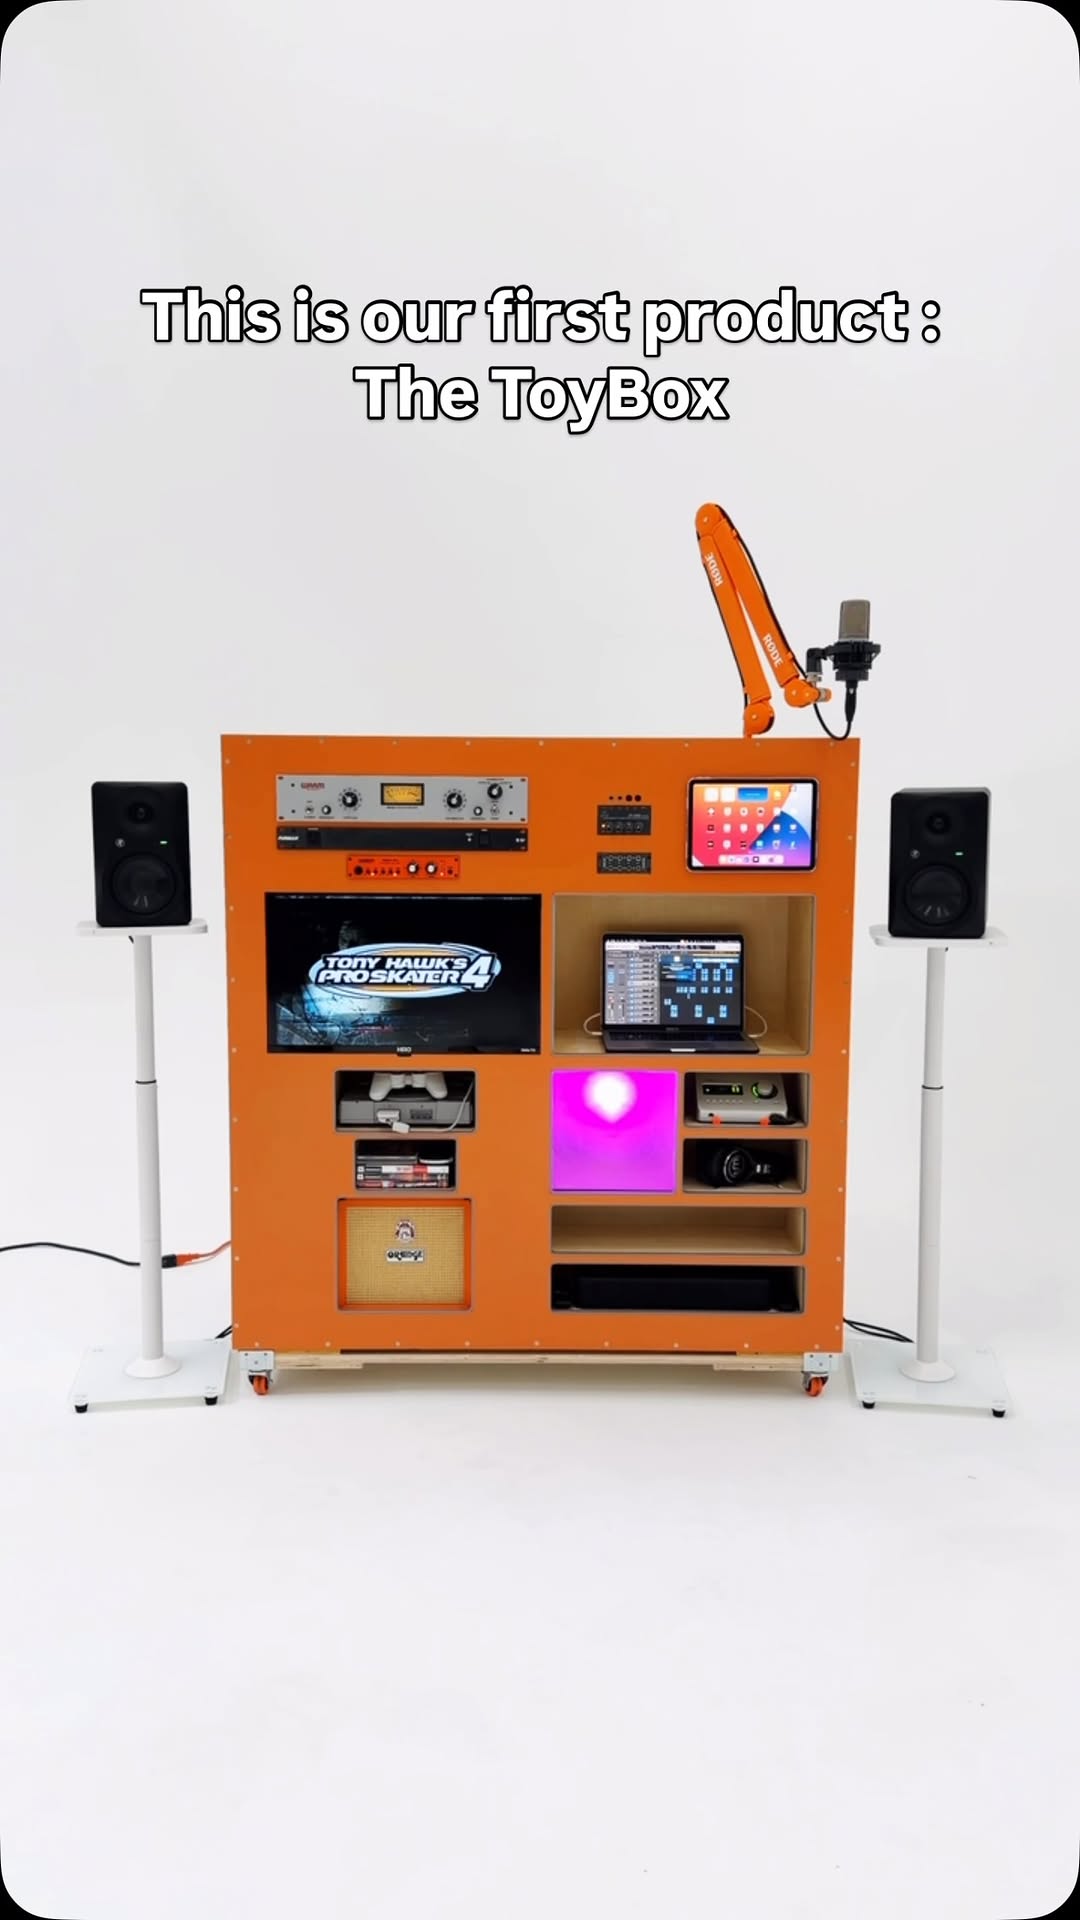 87.2K2×Creator showcases all-in-one creative station@weirdkidengineering · Brand Showcase
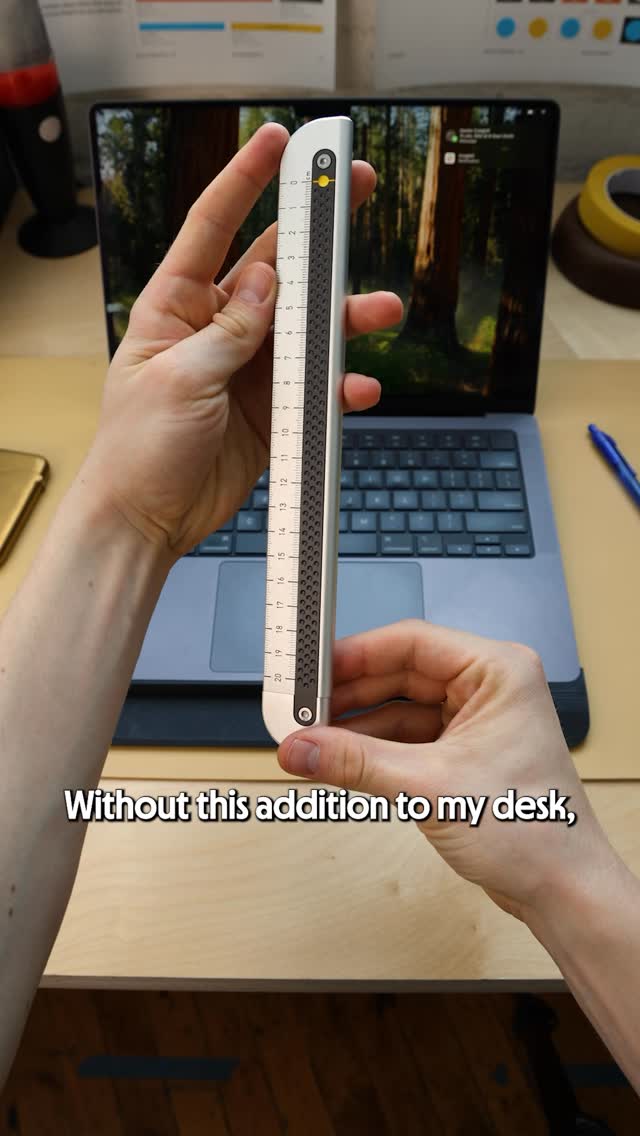 2.7M1.6×Product design origin story@craighillcompany · Origin Story
 7.1M25.5×Making a tennis ball that grunts@pablo.rochat · Process
[04]
[05]
What stops the scroll in the first 3 seconds
Title hook · 45%
question
Verbal hook · 50%
Gotten this question a lot from you guys, so here's how I built my dream recorder.
Visual hook · 5%
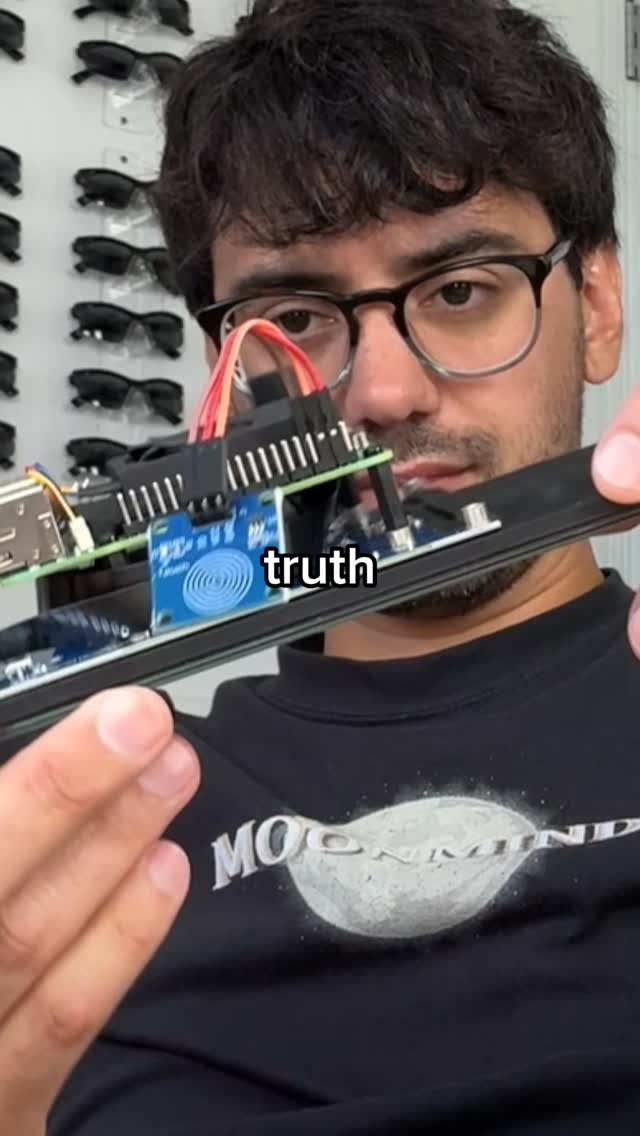
The creator holds up a translucent 3D printed shell component, presenting it directly to the camera lens.
[07]
The promise the opener makes, and how the video pays it back
Hook
The Demand Response: Validates the video's existence by citing audience curiosity about a high-concept item.
Payoff
The Functional Showcase: Demonstrating the completed device in its intended environment to validate the journey and satisfy the opening hook.
[08]
The structural pattern this video runs on
Framework
The Maker's Odyssey
A chronological documentation of a creative build that humanizes the process by highlighting specific failures and their resolutions before the final reveal.
The Fabrication Foundation
Establishing the physical vessel for the project, acknowledging effort and imperfection to build relatability.
The Component Audit
Transparently listing the 'ingredients' and costs to ground the project in reality and establish value.
The Assembly Flow
A rapid-fire visual sequence of initial construction to build narrative momentum.
The Friction Point
Introducing a specific, relatable technical failure (wrong parts) to create narrative tension and break the monotony of success.
The Correction Pivot
Swiftly resolving the conflict to demonstrate competence and maintain pacing without dwelling on the negative.
The Integration Climax
The high-stakes physical merging of the project's two main halves (shell + electronics), framed as a 'moment of truth'.
How I built my bedside dream recorder 🧠 @imsteviesells #tech #gadgets #diybuild #electronicsengineering #dreamrecorder
title · beginning
question
contextual · beginning
guys
contextual · beginning
my
title · beginning
dream recorder
informational · middle
$300
Gotten this question a lot from you guys, so here's how I built my dream recorder. Okay. So first things first, I had to actually three d print the shell of the device, and this ended up taking almost forty eight hours total. I'm not a super experienced three d printer. My supports were kinda tricky to remove, but but I think they turned out pretty well overall. After that, I started getting all the electronics ready to be assembled. The brain behind the Dream Recorder is a Raspberry Pi, which is pretty much just a mini computer. All these parts in total cost me around $300 and I had to order all of them online. I started putting everything together. First was attaching the fan to the Raspberry Pi, then I attached that to the screen. I put together some of the little cables. And then I ran into a problem. There are so many different kinds of connectors out tier. And unfortunately, the ones that I bought didn't face the right direction and wouldn't fit how I needed them to. I ordered the correct pieces and two days better, we were back in business. I connected all the cables, put in the mini microphone, attached the touch sensor, put the memory card into the slot, and now came the moment of truth. Would this bundle of stuff fit into the shell that I three d printed? And I'm not gonna lie, it took a lot of wiggling around, but I did get it to slide in and everything seemed to fit together as it should. Here's how the dream recorder looks when it's turned on. I'm stoked on it, and I can't wait to see how it brings my future dreams to life. Follow if you wanna see more. Peace.