Viral Hooks
Trending short videosOn-site construction tip demonstration
F

@felipe.freig

Instagram · Vlog
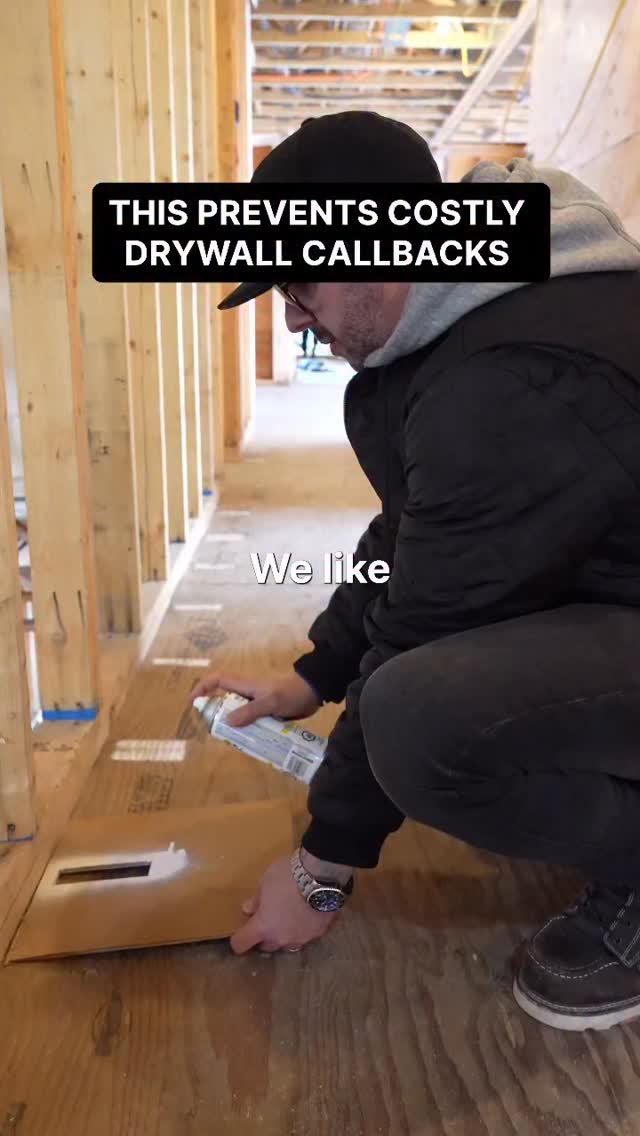
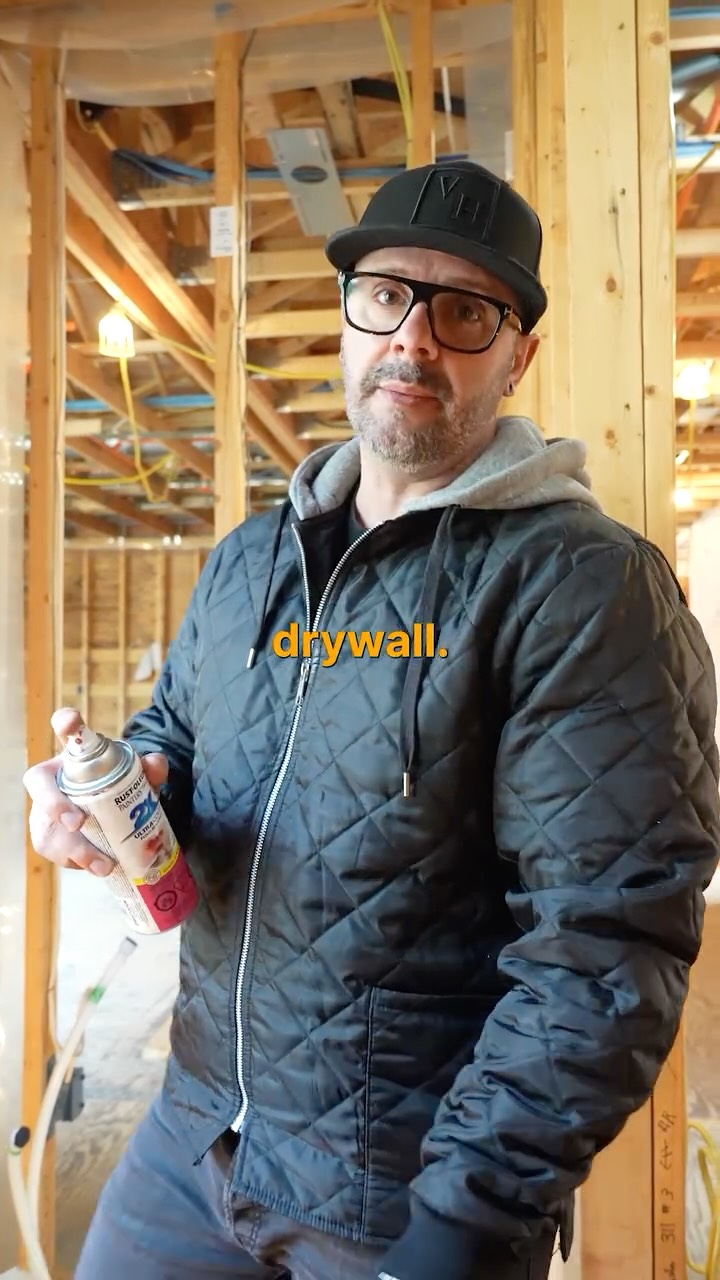
@felipe.freig It really doesn’t take long — but it saves hours later. When you’ve got your studs laid out and all your outlet/switch locations marked, do one extra step: write the measurement right in the center of the box. Why? • Drywall crews move fast. Marks on the side of a stud can get covered, missed, or ignored. • Centered measurements are harder to miss and way easier to reference. • If something does get missed, you’re not guessing you can walk back in, pull a tape, and find the box again. Example: ✅ “Up 16”” ✅ “Up 46”” Right on the box line, clear as day. This is one of those small site habits that keeps installs clean, avoids patchwork, and makes everyone’s job smoother. Tip of the day: Mark it once. Find it forever.
View original on Instagram

The edit1 shot · 1 text
Shots Text

Performance

Views
8M
Likes
174.1K
Comments
3.7K
Engagement
2.2%
Outlier
1530.8×

Video #16939 · Vlog

On-site construction tip demonstrationfrom @felipe.freig

[01]

Overview

The creator demonstrates a practical construction tip by using stencils and spray paint to mark the locations of wall studs and electrical outlets on the subfloor. He explains that this process prevents these elements from being lost or missed after drywall is installed, saving time and avoiding costly callbacks.

[02]

Simple outline

  1. 1State high-stakes problem
  2. 2Demonstrate core solution
  3. 3Expand solution's application
  4. 4Add advanced detail
  5. 5Synthesize the complete system

[03]

Related videos

[04]

Classification

Format
Concepts
Tutorial / How To
Elements
Title Text HookJump Cut

[05]

Hook analysis

What stops the scroll in the first 3 seconds

Title hook · 45%

THIS PREVENTS COSTLY DRYWALL CALLBACKS

Verbal hook · 25%

We like to mark out these two way fours so that after we're drywalled, we know where they are.

Visual hook · 30%

A person is actively spray-painting a stencil on a wooden subfloor in a construction site, creating immediate action and curiosity.

[06]

Hook template

Steal this for your own video

THIS PREVENTS COSTLY [PROJECT STAGE] CALLBACKS

  • — THIS PREVENTS COSTLY RENOVATION CALLBACKS
  • — THIS PREVENTS COSTLY PAINT JOB CALLBACKS
  • — THIS PREVENTS COSTLY INSTALLATION CALLBACKS

[07]

Hook and payoff

The promise the opener makes, and how the video pays it back

Hook

A bold, on-screen text overlay that states a high-value promise by identifying a common and costly problem the content will solve.

Payoff

The viewer is left with a complete, actionable system that solves the problem introduced in the hook, feeling empowered with 'insider' knowledge.

[08]

Narrative framework

The structural pattern this video runs on

Framework

The Layered Pro-Tip

Demonstrating a simple technique to solve a common, costly problem by progressively revealing layers of sophistication that enhance its effectiveness.

  1. 1

    The Foundational Technique

    A clear, visual demonstration of the most basic application of the technique or tip, establishing the core action.

  2. 2

    The Rationale Bridge

    A direct explanation of *why* the technique is performed, connecting the present action to a future benefit or problem avoidance.

  3. 3

    The Application Pivot

    The core technique is applied to a second, related problem, demonstrating its versatility and expanding its value proposition.

  4. 4

    The Reiteration & Summary

    The narrator directly addresses the audience to summarize the overarching benefit, reinforcing the importance of the process to prevent errors.

  5. 5

    The Advanced Layer

    An additional, crucial piece of data is integrated into the technique, elevating it from a simple trick to a more robust, professional system.

  6. 6

    The System Synthesis

    A final action that visually and verbally connects all the marked information to the physical object it references, providing a clear and complete understanding of the entire process.

Themes

  • problem-solving
  • efficiency
  • professional tips
  • construction best practices

Techniques

  • stencil art
  • spray painting
  • visual marking

Trends

  • pro tips
  • construction hacks

Post caption

It really doesn’t take long — but it saves hours later. When you’ve got your studs laid out and all your outlet/switch locations marked, do one extra step: write the measurement right in the center of the box. Why? • Drywall crews move fast. Marks on the side of a stud can get covered, missed, or ignored. • Centered measurements are harder to miss and way easier to reference. • If something does get missed, you’re not guessing you can walk back in, pull a tape, and find the box again. Example: ✅ “Up 16”” ✅ “Up 46”” Right on the box line, clear as day. This is one of those small site habits that keeps installs clean, avoids patchwork, and makes everyone’s job smoother. Tip of the day: Mark it once. Find it forever.
Text overlays

  • title · beginning

    THIS PREVENTS COSTLY DRYWALL CALLBACKS

Transcript

We like to mark out these two way fours so that after we're drywalled, we know where they are. Best like this. I also like to mark out in pink, why not, where the electrical outlets are no that we don't miss them. You see one over here as well? So we'll mark it here no make sure that they know that there is electrical outlets everywhere, and we don't miss them after drywall. I also mark them 16 inch no that you understand where the electrical box is. That means electrical tier inches up above.

On-site construction tip demonstration | Viral Hooks