Viral Hooks
Trending short videosExplaining sewing machine tension simply
O

@oliviasews_

Instagram 路 Talking Head Edit

@oliviasews_ Part 5/10 of teaching you how to sew: sewing machine tension 馃馃У If this feels confusing, you鈥檙e not alone, I still always mix these up. The way to guarantee you鈥檒l always have clean stitches with no loops or puckering fabric, is to test on scrap fabric. I do this every single time I sew a new project just to make sure I have it right. In part 6 we鈥檒l be practicing the most common stitches you鈥檒l use!! Happy sewing 馃鈽猴笍 #sewingtutorial #sewingtutorial #howtosew

View original on Instagram

The edit1 shot 路 7 text
Shots Text

Performance

Views
257.5K
Likes
14.8K
Comments
36
Engagement
5.8%
Outlier
11.1脳

Video #9259 路 Talking Head Edit

Explaining sewing machine tension simplyfrom @oliviasews_

[01]

Overview

The creator explains the concept of sewing machine tension using a handshake analogy. She demonstrates how to identify and adjust the tension dial, explaining that higher numbers mean tighter tension and lower numbers mean looser tension. She then provides a step-by-step guide for testing tension on a scrap piece of fabric using two different colored threads, and shows how to diagnose and correct issues like looping or visible bobbin thread before teasing the next video in her series.

[02]

Simple outline

  1. 1State common frustration
  2. 2Explain the core principle
  3. 3Provide a diagnostic test
  4. 4Offer a simple fix-it guide
  5. 5Tease the next lesson

[03]

Related videos

[04]

Classification

Concepts
Tutorial / How To
Elements
B-Roll CutawayText OverlayJump Cut
Topics

[05]

Hook analysis

What stops the scroll in the first 3 seconds

Title hook 路 55%

how to sew

Verbal hook 路 40%

Teaching you how to sew in less than ten days part five.

Visual hook 路 5%

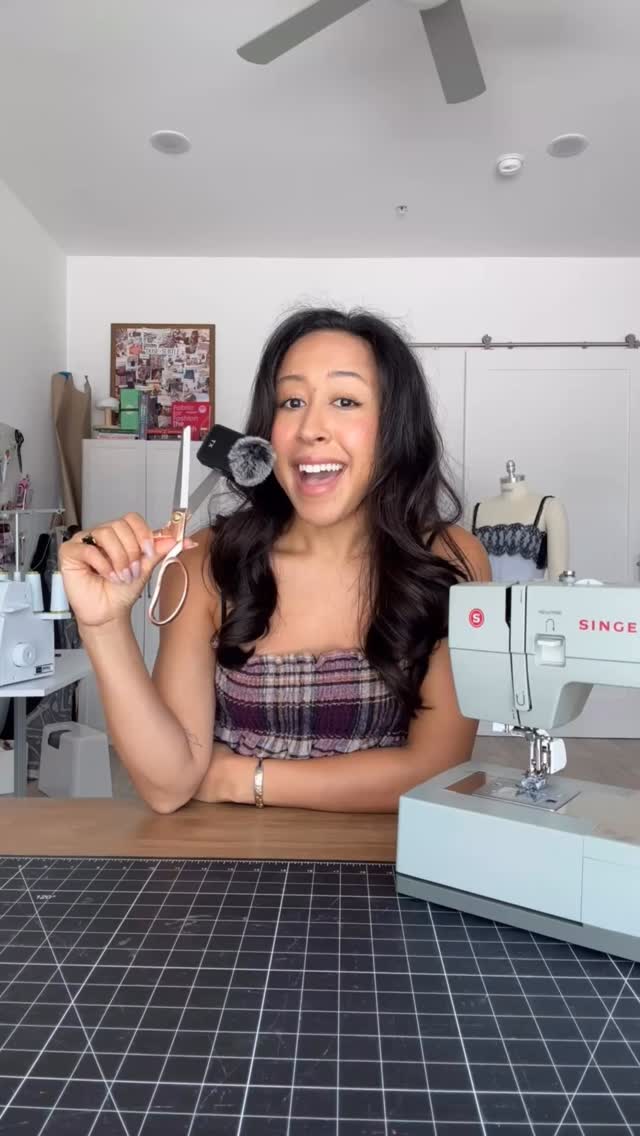
A smiling creator sits in front of a sewing machine, holding a microphone and pointing upwards, creating a welcoming and informative visual setup.

[07]

Hook and payoff

The promise the opener makes, and how the video pays it back

Hook

Immediately name common, frustrating symptoms of a problem to establish relevance and capture the attention of anyone experiencing them.

Payoff

Conclude by teasing the next logical step or skill in the learning journey, creating anticipation and encouraging consumption of the next piece of content in the series.

[08]

Narrative framework

The structural pattern this video runs on

Framework

The Diagnostic Tutorial

To demystify a complex technical problem by providing a simple, repeatable diagnostic test and a clear, binary troubleshooting guide.

  1. 1

    The Abstract Definition

    Define the core technical concept behind the problem in simple terms.

  2. 2

    The Concrete Analogy

    Use a simple, everyday comparison (e.g., a handshake) to make the abstract concept instantly understandable and memorable.

  3. 3

    The Control Mechanism

    Explain the primary tool or setting used to adjust the concept, establishing a clear cause-and-effect relationship (e.g., 'Higher number means tighter').

  4. 4

    The Empathy Bridge

    Briefly share a personal struggle with the concept ('I still get these mixed up') to build rapport, lower viewer anxiety, and grant them permission to be imperfect.

  5. 5

    The Diagnostic Protocol

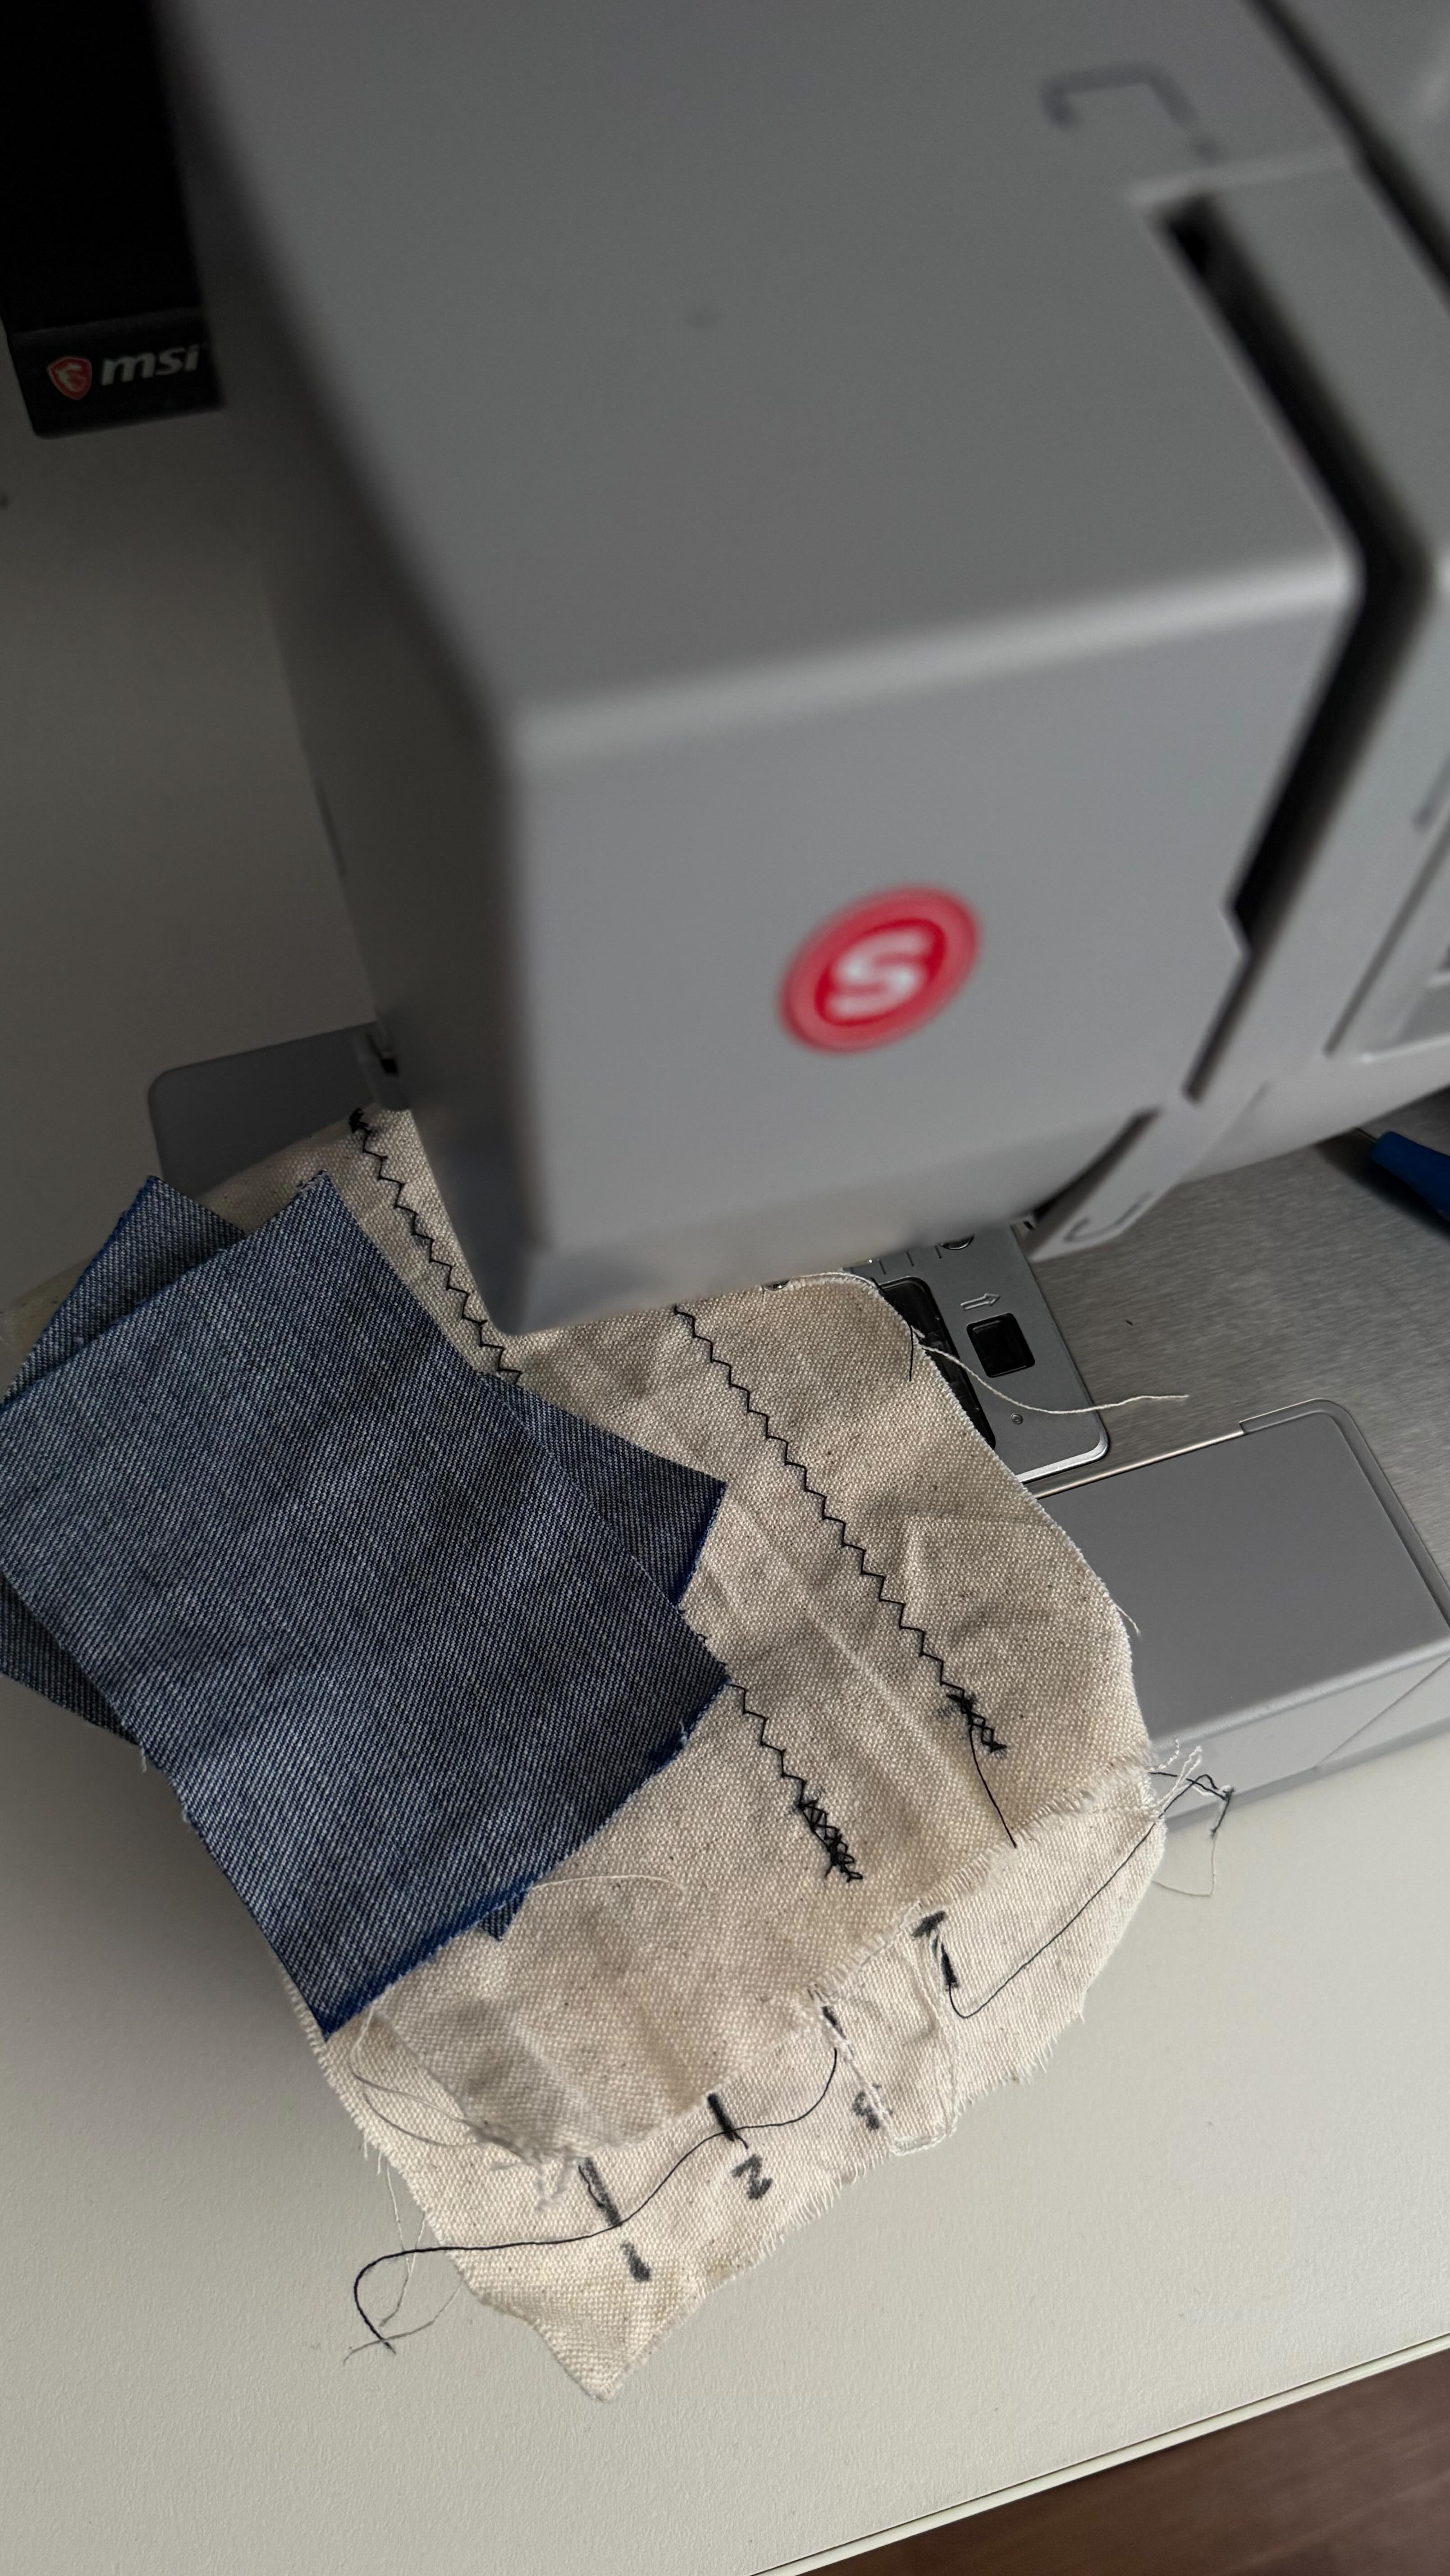
    Outline a simple, step-by-step process the viewer can follow to test and diagnose the issue on their own, emphasizing the importance of using a 'scrap' or test piece.

  6. 6

    The Gold Standard

    Clearly define and show what a successful outcome looks like ('Good tension is invisible'), providing a clear benchmark for the viewer.

  7. 7

    The Binary Fix-It Guide

    Provide a simple 'If you see Symptom A, do Action A. If you see Symptom B, do Action B' troubleshooting framework that removes guesswork.

  8. 8

    The Failsafe Maneuver

    Offer a 'reset' or 'start over' solution (e.g., re-threading) for when initial troubleshooting doesn't work, providing a crucial safety net for the user.

Themes

  • Skill development
  • Education
  • Problem-solving
  • Crafting

Techniques

  • Direct instruction
  • Analogical explanation
  • Step-by-step demonstration

Trends

  • Educational series
  • Micro-learning

Post caption

Part 5/10 of teaching you how to sew: sewing machine tension 馃馃У If this feels confusing, you鈥檙e not alone, I still always mix these up. The way to guarantee you鈥檒l always have clean stitches with no loops or puckering fabric, is to test on scrap fabric. I do this every single time I sew a new project just to make sure I have it right. In part 6 we鈥檒l be practicing the most common stitches you鈥檒l use!! Happy sewing 馃鈽猴笍 #sewingtutorial #sewingtutorial #howtosew

Text overlays

  • title 路 beginning

    how to sew

  • contextual 路 beginning

    10 days

  • contextual 路 beginning

    part five

  • title 路 beginning

    tension

  • contextual 路 middle

    bobbin and spool

  • contextual 路 middle

    five

  • call-to-action 路 end

    part six

Transcript

Teaching you how to sew in less than ten days part five. Understanding tension. Messy stitches? Thread breaking? These are all signs of incorrect tension. Sewing tension controls how tightly your thread is pulled from both the top and the bottom. Think of it like the grip of a handshake. Too loose and it falls apart. Too tight and it's uncomfortable. You need to be adjusting your tension based on the type of fabric you're sewing. Sometimes even the amount of layers that you're selling. Most machines are gonna have either a dial or a button where you can adjust. The higher you have the number set, the tighter the tension. The lower you have the number set, the looser the tension. I've been in this five years rank I still get those mixed up, so feel free to write that down. Now better single fabric is gonna sew differently, so I can't give you an exact number to set your tension at. But I recommend cutting a scrap piece of your fabric, threading your machine with two different colors for your bobbin and spool thread, setting your tension somewhere in the middle like four or a five. Simply sewing a straight row of stitches. Good tension is invisible. So when it's right, you're gonna see clean even stitches on both sides of your fabric. If you see the bobbin thread coming up through the top of your fabric, lower your tension number. If you see loops underneath your fabric and your upper thread bunching underneath, raise the number. Repeat this and keep sewing rows of stitches slightly adjusting the tension each time until you get some nice clean stitches. We'll say you probably are not gonna have to adjust it that much. I find that for the most part, I'm usually sewing somewhere in, like, the three to seven range. If you're still running into problems and adjusting your tension dial doesn't help, just try to rethread your machine completely. If you wanna see how to do that, go back to part three. Also, make sure that when you're threading your machine, your presser foot is up, and when you're actually sewing, your presser foot is lowered. Most machines will have a little dial on the back right here that you can use to lift it and lower it. 18 for part six, where we're gonna go over the basic stitches that you can start practicing with.