@nick_lloyd_
Instagram · Vlog
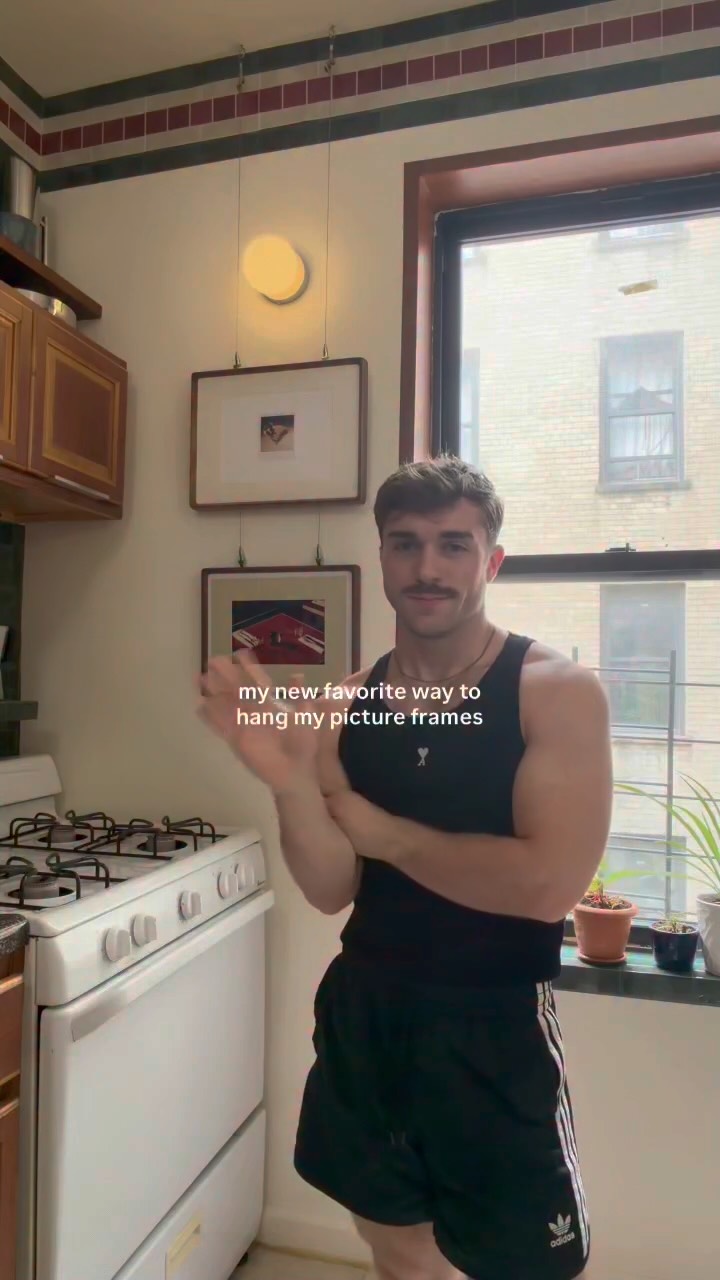
@nick_lloyd_ Quick tutorial on how I put up these frames in my kitchen #interiordesign #diy #tutorial #nyc #apt

@nick_lloyd_
Instagram · Vlog
@nick_lloyd_ Quick tutorial on how I put up these frames in my kitchen #interiordesign #diy #tutorial #nyc #apt
Performance
Video #41894 · Vlog
[01]
The creator introduces his favorite method for hanging picture frames using a gallery wire system. He provides a step-by-step tutorial, showing the specific materials he purchased (ceiling hooks, wire kit, frames) via on-screen product images. He then demonstrates how he prepared the photos and hung the frames on the wall, concluding by adding a battery-operated wall sconce and showing the final, aesthetically pleasing result in his kitchen.
[02]
[03]
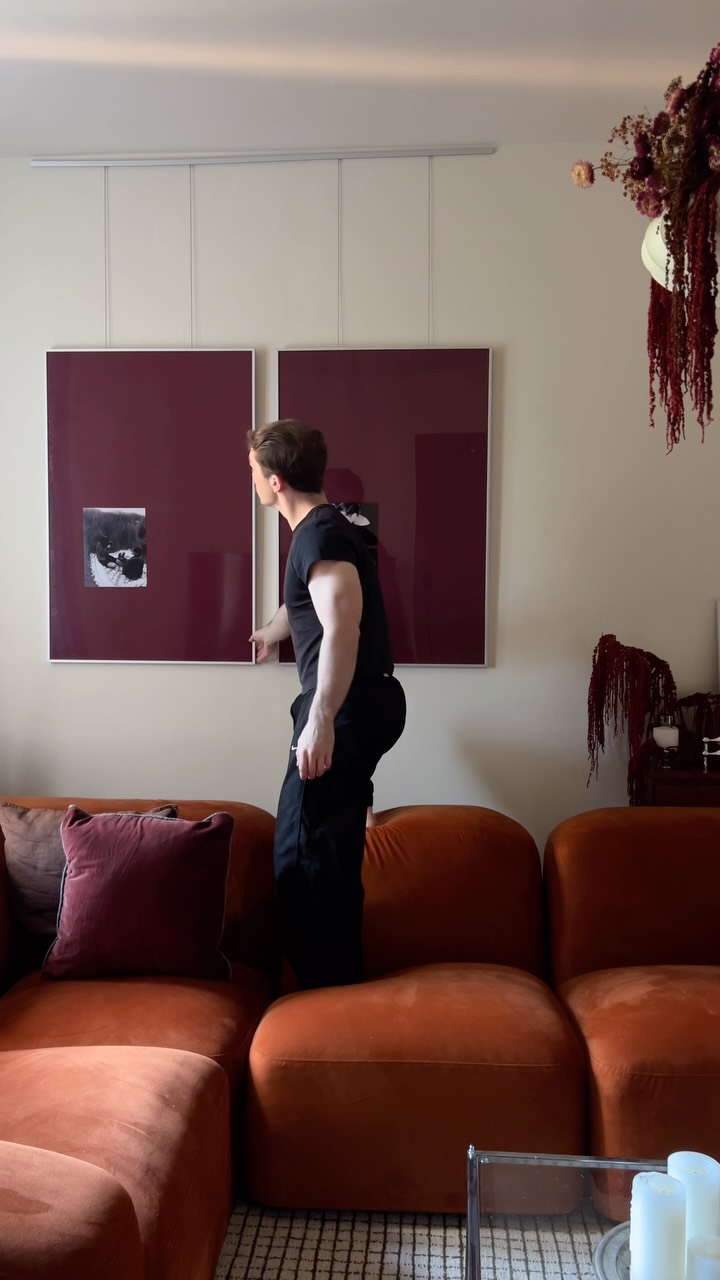 772.2K3.4×DIY custom matted frame tutorial@nick_lloyd_ · Tutorial / How To
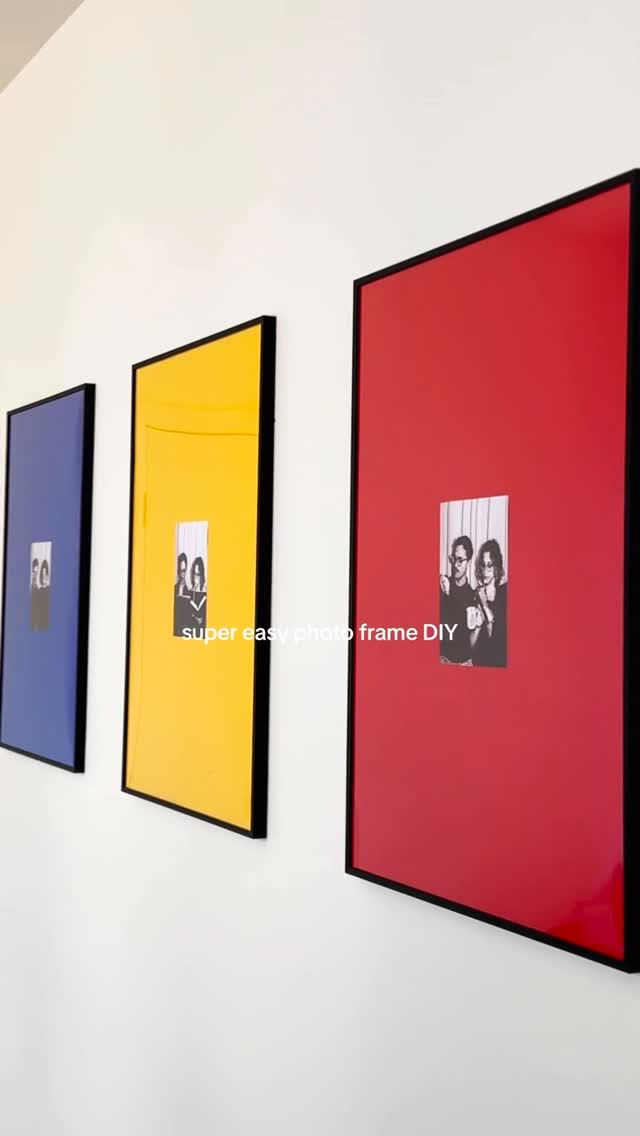 2.6M8×DIY photo frame process montage@nick_lloyd_ · Tutorial / How To
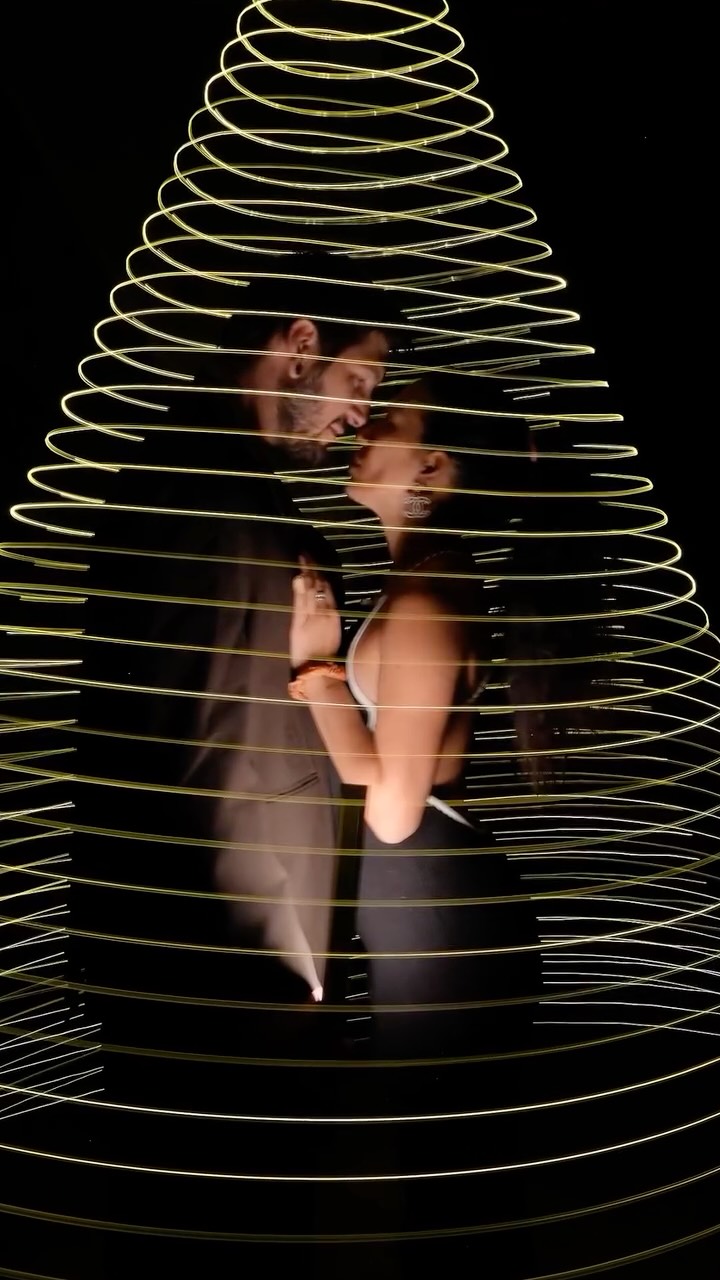 180.9KLong exposure light painting tutorial@dressingleeloo · Tutorial / How To
 199.1KBehind the scenes photography reveal@kanbokeh · Before/After Transformation
 197.6K9.6×Explains photo lighting setup@garrettking.co · Tutorial / How To
 16M11×DIY photoshoot process and result@citizen_theartist · Behind The Scenes
 3.4M68.4×Creative camera angles for solo creators@osmo_global · Tutorial / How To
 1.1M4.7×Vertical video framing safe zones guide@omgadrian · Breakdown
 2.4M2.7×Tutorial for making an aesthetic Instagram story for shy couples@mmivia · Tutorial / How To
 455.4K64.1×Creator shows process for scanning magazines@flock_mfg · Journey Documentation
 2.1M2.3×How to make ID and passport photos using the Cutout Pro app@mmivia · Tutorial / How To
 1.6M179.6×Testing a paint storage hack@behrpaint · Tutorial / How To
[04]
[05]
What stops the scroll in the first 3 seconds
Title hook · 45%
my new favorite way to hang my picture frames
Verbal hook · 50%
Recently, I've been obsessed with hanging all of my frames with stainless steel gallery wire.
Visual hook · 5%
A man stands in a well-lit kitchen, gesturing towards a finished gallery wall of two hanging frames, immediately showing the final result of the project.
[07]
The promise the opener makes, and how the video pays it back
Hook
Presents a visually appealing final result to create immediate desire, followed by a direct promise to explain the creation process from start to finish.
Payoff
Reveals the fully completed and integrated project in its environment, explicitly stating the problem it solves or the primary benefit it provides (e.g., 'without drilling holes'), delivering a satisfying sense of completion and utility.
[08]
The structural pattern this video runs on
Framework
The Aspirational Tutorial
Demonstrate a desirable, finished outcome to create aspiration, then systematically break down the exact components and steps required to replicate it, culminating in a final reveal that reinforces the project's value and solves a common problem.
The Bill of Materials
Systematically presents each individual component required for the project, often with visual aids like product screenshots, to make the process feel tangible, shoppable, and achievable.
The Personalization Layer
Demonstrates how to add unique, personal touches to the project (e.g., art choice, color), making it more relatable and inspiring for the viewer to adapt to their own style.
The Assembly & Pro-Tip
Shows the key physical action of putting the components together, while providing a crucial piece of advice or a 'trick' that ensures success and builds creator authority.
The Unexpected Upgrade
Introduces a final, often surprising, element that was not part of the initial promise, elevating the project's outcome and delivering bonus value to the viewer.
Quick tutorial on how I put up these frames in my kitchen #interiordesign #diy #tutorial #nyc #apt
title · beginning
my new favorite way to hang my picture frames
informational · middle
Visit the MAQUITA Store Adjustable Picture Hanging Wire Kit, 6PCS 1.5M Stainless Steel Art Display System, 55LB Load Capacity, S Hooks for Gallery Exhibition Mirror Billboards
informational · middle
Visit the Store 12x16 Picture Frame with Mat for 8.5x11, Natural Walnut Wood Handcrafted Rounded Corner with Plexiglass, Vertical or Horizontal Display Photo Document Gallery Poster Wall Mounting Frame
informational · end
Brand: JDCQKHA Battery Operated Wall Sconce Set of 2, Dimmable Wireless Brushed Nickel Wall Lamp with 14000mAh Rechargeable Battery, Portables Cordless Wall Light Fixtures for Painting Living Room Bedroom
Recently, I've been obsessed with hanging all of my frames with stainless steel gallery worse. Did this in my living room and again in my kitchen? So in case you wanna do the same, here's how I built this and everything I used. To hang this, I would recommend getting one inch stainless steel ceiling hooks. I got these from my local hardware store. Tier then I got this picture hanging wire kit that comes with these adjustable hooks. It comes with three on each worse, but if you just want one or two, you can slide them right off. And then I got two frames in the color walnut, one eleven by fourteen, and one by 12 by 16. Since these are going in my kitchen, I printed out this this fun photo of a diner and also this photo of a martini, which is my roommate's favorite cocktail. I had some leftover mats from some frames that I thrifted. So I put this kind of olive color green one on the diner photo and left a beige one on the martini glass. And then I just hung them up. These frames do have a lip on the bad, which the hooks can just attach right on to. If you are using different frames or just wanna make sure that they have the proper hardware. For a final touch, I added this circular wall sconce. It's LED and battery operated, so you can hang them anywhere. You obviously just have to recharge them every now and then. And just like that, you filled that awkward space in your kitchen without having to drill 20 holes in the wall. Let me know if you guys end up trying this one and follow along to see what I get up to next.