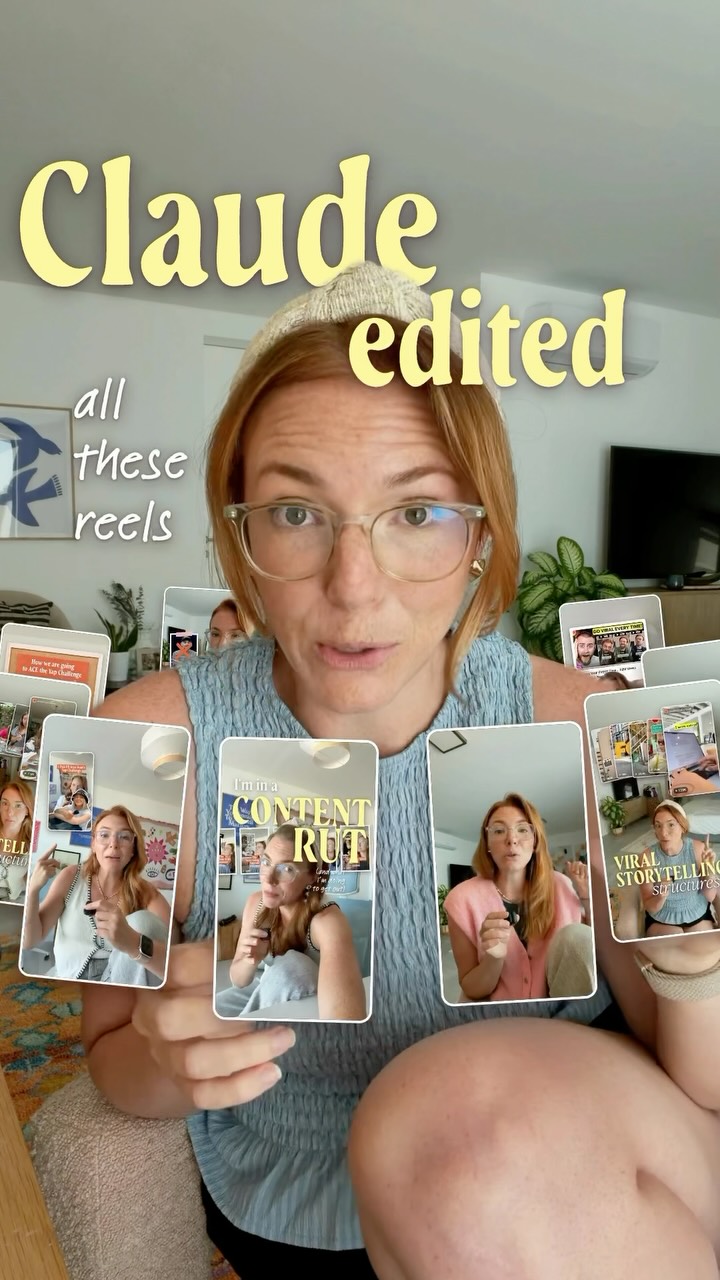
@solocontent.studio You guys have blown me away with your response to my first Uncommon Edits video, so here’s a top level view of my process. It looks complicated but I promise anyone can do this with a little creativity and for me it makes editing actually FUN! 🎉
If you want the efficiency of editing with Claude but with a little extra ✨whimsy✨, consider integrating Canva into your workflow!
Here’s the overview, and then in each episode of this series, I’ll dive more fully into each step.
(Comment WAITLIST if you want my setup guide and walkthrough when it comes out in a few weeks. It’ll share my whole process so you can set it up for yourself and start exploring all the creative possibilities between Claude and Canva.)
1️⃣ I fill out a project card in my editing studio with a link to my raw footage, my vision, and my script.
2️⃣ Before Claude touches a single frame, it reads my storytelling guide and my glossary, so it already knows how I like to tell a story and what all my silly little effect names mean.
3️⃣ Claude checks my Classroom, where I break down inspiring edits from other creators (learning from them, never copying!), and, based on what I love about those layouts and effects, Claude pitches me custom ideas that fit my script.
4️⃣ After I know the storyboard, I make the textured pieces by hand in Canva, then leave notes right on the scenes so Claude can drop each graphic in and time it perfectly with my words. Claude and I go back and forth in the editing dashboard and I just type notes to direct it on what changes I want. I never open an editing interface.
5️⃣ When I download the final version, every new effect I made for that edit goes into my glossary, so the whole system gets a little smarter every time I create.
—
Keywords: Claude editing, AI editing, edit reels with Claude, Claude and Canva, Canva hacks, AI video editing workflow, Claude for content creators, HyperFrames, textured edits, stop motion edits, hand-made graphics, Instagram reels editing, content creation workflow
AI video editing process breakdownfrom @solocontent.studio
[01]
Overview
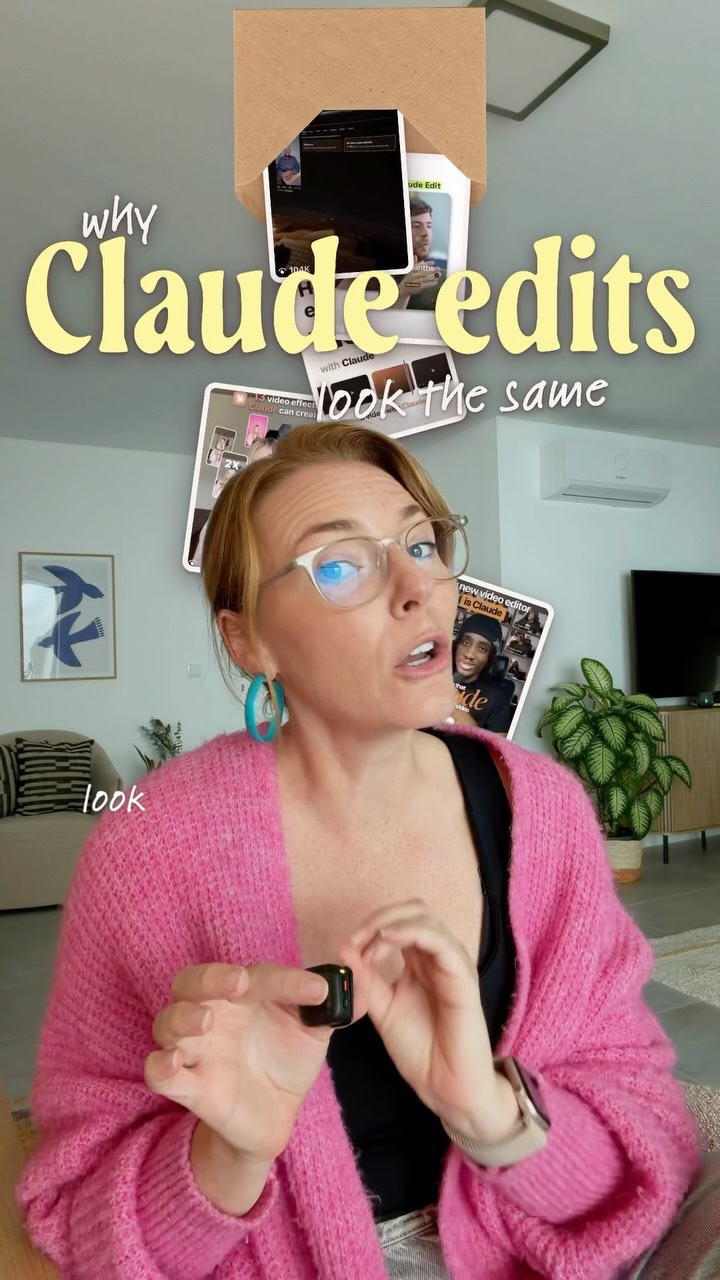
The creator explains why many AI-edited videos look the same due to a lack of 'texture' from code-based graphics. She then presents her unique 5-step solution, detailing how she combines the AI editor Claude with handmade graphics from Canva. Her process involves setting up a project card, having the AI consult her 'storytelling guide' and 'glossary,' getting inspiration from her 'classroom' of other creators' edits, creating textured graphics in Canva, and providing notes for the AI to integrate them, ultimately creating a system that gets smarter with each edit.
The reason that all the AI edited reels on your feed look the same isn't the captions or the effects.
Visual hook · 5%
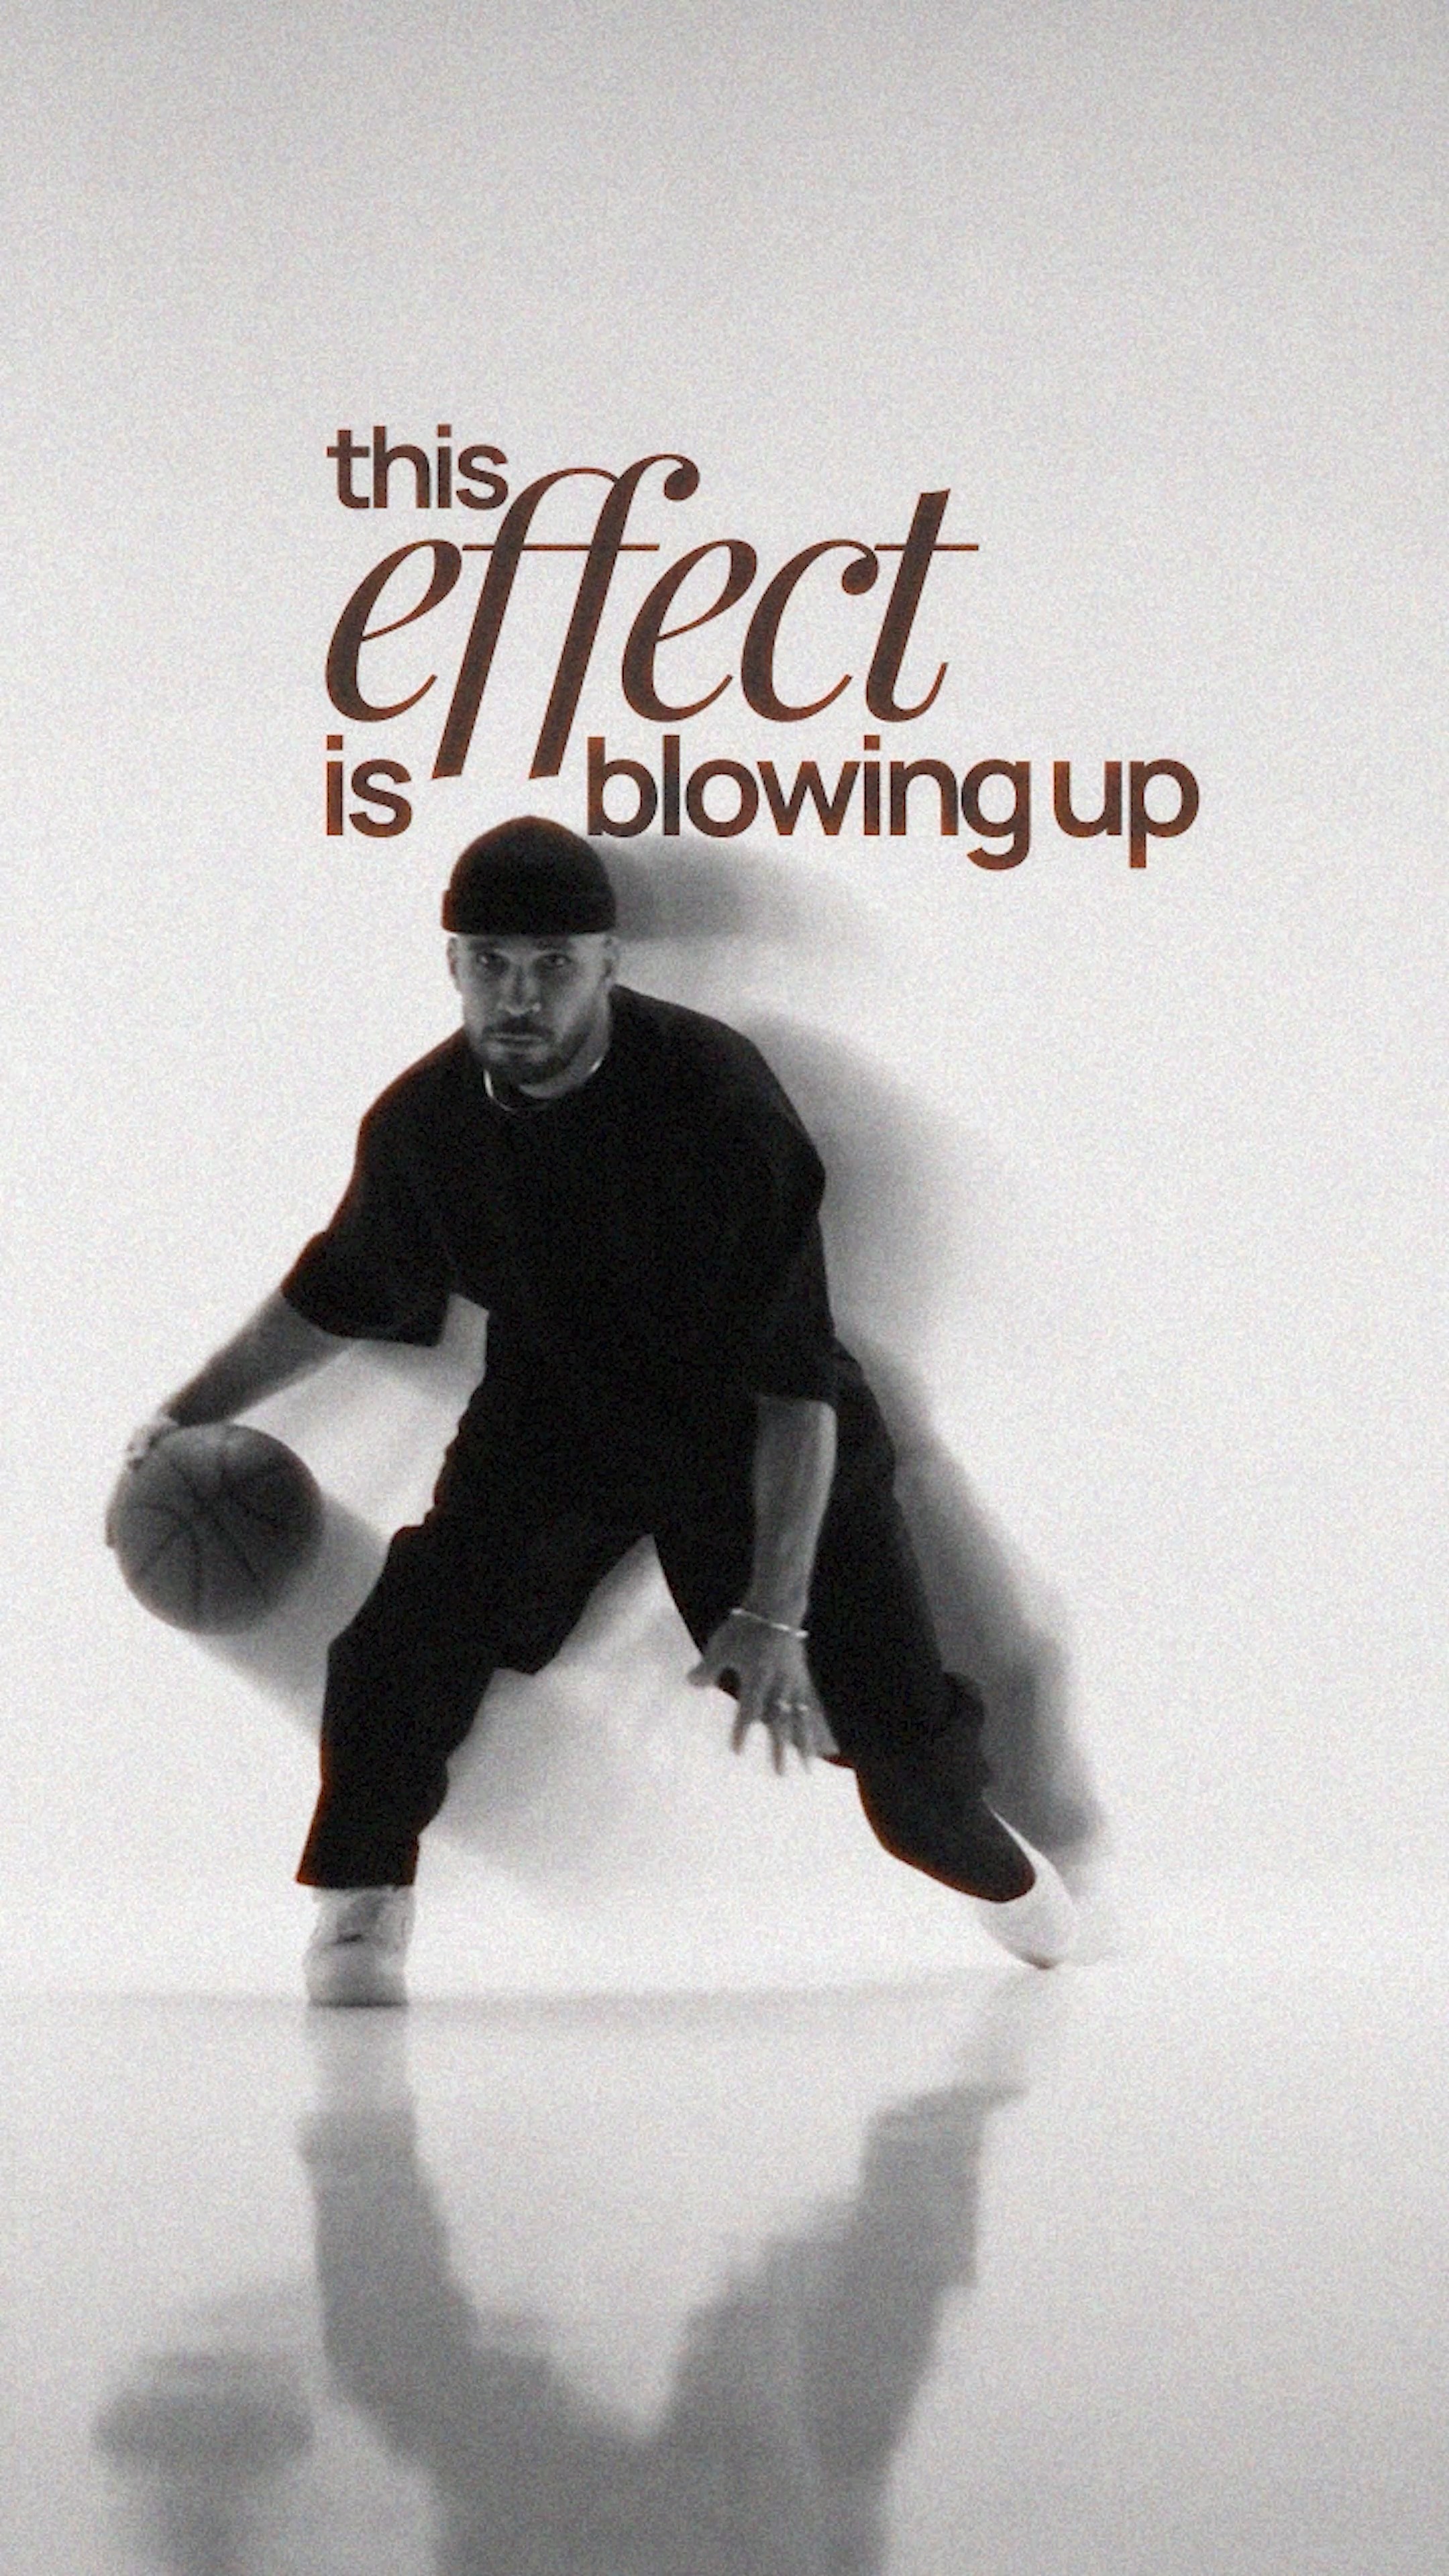
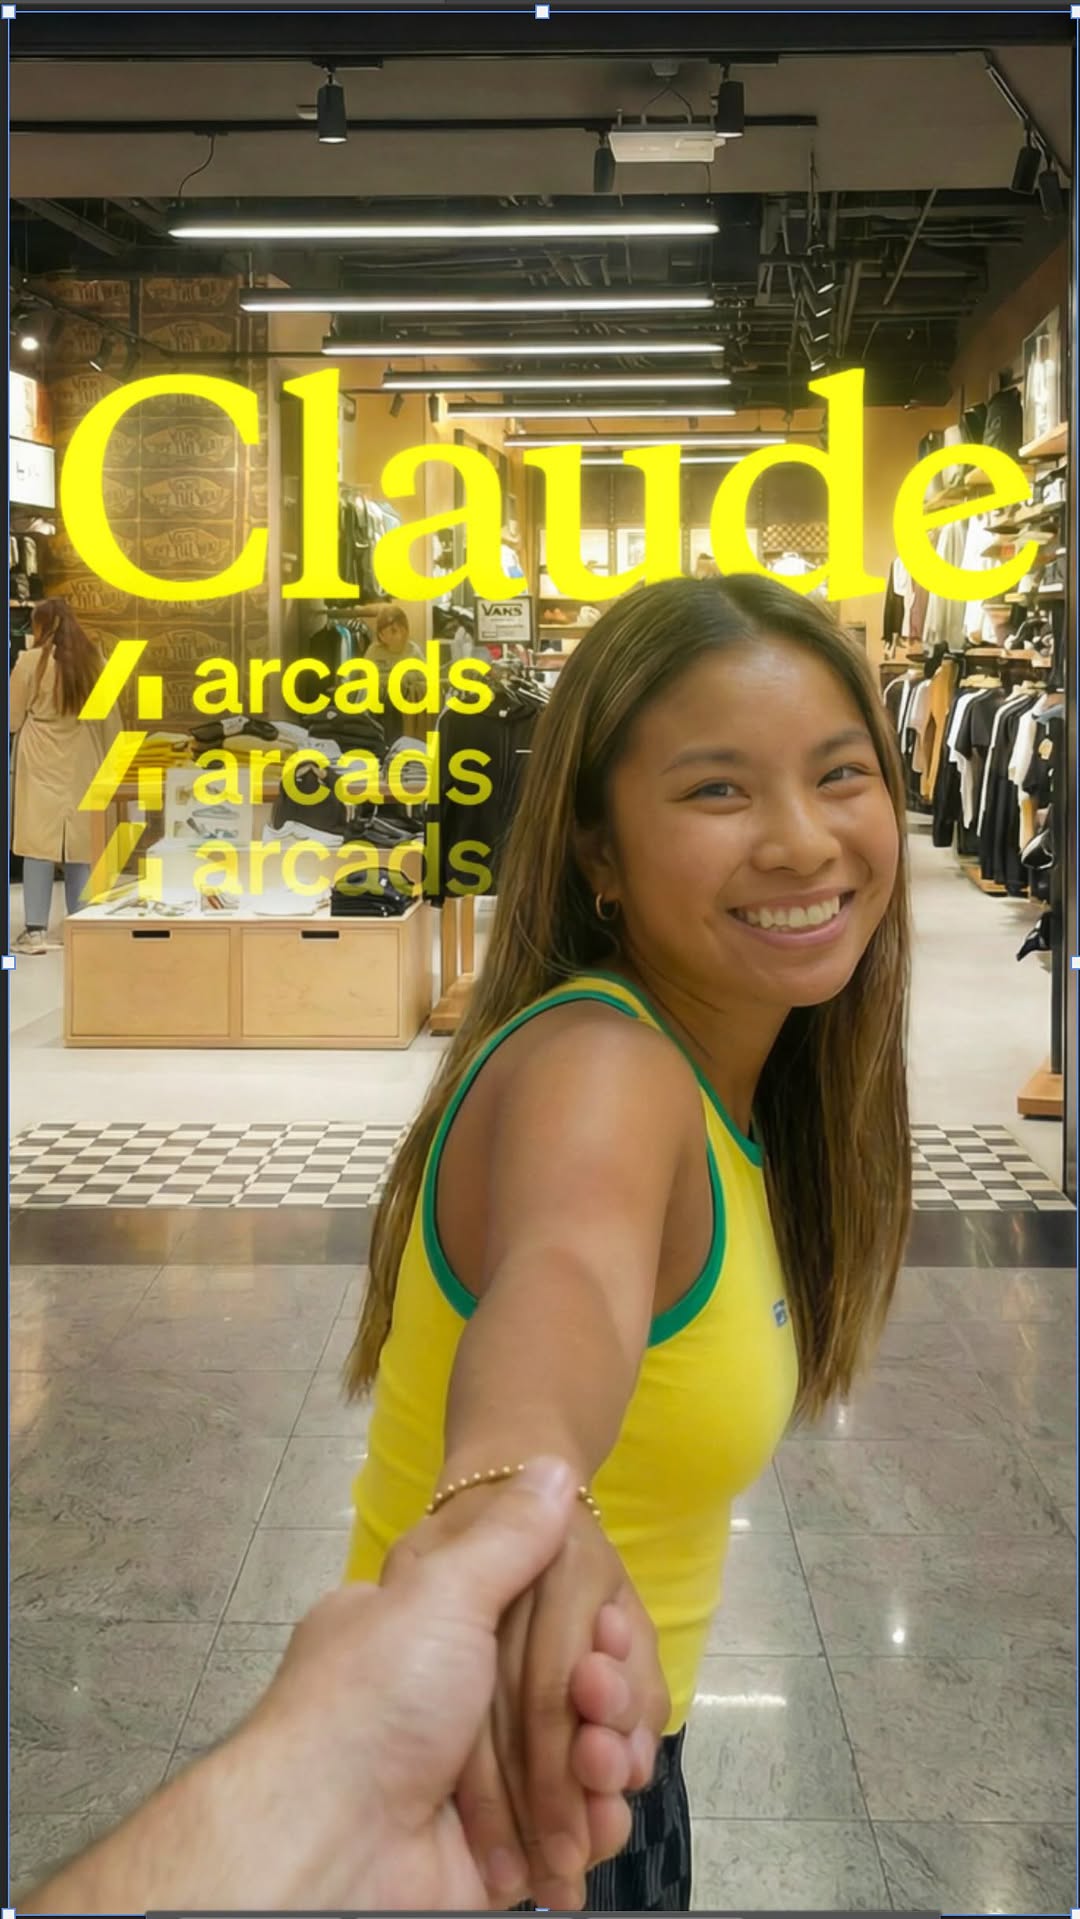
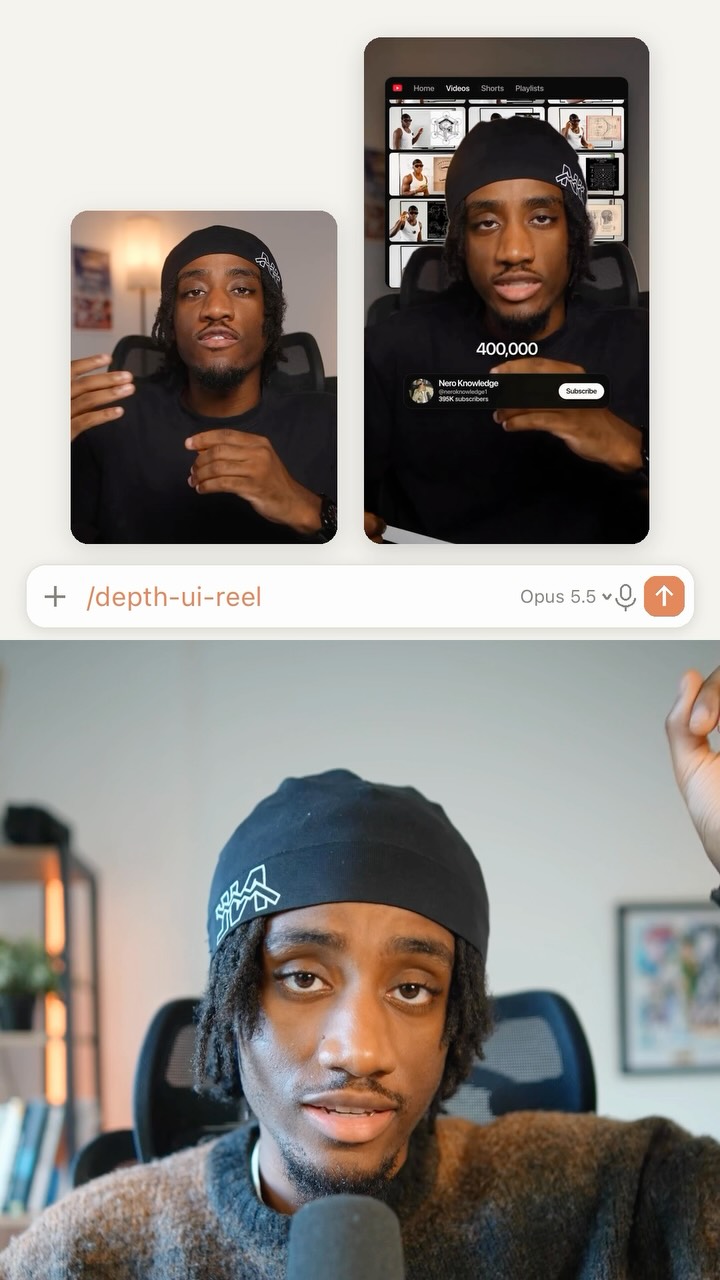
A woman speaks directly to the camera while animated graphics, including a paper envelope and falling images, appear and move around her head.
[06]
Hook template
Steal this for your own video
why [popular tool or method][results] look the same
— why AI-written emails sound the same
— why meal-prep Sunday plans all fail the same way
— why template-built websites look the same
[07]
Hook and payoff
The promise the opener makes, and how the video pays it back
Hook
Identify a universally recognized problem in the niche and immediately reframe it by revealing a non-obvious, overlooked cause, creating an information gap that promises insider knowledge.
Payoff
Provide two clear calls to action: one for immediate lead generation (comment for a gated resource) and one for audience growth (follow for the next installment in the series), creating both short-term conversion and long-term engagement.
[08]
Narrative framework
The structural pattern this video runs on
Framework
The Proprietary Process Reveal
To establish authority and generate leads by revealing a unique, multi-step solution to a common problem within a niche, blending automated tools with a manual, creative touch.
1
The Expert's Diagnosis
Explain the technical reason behind the newly revealed cause, which simultaneously validates the creator's expertise and defines the core limitation that the forthcoming solution will overcome.
2
The Solution Thesis & Roadmap
State the overarching strategy (the 'fix') and provide a high-level overview of the multi-step process, explicitly highlighting the unique or 'secret' steps to build anticipation and set a clear viewing agenda.
3
The Foundational Step
Walk through the initial, most conventional part of the process (Step 1) to ground the audience in a familiar context before introducing complexity.
4
The Intelligence Layer
Reveal the first proprietary step (Step 2), which involves pre-training an automated system with personalized rules and preferences, showcasing a 'smarter' approach.
5
The Inspiration Engine
Reveal the second proprietary step (Step 3), where the system is trained to draw inspiration from external sources, positioning the process as both creative and ethically grounded.
6
The Manual Crafting Pivot
Introduce the critical hands-on component of the workflow that directly solves the problem stated in the hook, demonstrating how manual skill is integrated with automation.
7
The Integration Directive
Explain how the manually crafted elements are integrated back into the automated workflow through a simple command or notation system (Step 4), bridging the gap between the two worlds.
8
The Evolutionary Loop
Detail the final step (Step 5), which creates a feedback loop where the entire system becomes more intelligent and personalized with each use, demonstrating compounding value.
Themes
Creativity in AI
Personalizing automated workflows
Process breakdown
Creator education
Techniques
Graphic overlays
Screen recording
Stop-motion style animation
Direct-to-camera presentation
Trends
AI tool tutorials
Workflow transparency
Post caption
You guys have blown me away with your response to my first Uncommon Edits video, so here’s a top level view of my process. It looks complicated but I promise anyone can do this with a little creativity and for me it makes editing actually FUN! 🎉
If you want the efficiency of editing with Claude but with a little extra ✨whimsy✨, consider integrating Canva into your workflow!
Here’s the overview, and then in each episode of this series, I’ll dive more fully into each step.
(Comment WAITLIST if you want my setup guide and walkthrough when it comes out in a few weeks. It’ll share my whole process so you can set it up for yourself and start exploring all the creative possibilities between Claude and Canva.)
1️⃣ I fill out a project card in my editing studio with a link to my raw footage, my vision, and my script.
2️⃣ Before Claude touches a single frame, it reads my storytelling guide and my glossary, so it already knows how I like to tell a story and what all my silly little effect names mean.
3️⃣ Claude checks my Classroom, where I break down inspiring edits from other creators (learning from them, never copying!), and, based on what I love about those layouts and effects, Claude pitches me custom ideas that fit my script.
4️⃣ After I know the storyboard, I make the textured pieces by hand in Canva, then leave notes right on the scenes so Claude can drop each graphic in and time it perfectly with my words. Claude and I go back and forth in the editing dashboard and I just type notes to direct it on what changes I want. I never open an editing interface.
5️⃣ When I download the final version, every new effect I made for that edit goes into my glossary, so the whole system gets a little smarter every time I create.
—
Keywords: Claude editing, AI editing, edit reels with Claude, Claude and Canva, Canva hacks, AI video editing workflow, Claude for content creators, HyperFrames, textured edits, stop motion edits, hand-made graphics, Instagram reels editing, content creation workflow
Text overlays
title · beginning
why Claude edits look the same
informational · beginning
captions
informational · beginning
effects
informational · beginning
texture
informational · beginning
my editor stack
Claude + HyperFrames
informational · beginning
code-based video editor
informational · beginning
PERFECTLY clean.
informational · beginning
PERFECTLY flat.
title · beginning
But I have a fix
informational · beginning
my process
- custom layouts in Canva
- hand-lettered text
- inspiration gallery
informational · beginning
texture
informational · beginning
dimension
informational · middle
my process
1. add raw footage/script
2. Claude consults guides + "glossary"
3. I get ideas from my "Classroom" and handcraft graphics in Canva
4. direct the edit with notes
5. download final + update glossary
informational · middle
fill out a project card
informational · middle
storytelling guide + glossary
informational · middle
Learn from the Classroom
title · middle
here comes the magic
informational · middle
made by hand in Canva
informational · middle
notes right on the scenes
informational · end
new effects -> the glossary
title · end
Uncommon Edits with AI
where Claude meets Canva
call-to-action · end
WAITLIST
Transcript
The reason that all the AI edited reels on your feed look the same isn't the captions or the effects. It's the one thing that almost nobody is talking about, texture. I edit with Claude plus hyper frames, which is a code based video editor, which means that every graphic that Claude makes for me is drawn with code. So everything comes out perfectly clean and perfectly flat, but I have a fix for that. I've integrated a few add ons into my process, like custom layouts in Canvas that my edits get that texture, dimension, and worst importantly, whimsy. Here's the bird's eye view of my process, and steps two, three, and four are my uncommon add ons, so stick around for those. Step one, in my editing studio, I fill out a project card with a link to my raw footage, my vision, and my script. But now here's the important part. Before Claude ever touches a single frame, it reads my storytelling good. So it knows things like when I describe a feeling, I want a reaction GIF, and also my glossary. So I can just say silly little phrases like better stretch, and it knows what I want. Then my favorite part, Claude checks my classroom where I break down inspiring edits that I've seen from other creators. I call it the classroom because I am learning from these edits, never ever copying. Super important. No here comes the magic. I make the textured pieces by hand in Canva. So I just export each individual element as PNGs. And then when the first cut comes back that Claude did, I leave notes right in the scenes with how I wanna add my Canva graphics and how I wanna animate them with stop motion. I can even highlight words or phrases and drop in the exact graphic that I want right there, so it times it perfectly with my words. Then when I download the final version better a few rounds of back and forth, every single new effect goes into my glossary, so the system gets smarter every single time I create. If you wanna learn more about how I do this, comment wait best below for my upcoming better guide and live worse. And then hit follow because next episode, I'm gonna take you inside the classroom and see how I get inspired by other creators.