@filatov.design 👇🏻 Comment “Mask” and I’ll send you the component link and the prompts I used for the visuals
Here’s the easiest way to build cool-looking interactive sections inside Framer.
I’ve been rebuilding parts of my website lately, and this hero section was one of those things I wanted to make feel more alive.
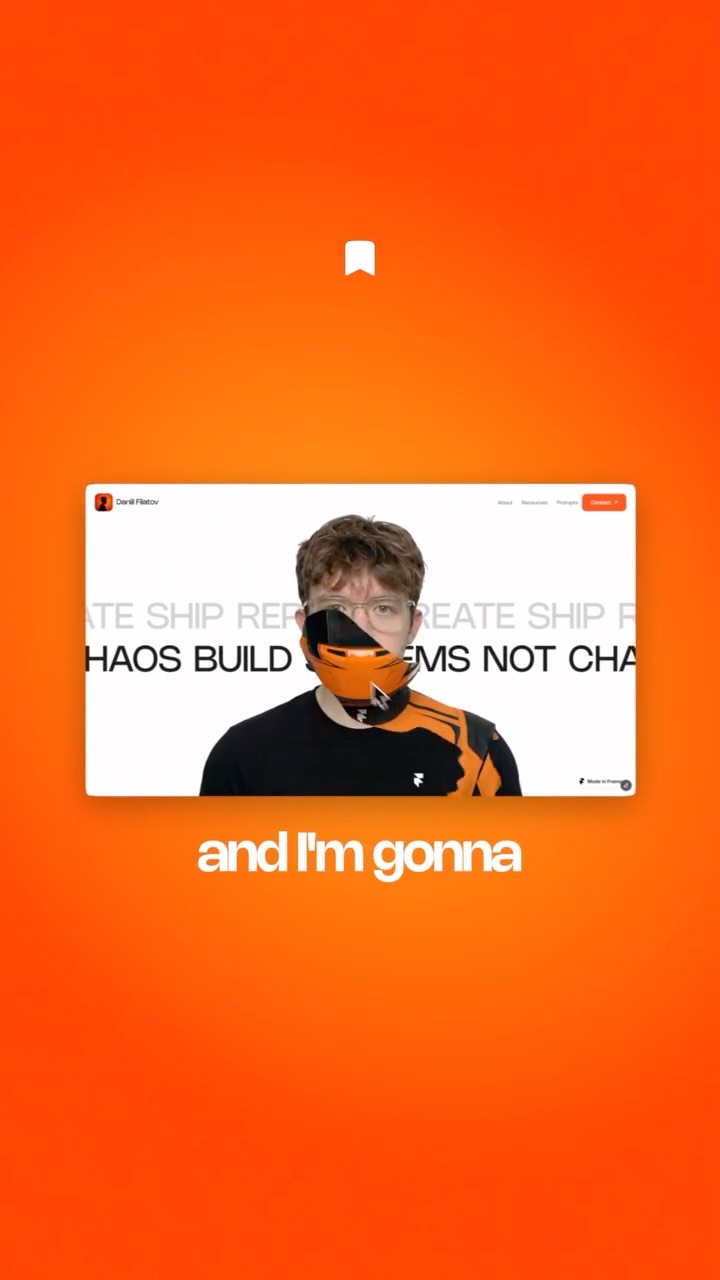
You’ve probably seen this Mask Reveal effect on OFF+BRAND’s work for the Lando Norris website. The guys from Framer University made it easy to recreate — no code, no extra setup. And honestly, it works across so many different visuals and sections. What I want you to do is take this as inspiration and build something that feels uniquely yours.
In my case, the visuals were generated with NanoBanana 2 — front layer and back layer, one prompt each. Removed the backgrounds, uploaded them, adjusted the sizing, hit publish.
No custom code. Just smart components and a few tweaks. 🚀
The creator demonstrates how to build an interactive mask reveal hero section for a personal website using Framer without coding. He walks through setting up the project, using a Framer University component, generating images with NanoBanana 2, and applying the effect, ending with a call-to-action to comment for the assets.
This is a hero section on my personal website, and I'm gonna show you how easy it was to make with Framer.
Visual hook · 40%
A dynamic shot of a computer monitor displaying a website with a striking orange mask hover effect over a person's face, immediately grabbing attention with the interactive visual.
[06]
Hook template
Steal this for your own video
This is [impressive result], and I'm going to show you how easy it was to make with [tool or platform].
— This is a fully automated client onboarding system, and I'm going to show you how easy it was to build with Notion.
— This is a scroll-stopping product launch email, and I'm going to show you how easy it was to write with ChatGPT.
— This is a professional brand identity package, and I'm going to show you how easy it was to design with Canva.
[07]
Hook and payoff
The promise the opener makes, and how the video pays it back
Hook
The Aspirational Reveal: Immediately display the impressive final product and promise a surprisingly simple method to achieve it.
Payoff
The Value Exchange CTA: Summarize the achievement (emphasizing the lack of traditional friction) and instruct viewers to comment a specific keyword to receive the exact assets and templates used.
[08]
Narrative framework
The structural pattern this video runs on
Framework
The 'Complex-Made-Simple' Tutorial Blueprint
Hooking the audience with a highly desirable, complex-looking end result, then systematically demystifying the creation process through a series of simple, tool-assisted steps, culminating in a high-converting lead-magnet CTA.
1
The Foundation Setup
Briefly establish the starting environment and basic parameters needed before the core technique is applied.
2
The Secret Weapon Introduction
Introduce a specific third-party resource, library, or template that bypasses the traditional hard work.
3
The Plug-and-Play Execution
Demonstrate the core action (e.g., copy/pasting) to visually prove the promised simplicity of the method.
4
The Asset Integration
Show how to customize the template using external tools or generated assets to make the final result unique.
5
The Final Polish
Demonstrate the final adjustments, sizing, and the completion step to close the tutorial loop.
Themes
No-code development
Web design tutorials
Interactive UI
Resource sharing
Techniques
Screen recording
Voiceover narration
Fast-paced editing
Dynamic text overlays
B-roll cutaways
Trends
No-code website building
Comment-to-DM automation funnels
Interactive web elements
Post caption
👇🏻 Comment “Mask” and I’ll send you the component link and the prompts I used for the visuals
Here’s the easiest way to build cool-looking interactive sections inside Framer.
I’ve been rebuilding parts of my website lately, and this hero section was one of those things I wanted to make feel more alive.
You’ve probably seen this Mask Reveal effect on OFF+BRAND’s work for the Lando Norris website. The guys from Framer University made it easy to recreate — no code, no extra setup. And honestly, it works across so many different visuals and sections. What I want you to do is take this as inspiration and build something that feels uniquely yours.
In my case, the visuals were generated with NanoBanana 2 — front layer and back layer, one prompt each. Removed the backgrounds, uploaded them, adjusted the sizing, hit publish.
No custom code. Just smart components and a few tweaks. 🚀
Text overlays
contextual · beginning
a hero section
contextual · beginning
on my personal website
contextual · beginning
to make with Framer
informational · middle
head over to framer.com
informational · middle
build your foundation first
contextual · middle
Framer University
informational · middle
find this hover mask reveal component
informational · middle
upload your front and back images
informational · end
without touching a single line of code
call-to-action · end
comment "Mask"
call-to-action · end
and I'll DM you the component
Transcript
This is a hero section on my personal website, and I'm gonna show you how easy it was to make with Framer. Head over to framer.com and create a new project. Build your foundation worst, set up your navigation, add your logo, define your colors and fonts. You have full control, just fill the blank canvas with your content. Now open Framer University, it's a library packed with ready to use interactive components all built natively in Framer. Find this hover rank, reveal component, click copy, jump back into your project and paste it in. You'll see a blank rectangle appear on your Canvas. Click it and the full settings panel opens on the right. All you need is to upload your front and back images. I yes Nano Banana two to generate both from a single reference photo. Keep the same aspect ratio and proportions for both and don't forget to remove the backgrounds before uploading. Then just place the component inside your hero section, adjust positioning and sizing, and hit publish. And this is how you build an interactive hero section in Framer without touching a single line of code. Comment rank, and I'll DM you the component and both prompts I used.