Video #20702 · Screen Recording
CapCut visual hook editing tutorialfrom @itsashleyboston
The creator opens by demonstrating a dynamic 'visual hook' masking effect, then transitions into a step-by-step CapCut screen recording tutorial. She guides the viewer through adding a video, creating and adjusting a rectangular mask over a microphone, and using keyframes to expand the mask smoothly, concluding by showing the finished effect.
- 1Demonstrate final visual effect
- 2State tool and simplicity
- 3Provide step-by-step instructions
- 4Show final polished result
ConceptsTutorial / How ToBreakdown
ElementsScreen RecordingDynamic Word-by-Word Captions
[05]
Hook analysis
What stops the scroll in the first 3 seconds
Title hook · 55%
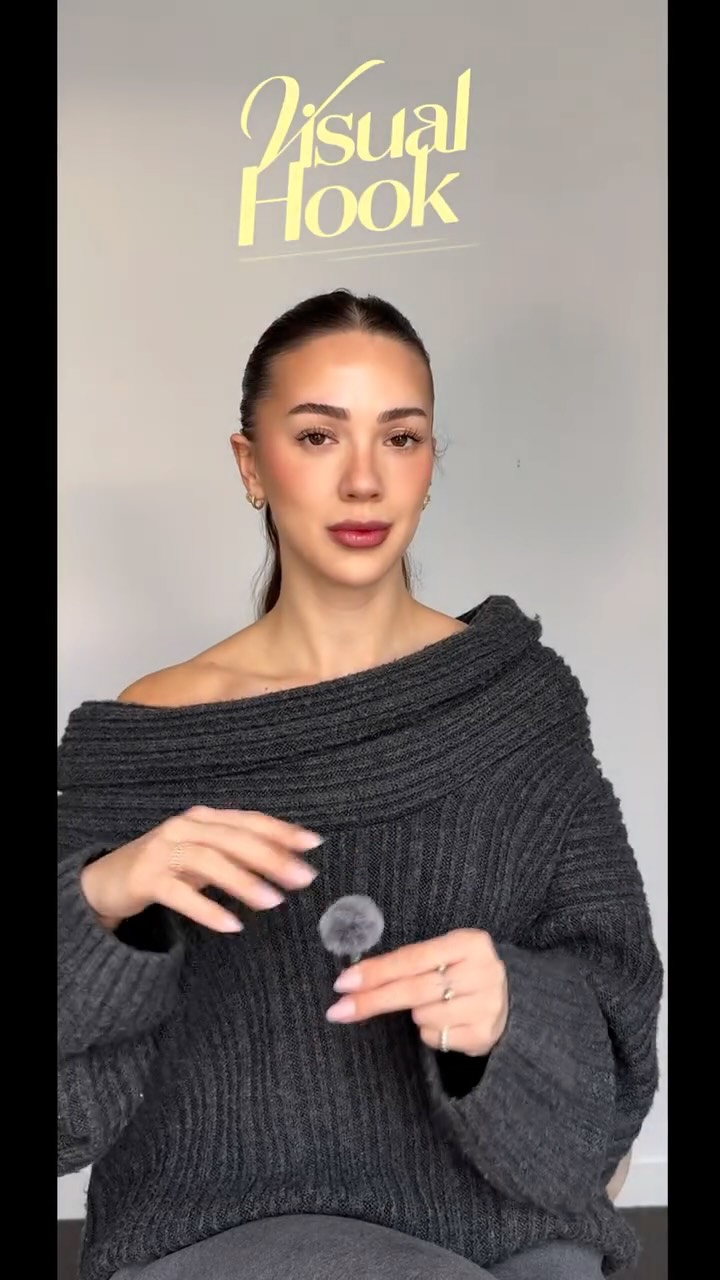
Visual Hook
Verbal hook · 15%
Alrighty. And that was a visual hook.
Visual hook · 30%
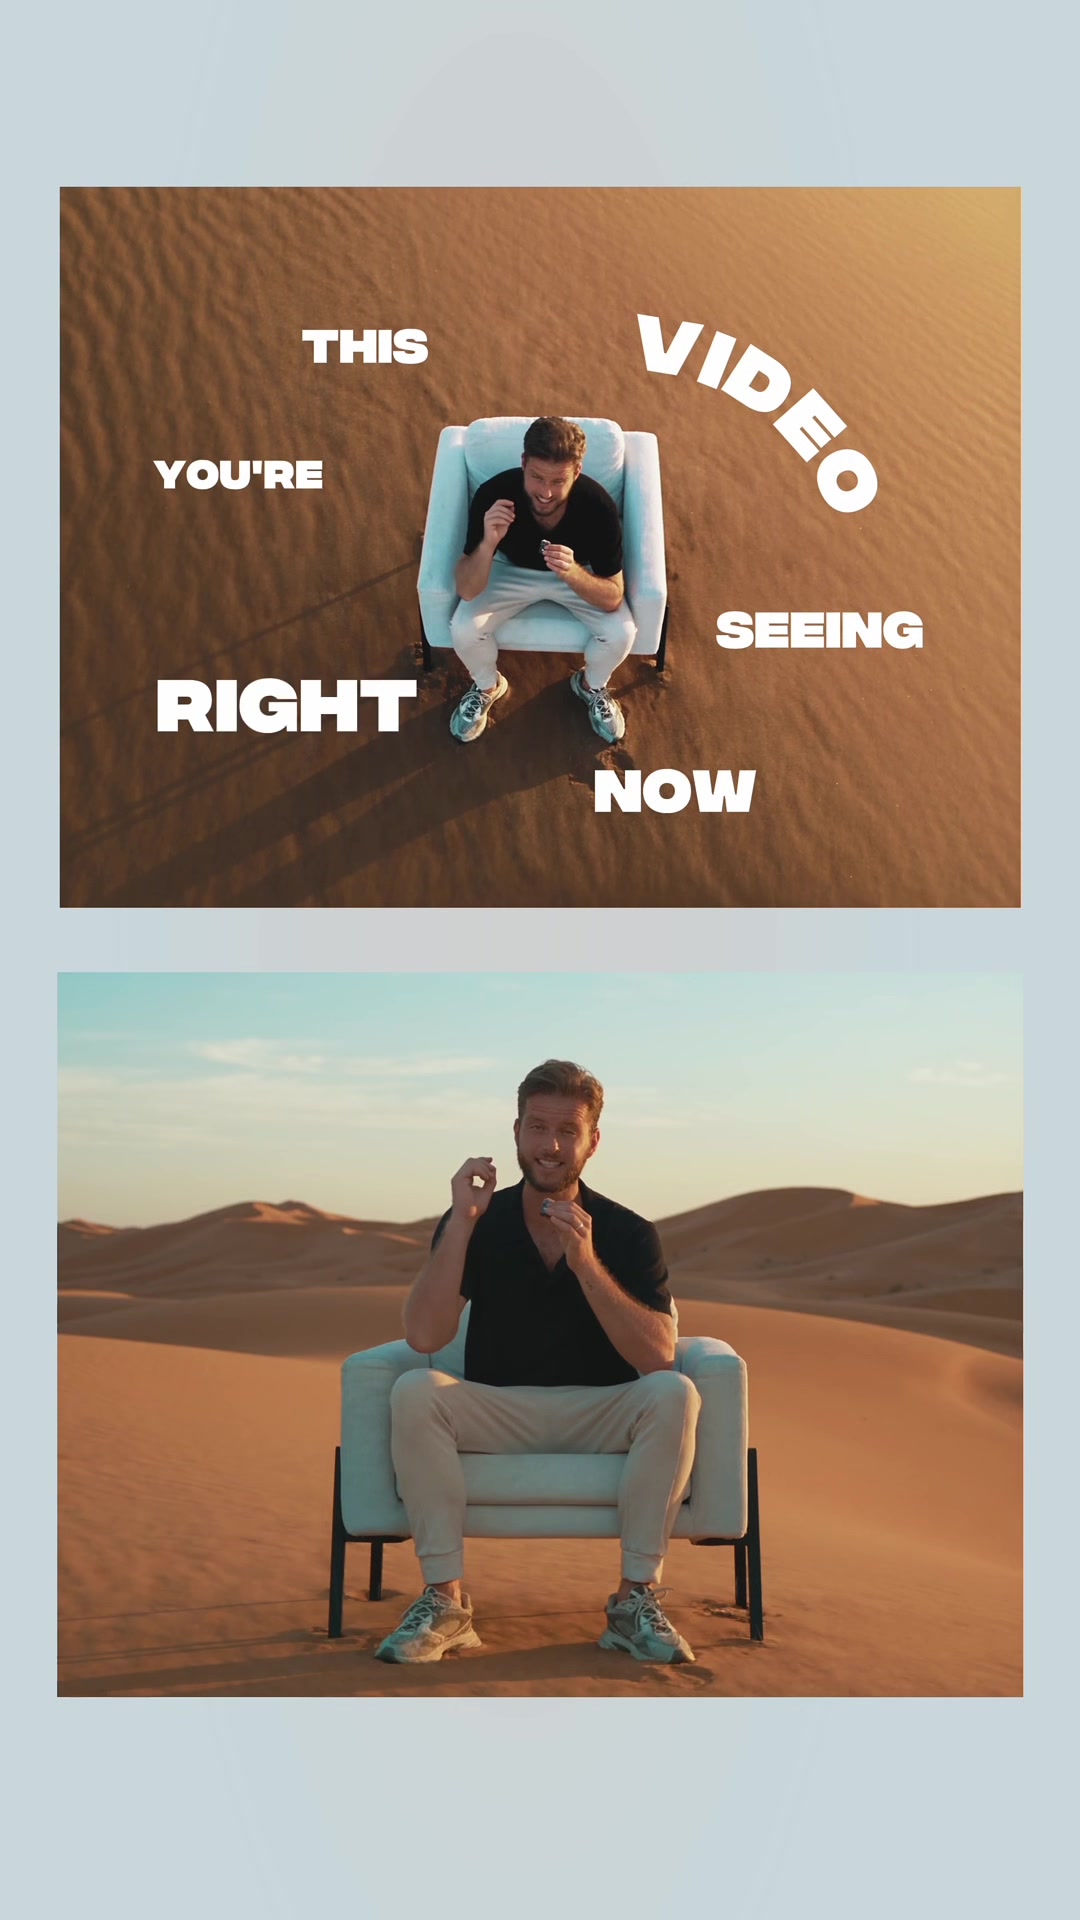
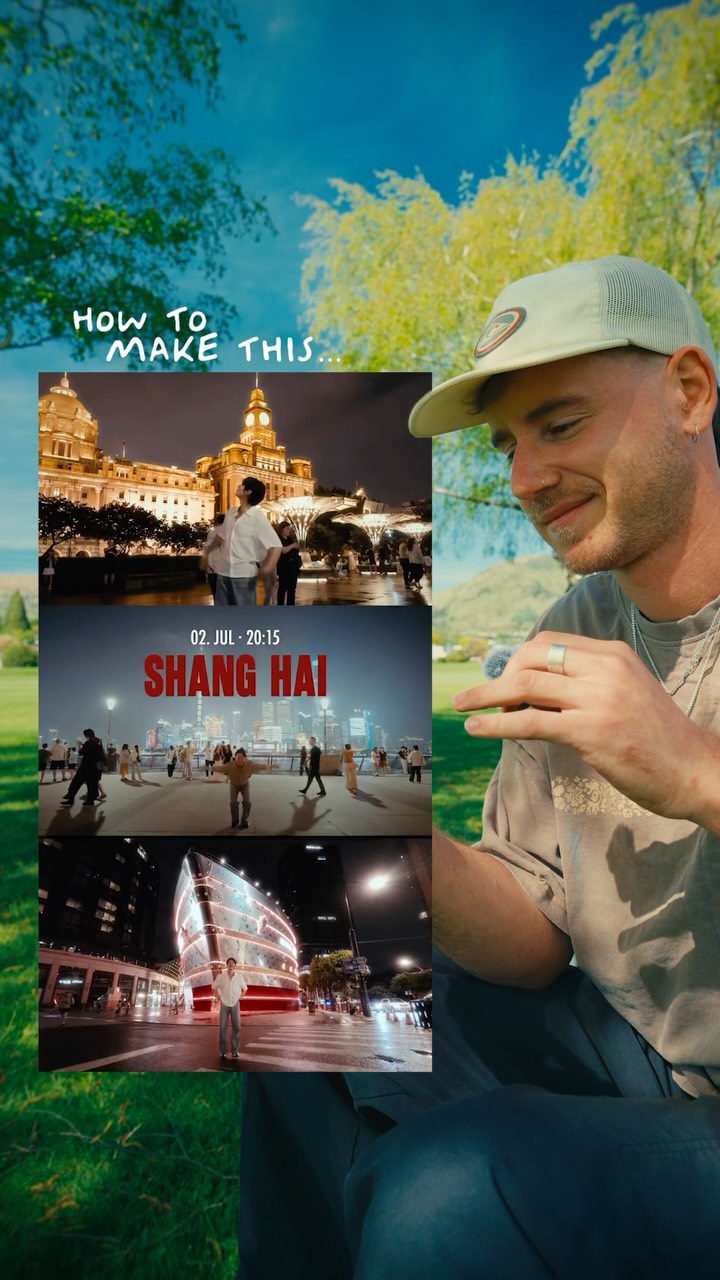
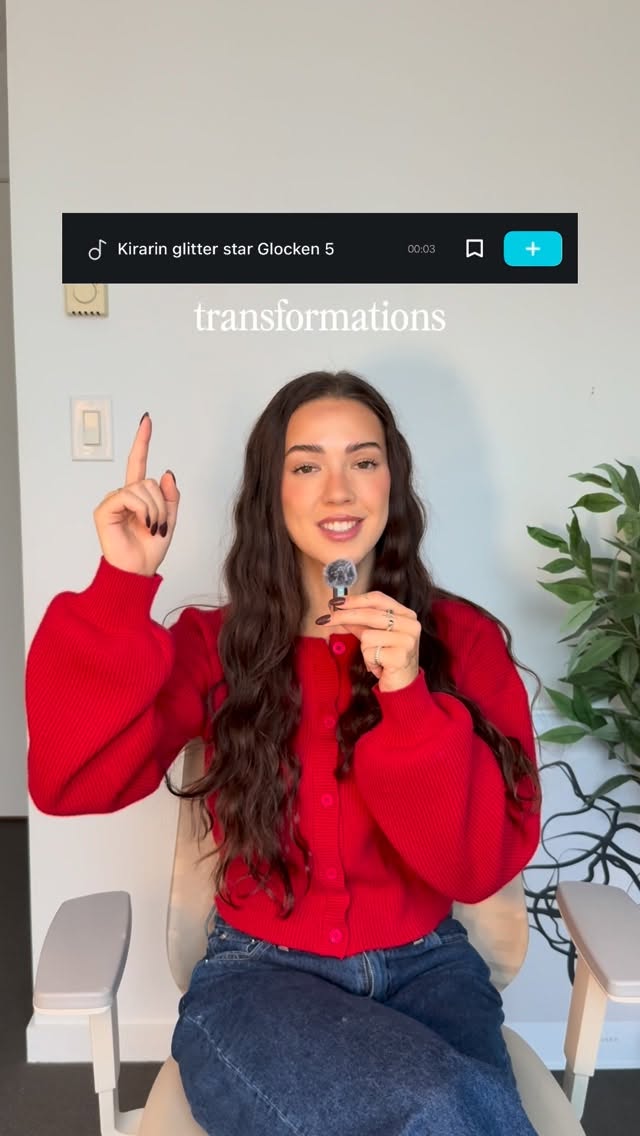
The video opens with a dynamic visual effect where a small rectangular mask over a microphone rapidly expands to reveal the full video frame, immediately demonstrating the editing technique being taught.
[06]
Hook template
Steal this for your own video
Watch what happens when I do [editing technique] in [tool or platform].
- — Watch what happens when I do a masking reveal in CapCut.
- — Watch what happens when I do a one-click color grade in Lightroom.
- — Watch what happens when I add a motion blur transition in DaVinci Resolve.
[07]
Hook and payoff
The promise the opener makes, and how the video pays it back
Hook
The Cold Open Demonstration: The video begins by immediately showing the impressive final result in action, proving the value of the technique before explaining it.
Payoff
The Full Circle Loop: The video concludes by showing the finished effect again, seamlessly looping back into the opening hook to drive rewatches and retention.
[08]
Narrative framework
The structural pattern this video runs on
Framework
The 'Show & Solve' Tutorial Blueprint
Hook the viewer by immediately demonstrating a highly engaging visual effect, then provide immediate value by breaking down the exact, step-by-step technical process to recreate it.
- 1
The Value Proposition
Names the technique, identifies the required tools, and reassures the viewer that the process is highly accessible and simple to execute.
- 2
The Foundation Setup
Guides the viewer through the initial software or physical setup, showing exactly where to start the process.
- 3
The Core Mechanic Execution
Explains the primary technical action required to make the effect work, using clear visual demonstrations of the exact steps.
- 4
The Polish & Refine
Shows the final advanced tweaks or adjustments that take the result from amateur to professional.
Themes
- Skill building
- Social media strategy
- Content optimization
Techniques
- Screen recording
- Dynamic text overlays
- Picture-in-picture/Talking head
- App demonstration
Trends
- Short-form editing tutorials
- Visual hooks for retention
- CapCut mobile editing
Post caption
Visual hooks stop the scroll, this is how you make them in seconds.
Comment “BROLL” to learn my process for creating easy viral videos that helped me gain 4K followers in 3 weeks
#contentcreation #visualhooks #instagramtips #businesscoach #digitalcreator
Text overlays
title · beginning
Visual Hook
title · beginning
CapCut 101
Transcript
Alrighty. And that was a visual hook. This is CapCut one zero one, and all you need to make this happen is using one clip and learning how to use masks. Alright. You're gonna put your video into CapCut. You're gonna click on your video in the timeline, then click rank. Click rectangle and adjust the rectangle size. And then you're going to just thin it out a little bit to cover over the microphone. You're going to click rectangle again and press around corners. And after you're done that, you're going to now add key frames. So click key frame at the beginning of your video, then add a key frame right as you hit the microphone and one half a second later after that. So repeat this process every single time that you are hitting the microphone and just extend the mask itself every time you are adding a new keyframe a half a second later. The last step should be you extending the mask to show the entire video. Like so. Now better you're done adding your key frames, now we just want to press graphs right beside the key frame button, and we're gonna press ease in to make the transitions really smooth. And there you go. Alrighty. And that was a visual hook.