Viral Hooks
Trending short videosRecreating a cool video effect
B

@byrvm_contentcreation

TikTok · Screen Recording

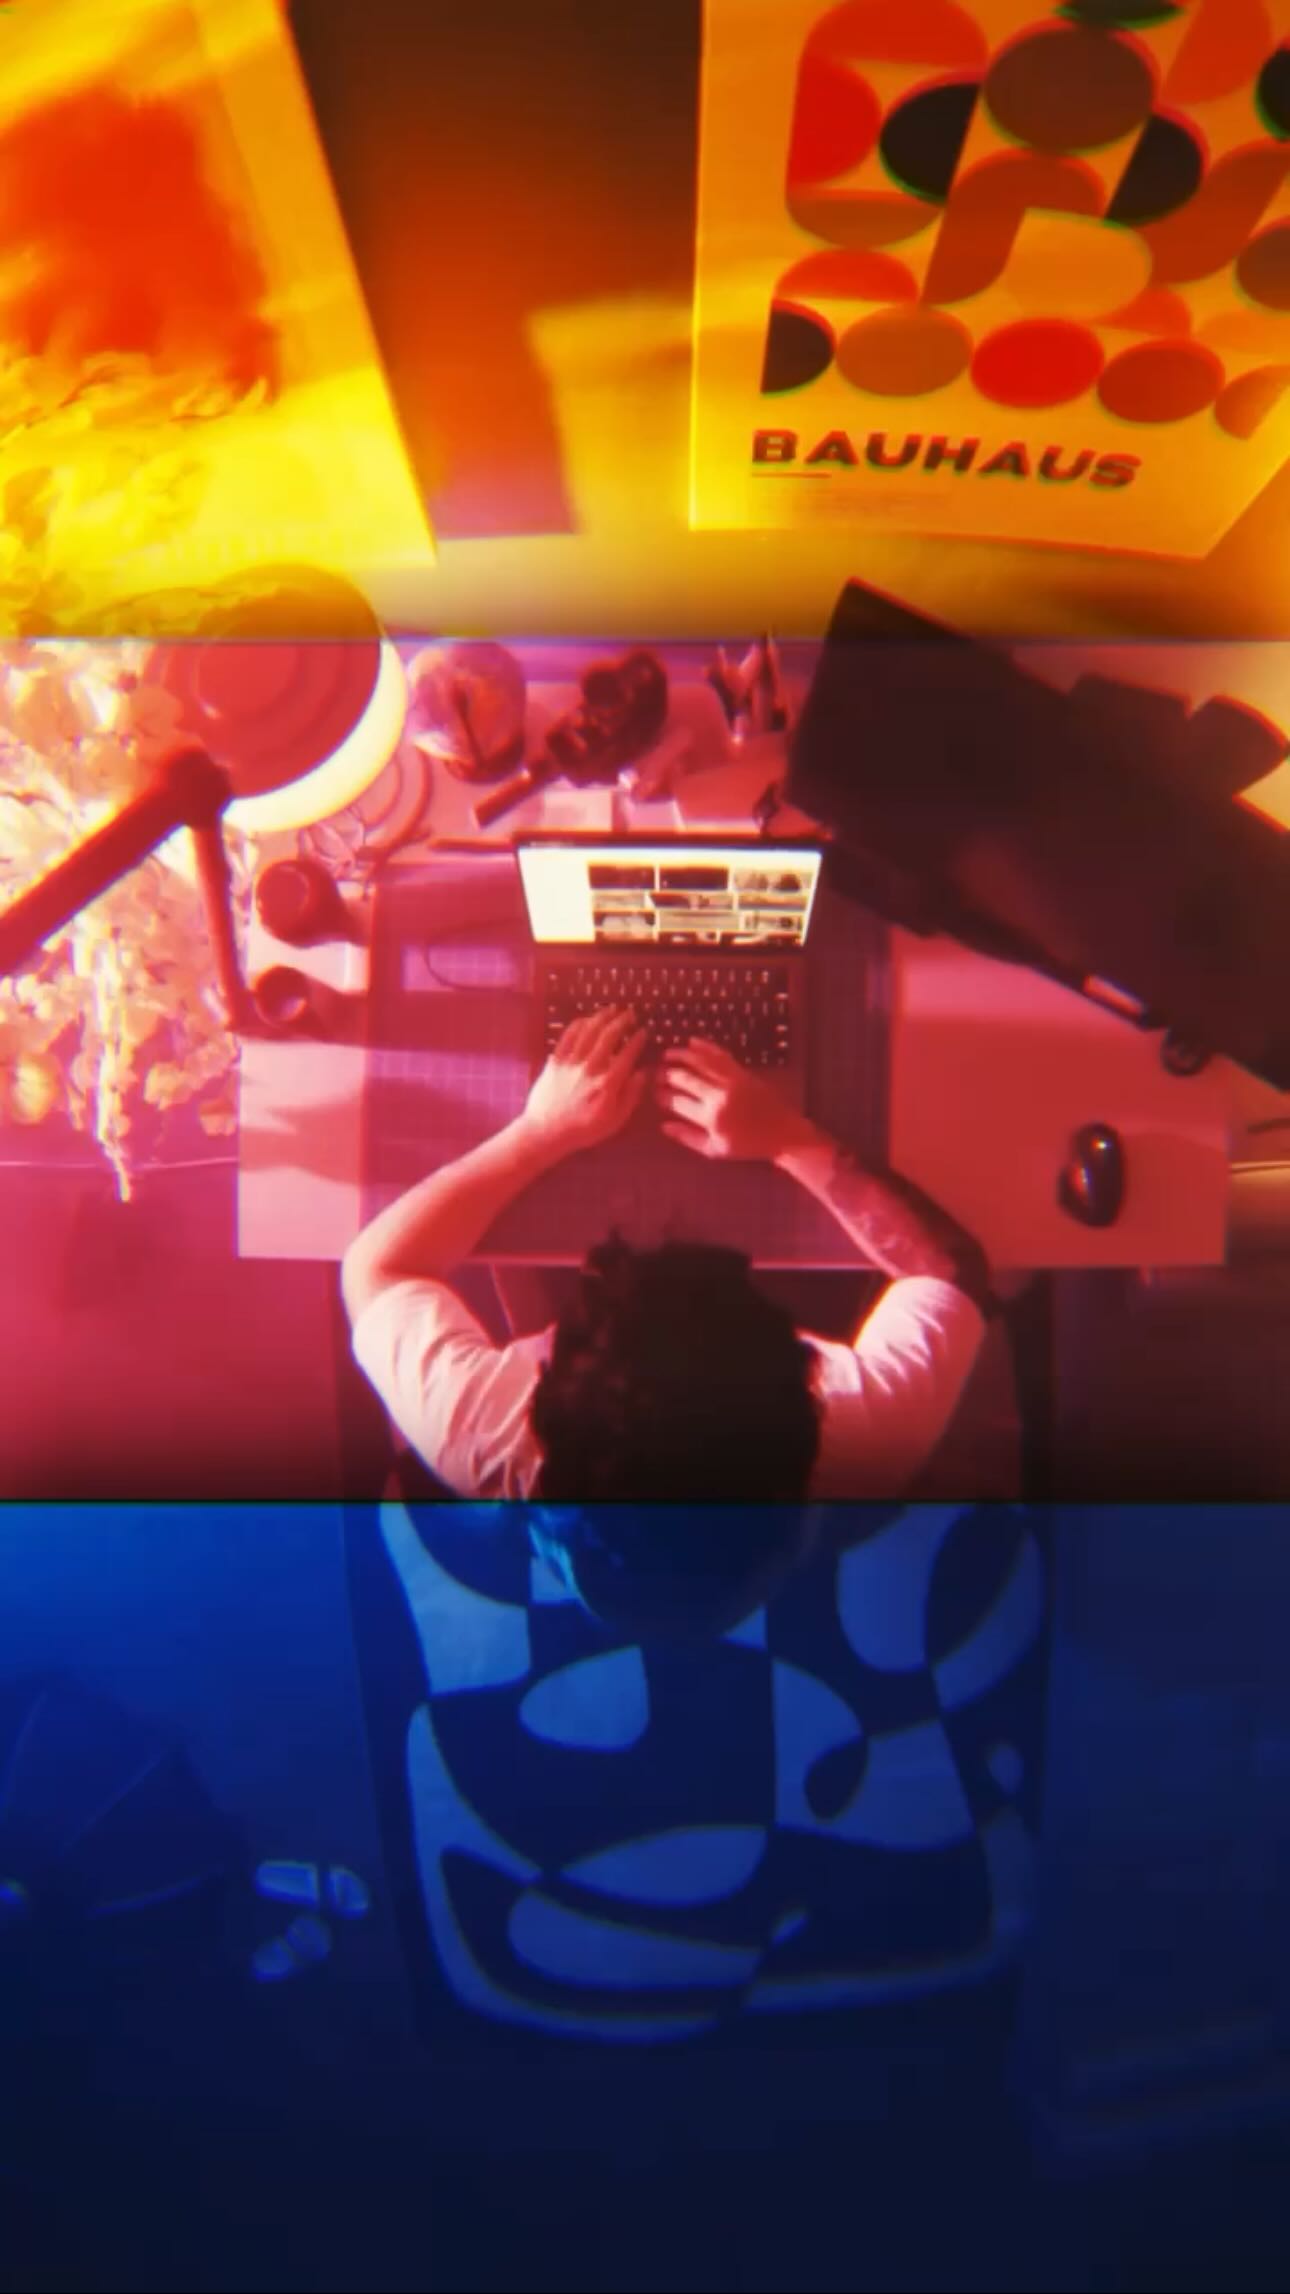
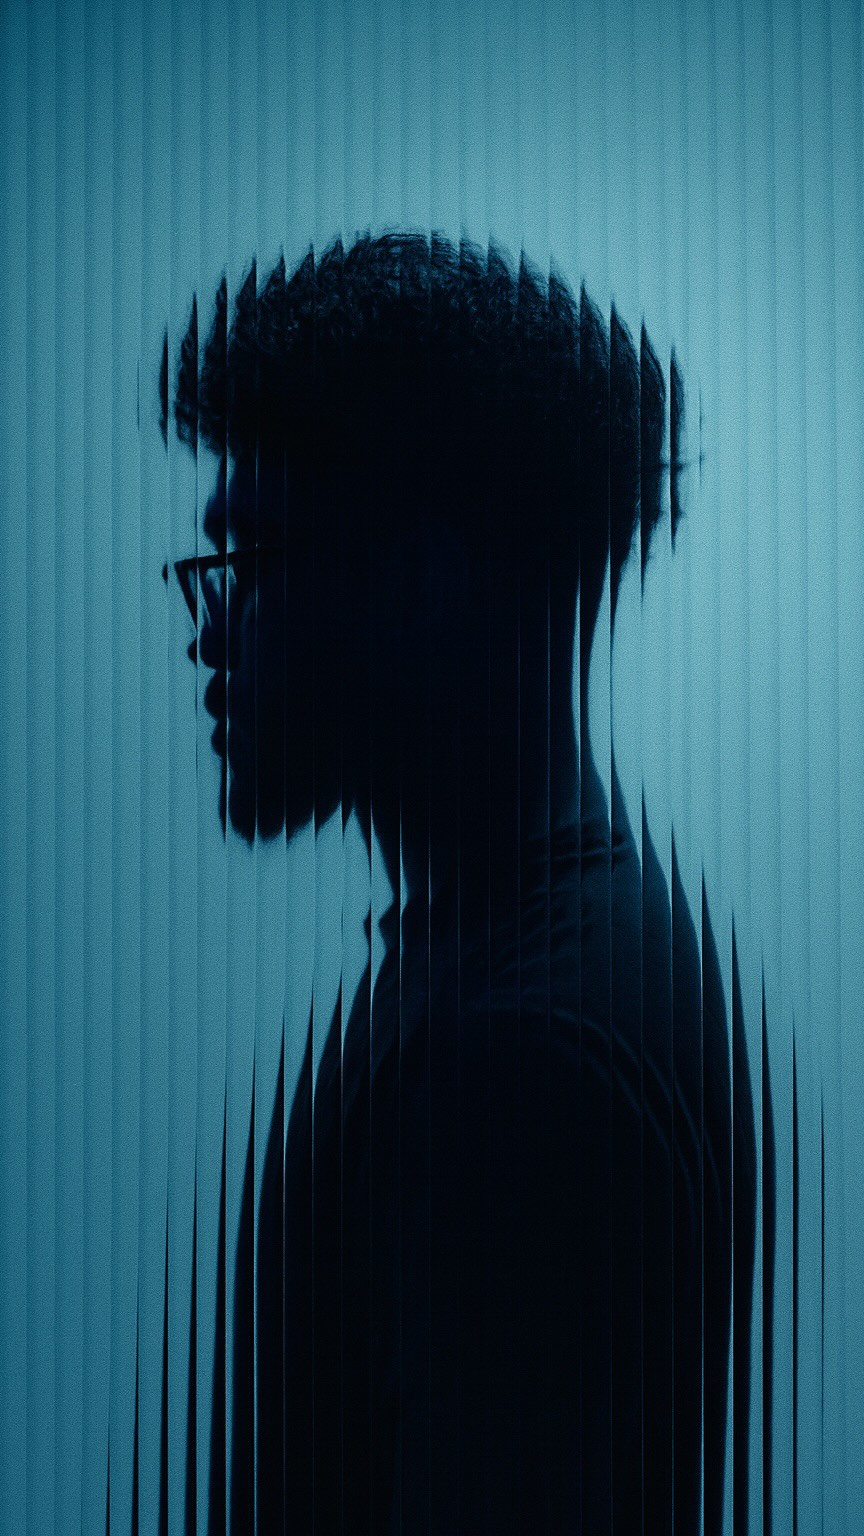
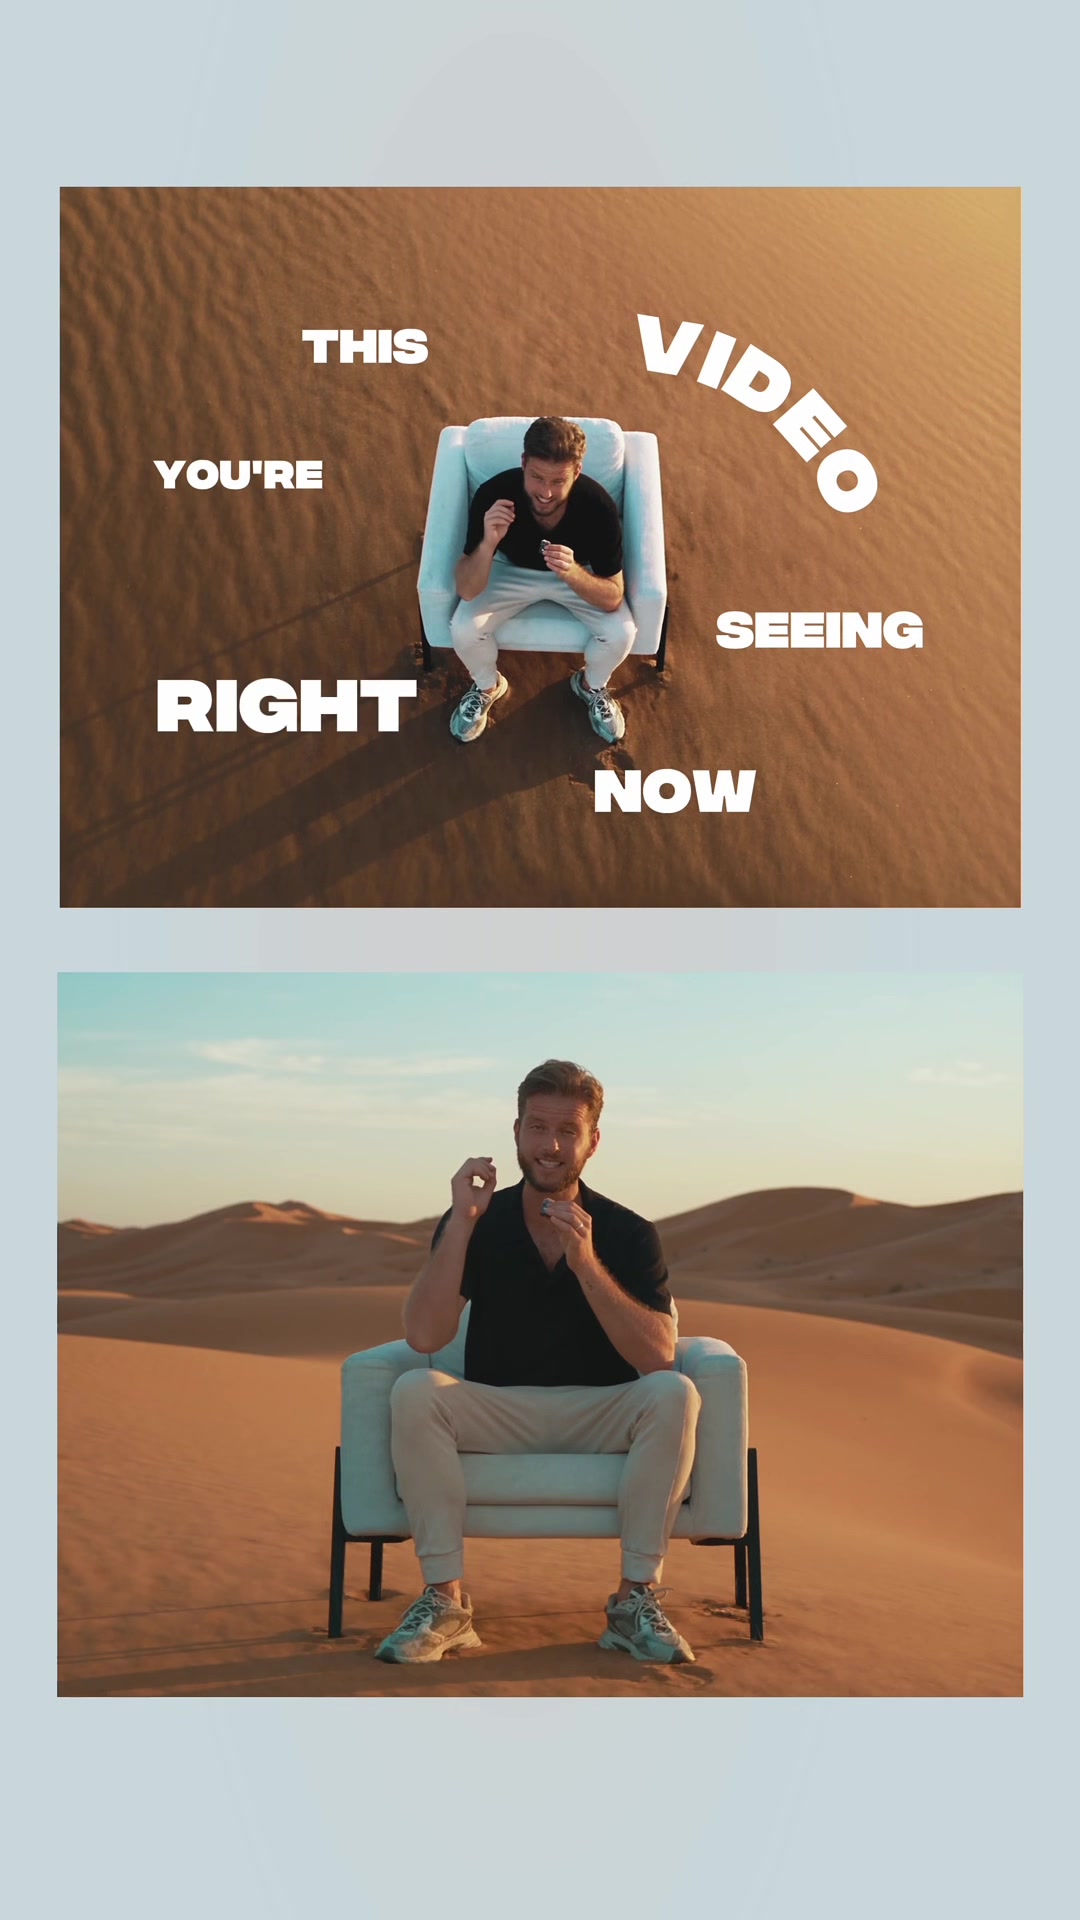
@byrvm_contentcreation This edit looks complicated, but it’s really just color grading, masks, and cutouts working together. 🎬 Start by recording two clips at the same location: one static shot and one where the camera follows you. Bring everything into Filmora and, if you filmed in LOG, start by color grading your footage. Select the correct LOG profile and customize the grade until you get the look you want. Then duplicate your clip and start layering it. Use animated masks to reveal different sections of the frame, then use AI Portrait Cutout to place yourself in front of those layers. Add a few quick flash effects, experiment with different masks and black squares, and repeat the same process with your second shot. Raw footage → color grade → masks → cutouts → final edit. 🔥

View original on TikTok

The edit1 shot · 8 text
Shots Text1:28

Performance

Views
67.8K
Likes
262
Comments
1
Engagement
0.4%
Length · 15 Sept 2026
1:28

Video #49868 · Screen Recording

Recreating a cool video effectfrom @byrvm_contentcreation

[01]

Overview

The creator shows a complex video effect, states he will teach how to recreate it, and then transitions into a step-by-step tutorial using the Filmora video editing software. He demonstrates how to shoot the initial clips, import them, perform color grading on LOG footage, duplicate layers, apply and animate masks, use an AI cutout to isolate the subject, add flash effects, and create dynamic black square transitions. He concludes by showing the final recreated effect and includes a call-to-action.

[02]

Simple outline

  1. 1Present the 'Impossible' Goal
  2. 2Establish the Foundation
  3. 3Execute the Core Illusion
  4. 4Apply Dynamic Polish
  5. 5Reveal the Achieved Goal

[03]

Related videos

[04]

Classification

Concepts
Tutorial / How To
Elements
MaskingColor GradingScreen RecordingRemove BackgroundB-Roll CutawayVoiceoverText OverlayTitle Text Hook

[05]

Hook analysis

What stops the scroll in the first 3 seconds

Title hook

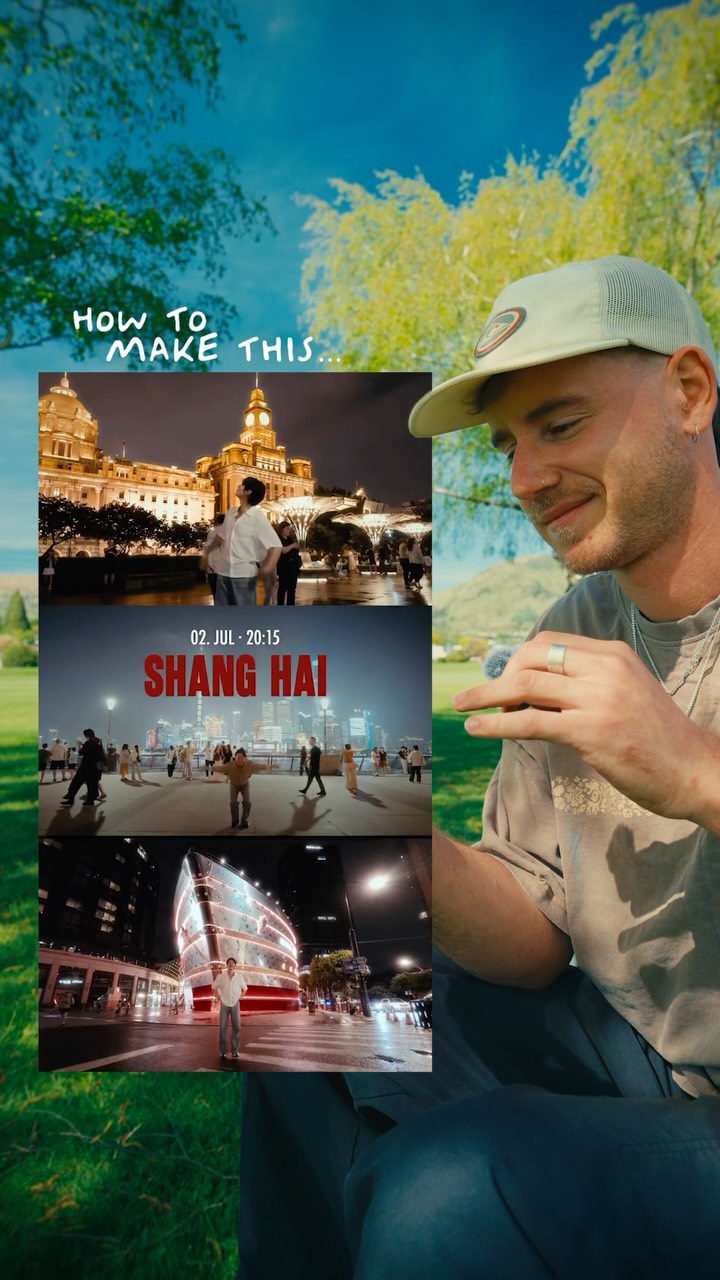
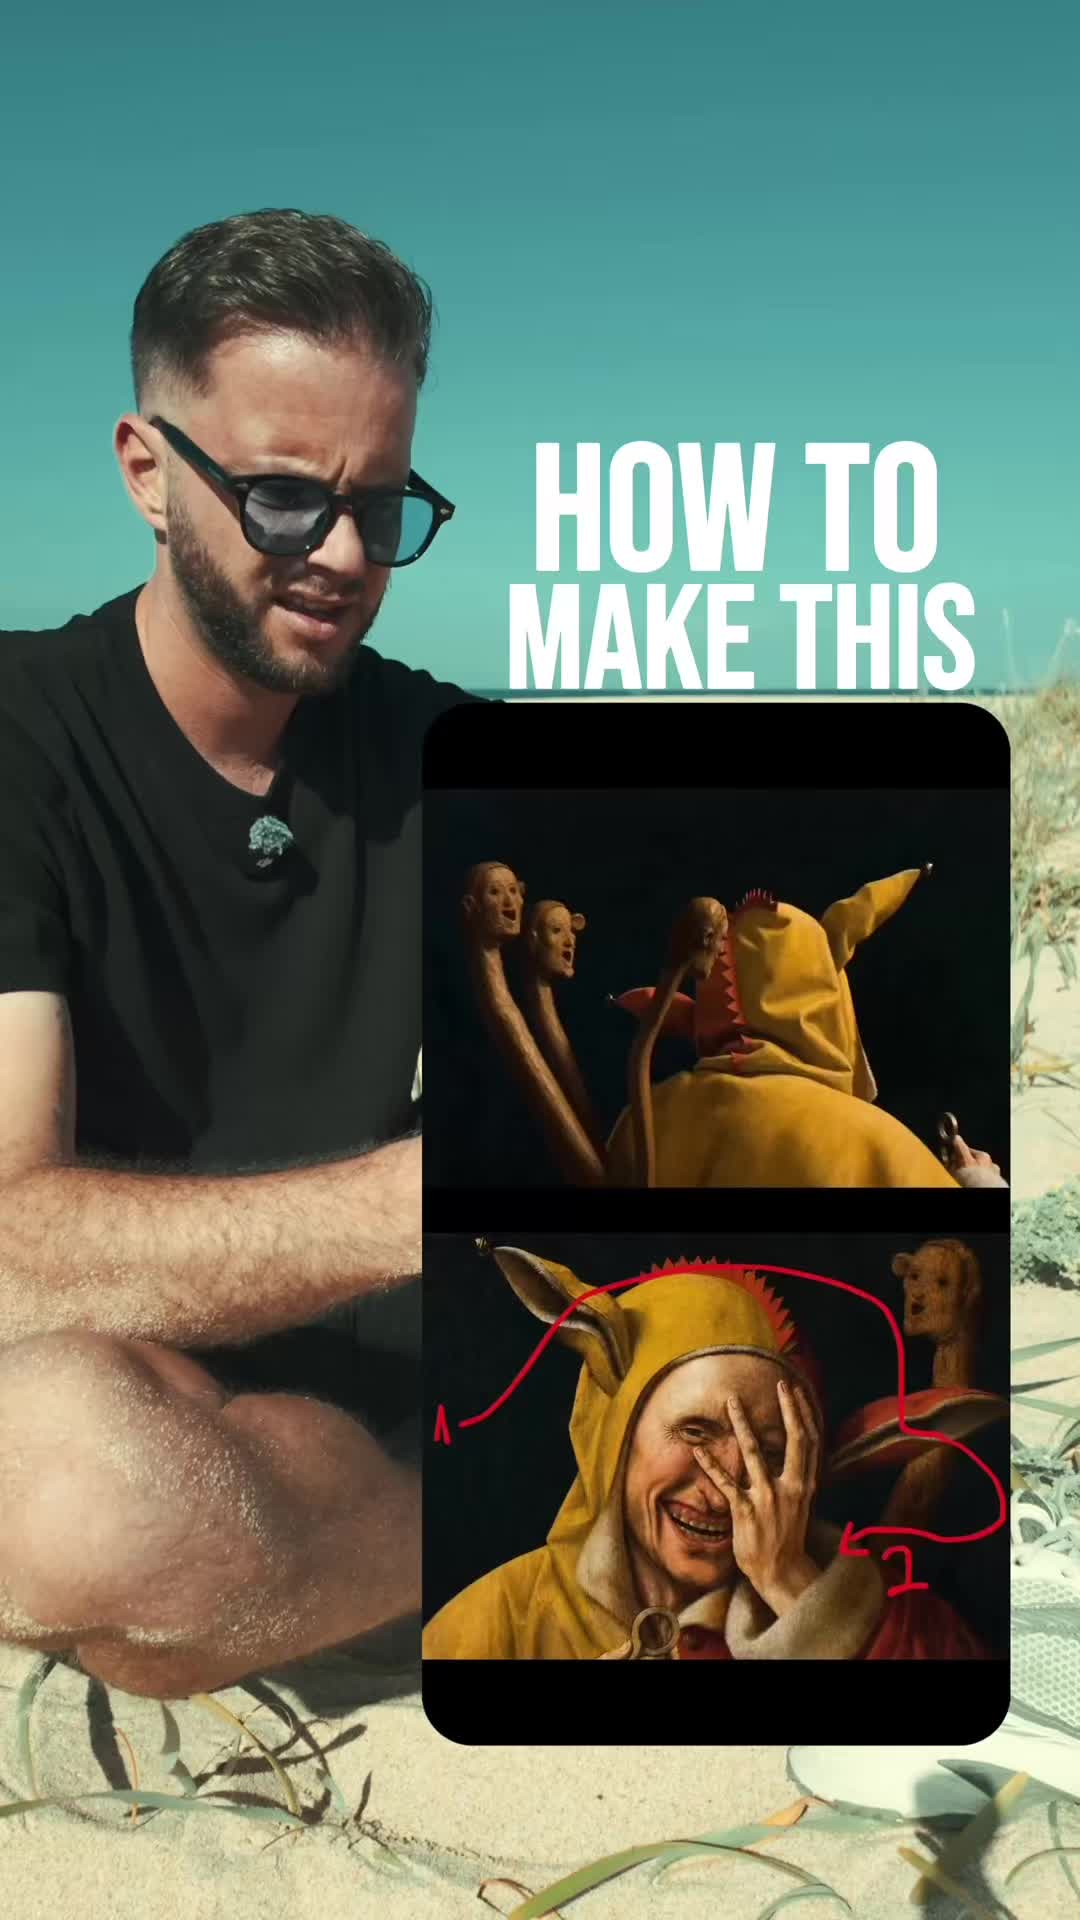
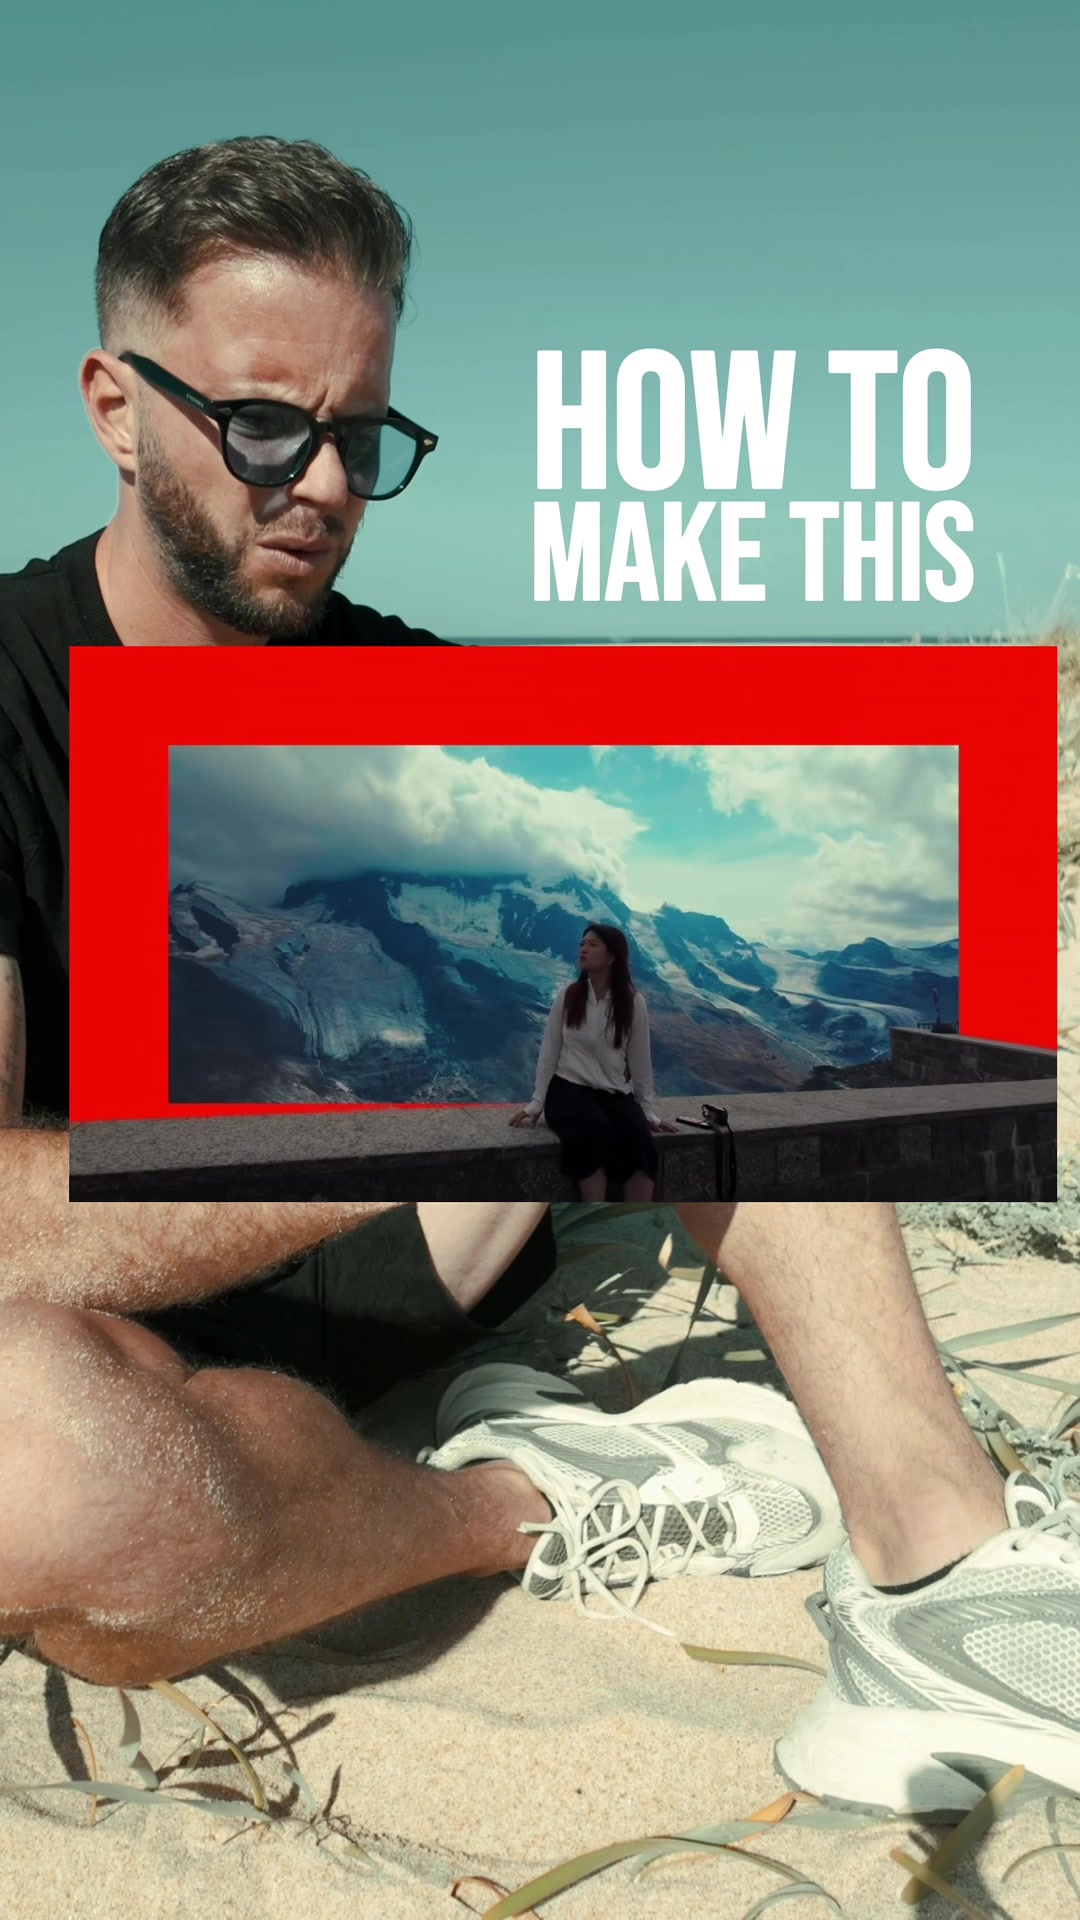
HOW TO MAKE THIS

Verbal hook

Wait. What?

Visual hook

A creator sits on a beach holding a rectangular frame that contains a completely different scene of a woman in front of a snowy mountain range, creating a picture-in-picture effect that immediately raises questions about the edit.

[07]

Hook and payoff

The promise the opener makes, and how the video pays it back

Hook

A 'React and Recreate' sequence. First, showcase the impressive final product to generate intrigue and a 'how-to' question. Immediately follow with a declaration of intent to reverse-engineer the process, framing the video as a problem-solving journey.

Payoff

The Final Synthesis. Reveal the fully assembled final product, demonstrating that the step-by-step process successfully recreates the impressive outcome shown in the hook, providing a satisfying and empowering conclusion.

[08]

Narrative framework

The structural pattern this video runs on

Framework

The Deconstruction Tutorial

To present a complex, desirable outcome and then systematically break down the creation process into simple, manageable steps, transforming the viewer from an impressed observer into an empowered creator.

  1. 1

    The Prerequisite

    Detail the essential raw materials or initial setup actions required before the main process can begin (e.g., filming specific shots).

  2. 2

    The Foundational Layer

    Demonstrate the first universal step that establishes the base aesthetic or groundwork for the entire project (e.g., color correction, base layer setup).

  3. 3

    The Core Mechanic Introduction

    Introduce and explain the primary technique or tool that is central to creating the main effect (e.g., animated masking).

  4. 4

    The Mechanic Layering

    Build upon the core technique by applying it in a second, more nuanced way to create depth, complexity, or a layered effect.

  5. 5

    The 'Magic' Reveal

    Unveil a key step, often using an automated or advanced tool (e.g., AI cutout), that dramatically elevates the effect and solves the most complex part of the puzzle for the viewer.

  6. 6

    The Stylistic Accents

    Add secondary, fast-paced visual elements or effects that enhance the rhythm and energy of the final product.

  7. 7

    The Final Polish

    Demonstrate a final, optional technique that adds an extra layer of professional polish and dynamic movement.

  8. 8

    The Replication Mandate

    Instruct the viewer on how to apply the entire learned sequence to other components of the project.

Themes

  • education
  • skill development
  • creative editing

Techniques

  • masking
  • color grading
  • keyframing
  • ai cutout

Trends

  • editing breakdown
  • how-to tutorial

Post caption

This edit looks complicated, but it’s really just color grading, masks, and cutouts working together. 🎬 Start by recording two clips at the same location: one static shot and one where the camera follows you. Bring everything into Filmora and, if you filmed in LOG, start by color grading your footage. Select the correct LOG profile and customize the grade until you get the look you want. Then duplicate your clip and start layering it. Use animated masks to reveal different sections of the frame, then use AI Portrait Cutout to place yourself in front of those layers. Add a few quick flash effects, experiment with different masks and black squares, and repeat the same process with your second shot. Raw footage → color grade → masks → cutouts → final edit. 🔥

Text overlays

  • title · beginning

    HOW TO MAKE THIS

  • contextual · beginning

    SHOT 1

  • contextual · beginning

    SHOT 2

  • informational · middle

    go to Filmora

  • call-to-action · end

    COMMENT FILMORA And I'll send you the guide

  • contextual · middle

    graded

  • contextual · middle

    mask

  • contextual · middle

    AI

Transcript

Wait. What? I think I've got an idea how to recreate this. Worst, bracket two clips. One where you're sitting somewhere rank the second one at the same location, but this time you're walking while the camera follows you. Next, input your first clip into Filmora. And since I shot this in lock, I first color graded the footage. Simply select your clip, go to color, and under lock, choose the lock format you recorded in. From here, you can customize the grade even further. Once you're happy with the grade, duplicate your first clip twice. Select the original clip in your timeline, go to mask, choose rectangle, and create a keyframe at the beginning of the clip. Then move around one or two seconds forward, create another keyframe, make the mask smaller, and center it like this. Now take your first duplicate, place it above the original clip, bad original clip and go back to mask. This time only mask the bottom section of the frame so you better this effect. Then place your second duplicate on top of everything else and go to AI better. Select AI portrait cutout and now you will appear in front of all the masks. For the flash effect, make a few shortcuts of around four frames. Then go to effects, select flash and apply it to those short sections to get this look. Finally, play around with a few different masks on your main track to create these black squares throughout the clip and make the edit feel even more dynamic. Repeat the same process with your second clip, export everything rank you will end up with something like this.

Recreating a cool video effect | Viral Hooks